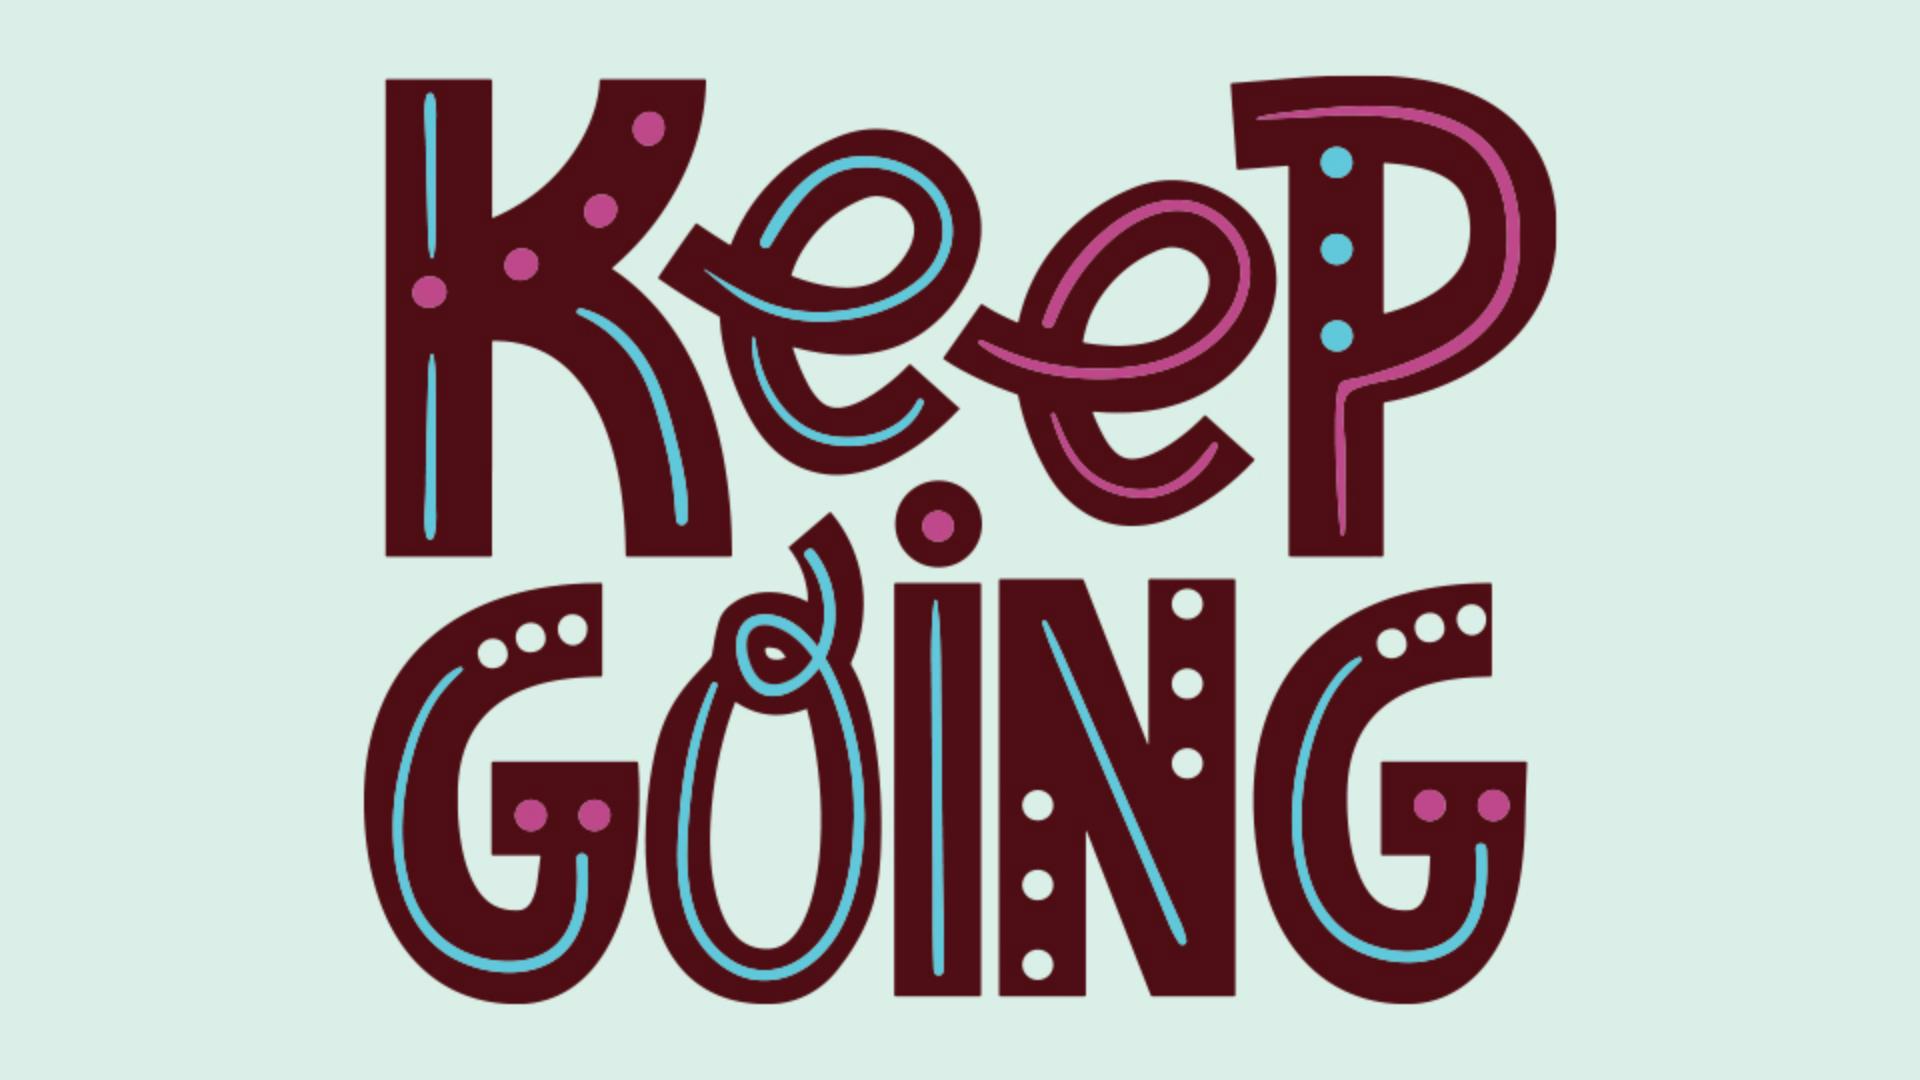
Using Illustrator on the iPad, you can create your own hand lettering using a number of techniques and tools.
Now in this tutorial, you'll explore how to bring in a sketch learn new shapes, the Pencil Tool and other methods for creating that lettering.
So, let's start with bringing in a sketch if that's part of your process.
With a document open to import a sketch, you can tap Import in the Toolbar.
Now you can import from a number of sources.
I'll import a photo I took of my sketch.
With the sketch in the document, you can scale it and drag it into place.
Now to make it somewhat transparent, you can change the opacity by scrubbing down on the Opacity option here.
To lock it in place, you can tap the Lock icon here in Common Actions.
Now you can get started, we'll use a combination of techniques to give you an idea of some of the things you can do.
You can start with a shape.
So, I'll use two fingers to zoom in a bit.
And then tap the rectangle and you can draw this part of the K.
Now to make it easier to see the drawing underneath, you can swap the fill and stroke by tapping these arrows.
And to apply maybe a black stroke, you can tap the Stroke color and do that.
Then tap to hide the Color panel.
To edit this part, you can select the Pencil Tool.
Before drawing you can set the Smoothness here, 0 for precise paths and 10 for clean curves, I'll set it to 9.
Come out here and you'll draw a smooth curve, followed by a straight line followed by another curve, like this.
So, start drawing.
When you get here, release.
You can move the pointer over to make a straight line.
To constrain it to 45 degrees, press the Touch shortcut and tap, then release the shortcut.
From that point, continue drawing down the other side.
When you get here, release.
Come back to the start and tap to close the path.
Now to combine these two shapes, you'll use pathfinders which are non-destructive on the iPad.
So, select the Selection Tool and drag this shape so it aligns with the rectangle.
Smart guides will help you align that.
Now you can select both objects by dragging across and to combine them, tap Combine Shapes in the Taskbar.
You'll see previews of all the different combinations, and tap Combine all.
The shapes are now combined but are still independently editable.
To select the shape, double tap the stroke, you can now edit it separately, you'll copy it, and you'll flip it to make the bottom part of the K.
So, to copy it, tap Duplicate in the Common Actions.
And then you can flip it, drag it down and make some edits.
To flip it, tap Align and then tap Flip Vertical.
You can drag it down by the stroke, so it's aligned with the bottom of the rectangle.
Now obviously, it needs to be changed to match the sketch.
So, to edit the anchors, you can double tap to enter isolation mode.
You can then drag across a single anchor or multiple anchors and drag to move them.
I'll move a few of them here.
Then you can adjust some of the curves by dragging handles on the anchors.
Now you'll notice that the handles actually snap with smart guides on.
If you don't want them to snap, you can turn off smart guides in the Precision settings here.
When you're finished, you can tap Done and the K is a single letter.
Now if you want to commit to the pathfinder operations, so you can't edit the individual shapes in K anymore, you can tap away and then tap to select it and convert it to a path that can then combine shapes menu over here.
Now another method involves starting with text and editing it.
So, select the Type Tool and to add some text that you can scale right away, start dragging until you see a line of text.
To scale it, press the Touch shortcut and keep dragging.
When it looks good, release your pencil or finger and then the shortcut.
To edit the text and make an E, double tap on it and type your letter.
Then tap away.
Now to make it larger, since this is point type, you can just drag a handle and then drag it into place.
Now you can pick a font, the key is to pick a font that closely matches what you need.
So, click font family over here in the Properties panel.
And you can choose the font you have or click More fonts and choose a font based on tags.
I'll scroll down a bit and there we go, that's a decent base to start with.
Now you can take your letter and you can start to edit it as path by outlining it.
So, tap the Type options on the right and then tap to outline the text.
You can now edit the text in shapes, in isolation mode.
Here you can add more points if you want to, with the Pen Tool.
You can adjust the anchors with Common Actions and a lot more.
I'll drag across these and actually just drag them up here to make the shape look more like the sketch.
You can even remove parts of letterforms by selecting the Eraser, setting a size and some other options here and drag in to erase.
There are so many ways to create letter forms in Illustrator.
If you want to practice, keep going and make other letter forms.


