

[Dave Helmly] Welcome to this episode of the TechTable.
Today we're going to talk about two very important topics.
One is project management, and another one is a brand new codec that we have from GoPro called GoPro CineForm Codec.
And to really go over these topics in depth, I've teamed up with a friend of mine, Devin Graham, using one of his projects to sort of show how to manage a large project like this, as you can see, as well as what a new codec like this will actually do for you.
Now, for those of you not familiar with a CineForm codec, it's been around a long time.
It's a very high quality wavelet codec, and it's now owned by GoPro.
So we now refer to it as the GoPro CineForm Codec, and I'm very excited about it.
I've been working with this codec for many years, and it's amazing that we now have it in Premiere Pro.
So let's go ahead and jump into the tech table and I'll show you how it works.
Okay, let's take a quick look at what it takes to manage a project like this.
I'm going to jump over to my G-SPEED Studio drive and take a look at the folder that's in there.
And if I double click on the folder, you can see all the parts that are in the folder.
I'm going to go back out one step before I do that and show you how large this folder is.
So if I go in here, you'll see that the folder is 1.1 terabytes on this disk, and that actually consists of a number of different things to try to manage a project of this size.
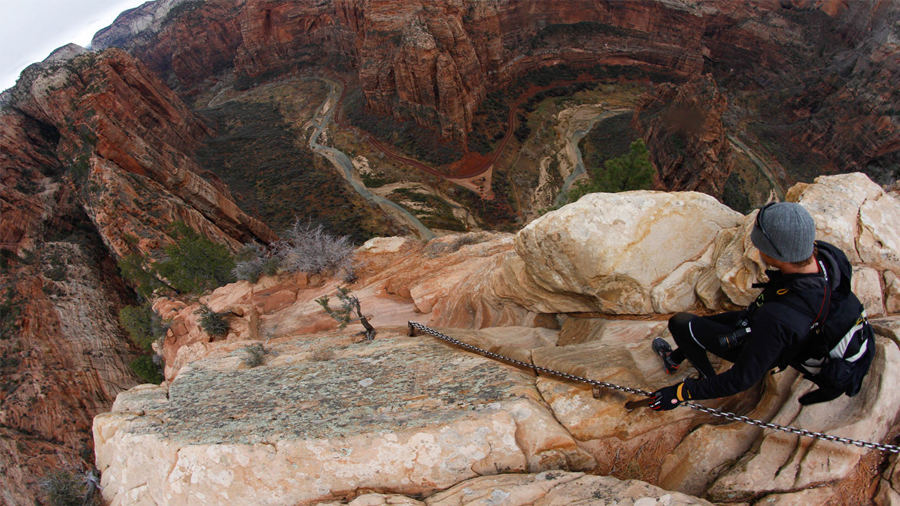
So as you can see, when Devin and crew were out on location on a three-day shoot, including multiple cameras, one thing Devin does for his Devin Graham site is give you a great behind the scenes and sort of show you those guys in action and different cameras and lenses and things that they do.
I always recommend people take a look at his behind the scenes stuff.
But you can see, if you take a look at some of this, it's typically shot on Canon 5D and cameras like that, and each of these days that are in here—if I go in here and take a look at that— he's got some GoPro footage as I said, from typically a Hero3+ or a camera like that, shooting a lot on Red Dragon 6k footage, as you'll see shortly, and if I just take a look at what's in here, just a very typical Red R3D folder structure, and if I just do a Get Info on that, that one folder is 250 gigs.
If I take a look at the other folder that's in here— again, this is just day one for one camera— that's 175 gigs.
So there's just a lot to manage on each of these days.
So let's jump into Premiere Pro and see what this looks like.
Okay, so here you can actually see the project.
It's a very typical project for Devin.
It's five or six layers and anywhere from two minutes 40 upwards to three and a half minutes.
So this looks like a fairly average project.
And again, folder structure is pretty much exactly what you would expect— fairly organized.
And at this point, I just want to point out as I play some of this back— let me go ahead and do some of that for you. ♪ music ♪ ♪ music continues ♪ ♪ music continues ♪ So as you can see, if I jump up to my sequence settings, this is a full-on, 6k project coming from the Red Dragon camera.
Let's take a look at how we export this out in the new GoPro CineForm format.
So let's just do our typical file export, media, and the first step you want to do is switch your format to QuickTime.
Even though we're using the new GoPro CineForm format, it actually is wrapped in a .mov wrapper on both Mac and Windows, so you'll find it under the QuickTime format.
It still has all the quality and everything you would expect from the traditional cineform codec, but again, it's just under the QuickTime wrapper.
So now what you'll notice is, I've got some presets here where I can match it to the source, which is great, which will keep it at 6k.
I'm going to go to the Video tab here, and if I click on this, of course, this is where you find everything that falls under the Quicktime umbrella— all sorts of different types of codecs.
On the Mac, you'll get ProRes.
You'll get some of the other formats that Apple QuickTime provides, but again, what you'll see that's brand new is this new GoPro CineForm— what I call our finishing codec, and it is a beautiful codec, as I mentioned.
So I'm going to click on that and show you a few options as we go down here.
You do have a quality slider— I find that quality 4 is fine.
It's great—it allows you to compress and re-compress and continue to work with the files if you have to do different generations with different things you're working on.
If you really want to just crank that up to 5, if you just want to make sure you have the best possible quality and disk space is not an issue, then go ahead and do that.
It's absolutely fine.
You'll also notice that these check boxes now are telling me that I'm locked in to the source setting.
So if I needed to unchecked that, that would allow me to modify that if I wanted to.
I'm just going to keep matching my source settings that are there.
Another really important thing to point out is if you need an alpha channel— so if you've got things in there from After Effects or, say, Photoshop or other things where you want to maintain an alpha channel on some of those layers, you can come in here and click on this and say, "Well, I want to keep that at 32-bit or higher."
I don't have any alpha channels on here, so I'm going to go ahead and just put that at 24-bit.
You'll notice the maximum render quality is not checked.
The reason it's not checked is you don't need it all the time.
It actually increases encode time.
So you'll notice if I hover over this with my mouse, a tool tip will come up that says, "Gives better quality scaling, but increases the encode time."
What that's trying to tell you, again, is if you have a lot of scaling going on in your project, then you want to go ahead and check that.
If you use Warp Stabilizer a lot, which I know Devin and Parker do at Team Supertramp, I would suggest to them, as I normally do, go ahead and click that, because that will help your scaling when you're scaling out with the Warp Stabilizer.
But if you're not using any sort of scaling up or down in your project to any big degree, then just go ahead and leave that unchecked, which is its default.
So let's go ahead and queue that up and send it over to Media Encoder.
And from here, I can just go and click Encode.
I wanted to point out a couple of things while we're in the Media Encoder.
Just to let you know, we are working on presets for the new GoPro CineForm finishing codec, so you have a way to get to these fairly quickly.
So you're basically going to see that you've got a preset to match your source settings with and without an alpha.
So not a huge deal— these are easy to create yourself, but just wanted you to know we'll be watching those and creating more and more of those for you.