The Watercolor brushes in Adobe Fresco provide incredibly realistic brush and wet color results that do an amazing job of mimicking all of the blending subtleties of the watercolor medium.
Let's check out some of the important settings and brush characteristics so you can get started creating your own watercolor paintings.
Tap on the live brushes in the toolbar to access the Watercolor brushes.
I'm just gonna leave this set to the Watercolor Round Detail brush.
The tool options for the Watercolor brushes can be found down at the bottom of the toolbar.
There's the usual Brush Size option.
Below that is Flow, which controls how much paint is on the brush and influences the intensity and the translucency of the color that you apply.
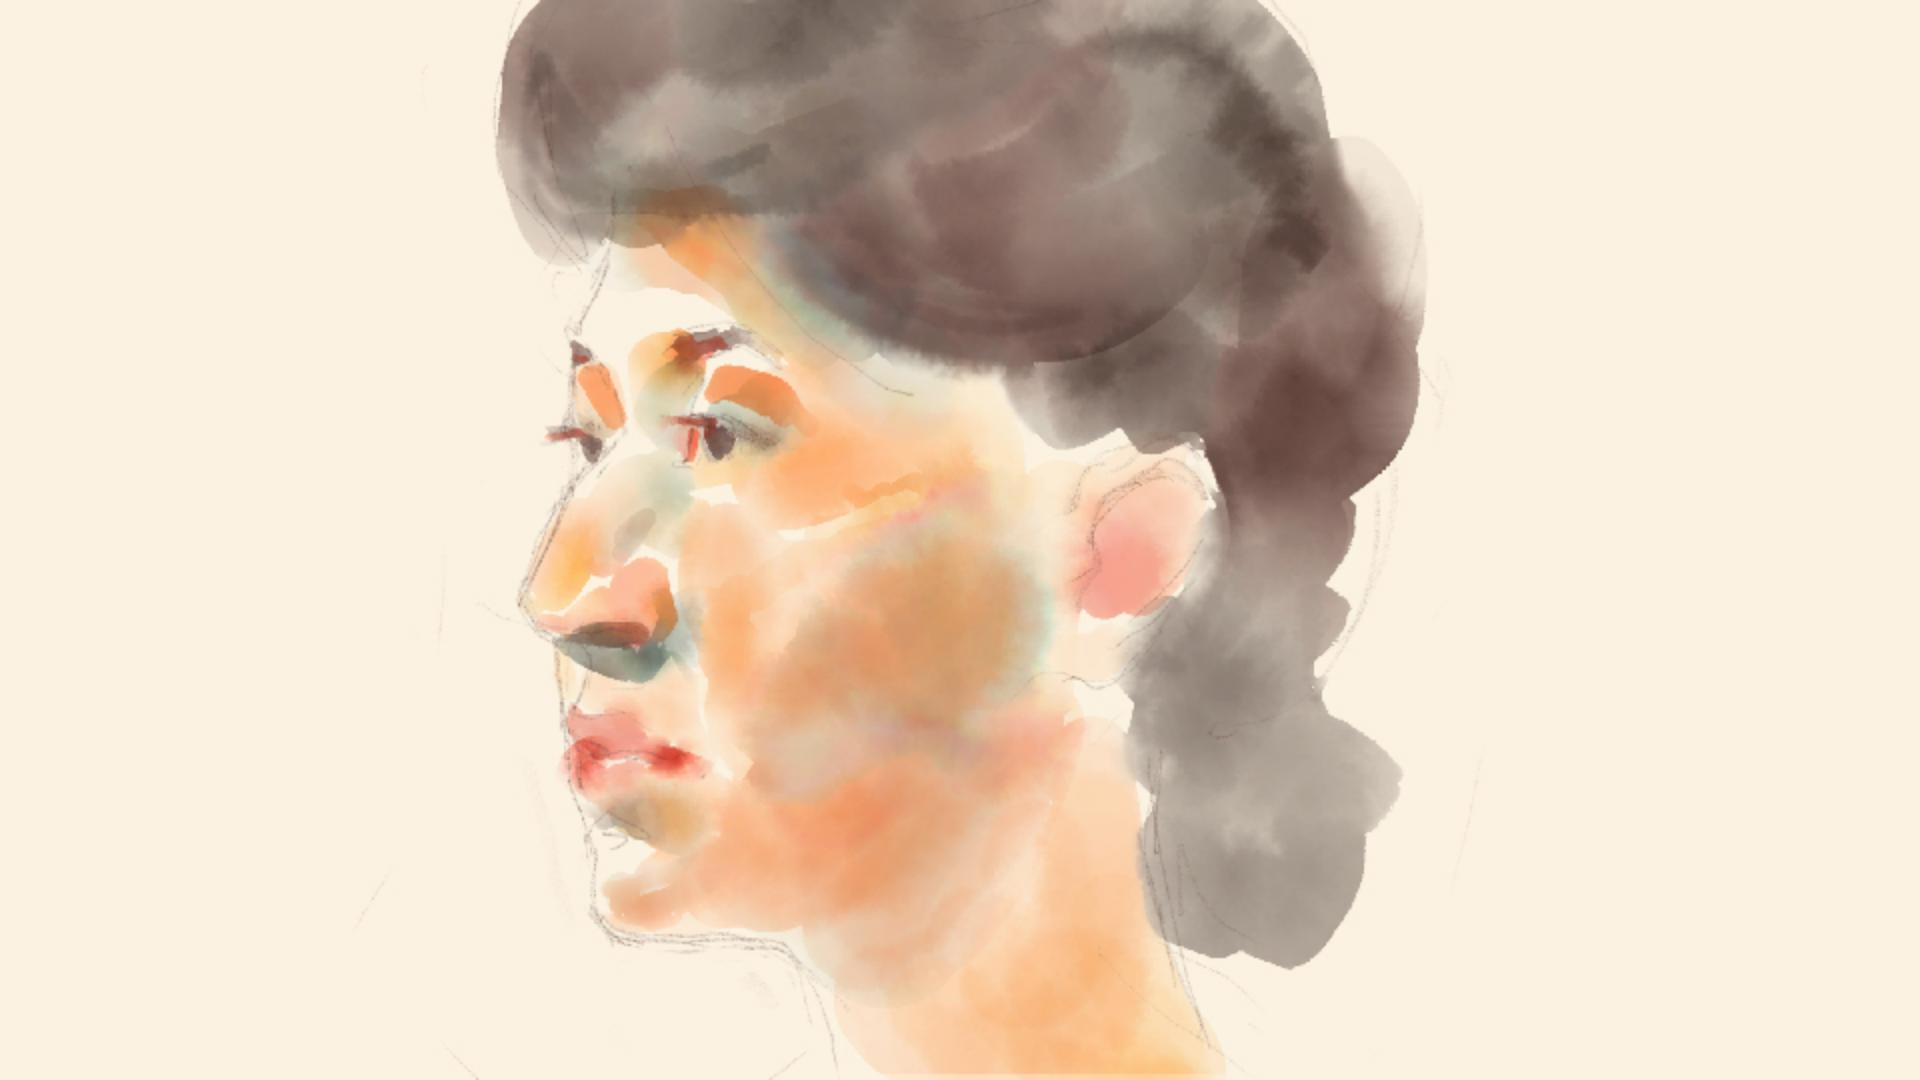
So in order to explore that, let me just do a long press on the woman's hair to sample some of that color with the Eyedropper and I will set the flow down fairly low, maybe to about 20, and let's use a larger brush here, I'm gonna zoom up so we can see what's going on, and I'll add a few brush strokes on her hair, using that low flow setting, so you can see what the result is there.
Next, I'm gonna turn the Flow setting up higher, maybe I'll go up to about 55 and and we'll add some more brush strokes and you can see the difference.
You can see how the color intensity is much more pronounced with that higher flow value there.
Next we have one of the most interesting settings in Adobe Fresco and that is the Water Flow setting and it's these two little droplets here.
Water Flow determines how wet the brush is.
Of course, with water color painting, you dip the brush in water and then dip it in paint and the more water that is on the brush, is going to influence how the colors spread out on the paper and blend and bleed with the other colors.
So, in order to explore that, let me tap on the Color chip and get a different color here, I'll choose this blue from my recent color swatches, and I'm gonna leave the water flow set to maybe about 15 here, and let's zoom up to an area where we have some empty canvas to play with.
I'm just gonna draw a brush stroke here.
Next, I'm gonna tap on the Color chip and get a different color so that we can really see the difference here.
I'm gonna leave the water flow set to 15 and what I'm gonna do is add another brush stroke that slightly overlaps with the first one so we can see how that is blending.
So a little bit of blending, but not too much.
I'll tap on Water Flow again and let's just raise this up fairly high maybe up to about 70 and let's bring in another brush stroke and see how that is blending with the blue color there.
So you can see there's a lot more obvious blending, a lot more naturalistic blending as if that blue color is bleeding out into that yellow strip there.
So really, an interesting quality of the Watercolor brushes in Adobe Fresco.
I'm gonna do a two finger tap on the screen a few times just to undo those and I'll do a pinch gesture to fit the image onscreen.
Down at the bottom, the Tool options we have the Brush settings with controls for things such as Angle, Spacing and Scatter, as well as Shape, Pressure, and Velocity Dynamics.
If you're familiar working with the Brush settings in Adobe Photoshop, many ofthese settings may be familiar.
One of the really interesting things about the watercolors in Fresco, is that they stay wet, they do not dry out, you can always go back and blend them with new watercolors, or even with just water.
So to do that, I'll tap on the Water Flow.
I'll make sure that that's set up fairly high there and then I'm gonna tap on the Color chip and I'm gonna lower the opacity to zero.
So with zero percent opacity on the color, and a high water flow setting, I'll tap on the layer for the woman's face and now, I can just paint with water like I've just cleaned my brush and dipped it in water and now I'm just adding water to the color that is already on the paper and it creates this really magical blend I just love watching this in Fresco, it really is one of the most amazing things about the program.
The other thing to know about is that if you did want to dry out the layer of watercolor, there's an option for that.
If you tap on the More Options button in the Layer taskbar, down at the bottom you'll see an option for dry layer.
As you can see, the watercolor live brushes in Adobe Fresco offer quite a lot of interesting color blending possibilities for creative and expressive painting technique.