Introduction
[Stefan Gruenwedel]: Hello, I'm Stefan.
I'm a writer, editor, and instructional designer for Premiere Pro.
In this tutorial, I'm going to show you the basics of graphics templates.
Graphics templates are an easy way to add professional-looking text animations to your projects, like lower thirds and titles.
Let's go.
I have an idea for a title design that I want to sell to a local TV station that's looking to revamp their news program.
I found these sample clips on Adobe Stock that I'll use in my design.
I've already imported them into my project file, and so all I need now is a graphics template to put everything together.
Browsing and selecting graphics templates
To find the graphics template I want, I'll go to the Properties panel and click the More menu.
Then I'll select Browse graphics templates.
After I select the Adobe Stock tab, all I have to do is search for what's there.
To narrow things down, I'll filter on Free templates and type a keyword to narrow the search results. [typing] I'm going to use the word promo.
Once I see the filter results, I can easily preview them.
I think this one here looks promising, Fast Sports Stomp Promo.
Adding a graphics template to the sequence
To add it, I just drag it from the panel directly into my sequence in the Timeline.
Don't worry if you see a Clip Mismatch Warning.
This just means that the clip or graphic has different settings than your sequence, like resolution or frame rate.
I'll choose Keep existing settings to stick with what I've already got.
After a few seconds, the template downloads to your computer and you'll be able to customize it.
Customizing template text and media
I want to check out the elements of this graphic.
I'll select the clip in the Timeline and then switch back to the Properties panel.
Here I can see all of the properties that I can change.
Because these templates are designed by different approved users, some templates may allow more customization than others, and template designers may not group things the same way or give them the same names.
For my purposes here, I'm interested in the Media Group Controls.
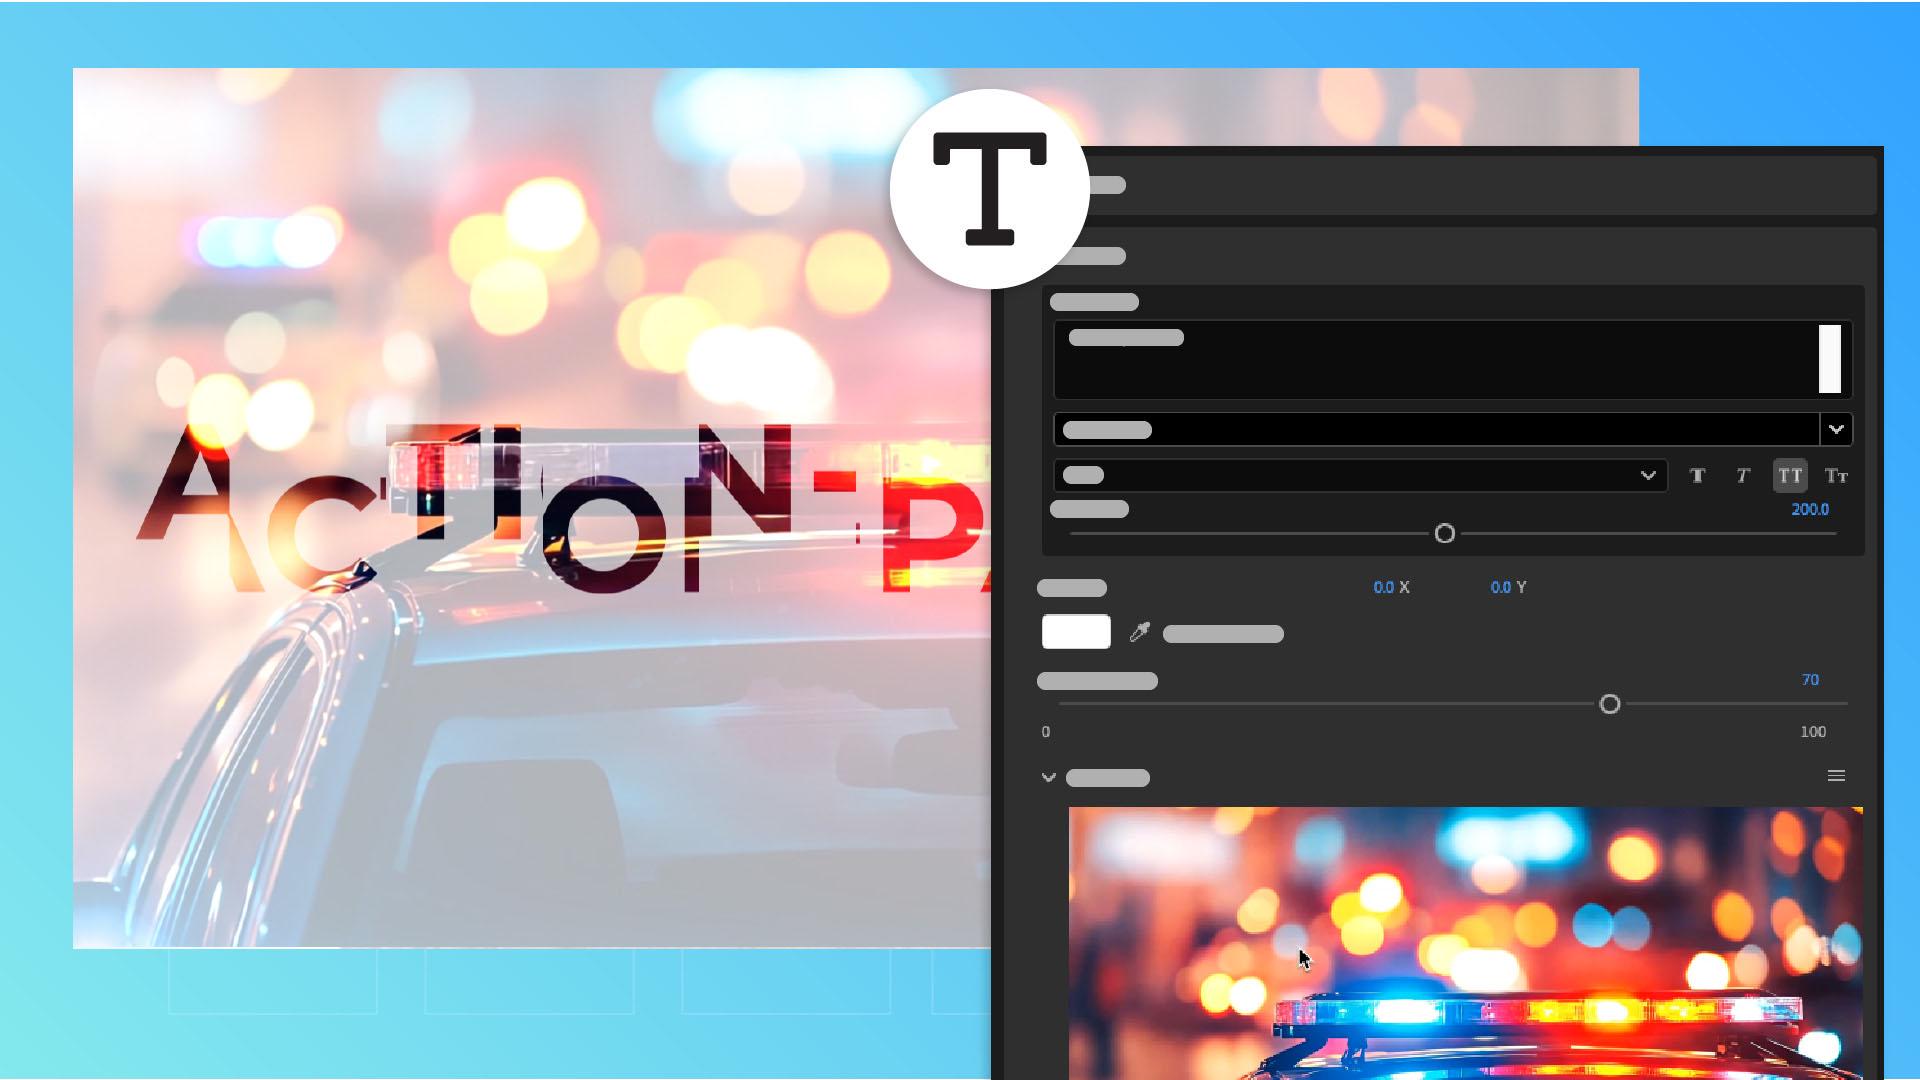
This is where I'll drop my media into the placeholders and type the text I want to animate over my footage.
First I open Group 1 and enter my text, hard-hitting.
Then I open the Media area and drag my clip into it.
To save time, I'll speed through how I updated the other groups.
As you can see, I put a different word and Adobe Stock clip into each group. [silent clip playing] And at the end I added the logo and tagline. [typing]
Rendering and reviewing template playback
To play this back, I'll first render the sequence.
I go to the Sequence menu and choose Render in to Out.
And when it's through rendering, it'll play the sequence. [silent clip playing] Hey, that's not bad.
I like the animation effects added to the words and video clips.
However, I see a few things that need to be fixed.
Fixing timing, scale, and layout issues
For example, look at this section.
The text goes outside the frame, so I need to scale it down.
That's a pretty easy fix.
I just go here in Group 5 in this case, and drag the Font Size slider left to reduce the size.
This section also has a problem.
When we play this part, the text goes away revealing the clip, but the jump shot already happened, so this is Group 6.
So, I'm going to go to Group 6, and in the Edit Media section in the menu we can open this section in its own Timeline.
What we have to do is drag this clip forward in the Timeline, so that at this moment when this shot is revealed in the template, we see the jump shot.
Now we go back to the main sequence, and now when I re-render and playback, it looks a lot better. [silent clip playing] What's next?
The News logo is too big for the space, so I'll open the controls for the logo and size it down.
Let's try 20%.
Now that I've sized it down, the tagline looks too low on the screen, so I'll have to inch it up slightly.
Let's play it back and see how it looks. [silent clip playing] Wow, that's great.
I'm sold and I hope the new station will like the concept.
So that's the basics of graphics templates.