For this tutorial, I'm using the Mixed Footage.prproj file.
You can find that project file with the media associated with the tutorial.
Just double click on it to open it in Premiere Pro CC.
This project already has some media imported.
I've got some video clips and a few photos.
And in fact, these video clips are in multiple formats.
I'm going to double click on the panel name for the Project panel, so we can see these headings a bit more clearly.
I'm in the List View, you can see at the bottom left of the panel.
In this view, I've got access to quite a lot of additional information about these clips.
And what I'm particularly interested in is right here: The Video Info heading.
We can see that our photos are pretty high resolution.
They also don't really match any standard video resolution and if we look at our video clips, we can see we've got some that are regular HD, - that's 1920 x 1080 - and we've got some that are UHD or Ultra High Definition - that's 3840 x 2160.
I want to make a distinction here between UHD which is exactly double the height and width of regular HD and 4K which is 4096 x 2160 pixels.
It's a little bit wider.
When you add clips to a sequence, those clips are automatically adjusted for playback to match the sequence settings.
And this process is called conforming.
The sequence settings are the same as any media file.
If I go into the New Item menu here and choose Sequence and look at the Settings, you can see I've got things like a Frame Size and a Pixel Aspect Ratio and so on.
I'll just Cancel that for a second.
Normally, you would aim to match your sequence settings to your media and this minimizes conversion and maximizes quality, but when you're working with mixed footage as I am here, you're going to have to make a choice about which content you want to match your sequence and which you're going to adjust.
All other footage is going to be conformed automatically.
I'm going to take one of these HD clips and I'm going to drag it all the way down here to the New Item menu and that's a shortcut to create a sequence based on that clip.
And here you can see, we've got the sequence in our Project panel with the matching name.
I'm going to rename this Master Sequence, and I'll just pull it out of the bin there, so it's separate.
Let's collapse this bin as well.
And there you can see our sequence.
This is a great workflow, but I've now specified that my sequence should have settings that match that clip rather than any other clip, so I better hope that those are the right settings.
I'm going to go to the Sequence menu and choose Sequence Settings...
Let's take a look at what we've got.
Well, this was an HD clip, 1920 x 1080.
You can see the Timebase is 23.976 frames/second, that's an NTSC drop frame version of 24 frames per second.
And everything else looks pretty standard: Square Pixels (1.0) and No Fields because this is progressive media.
You can change any setting you like in the Sequence Settings, at least in terms of the visuals.
One thing you can't change is the audio mastering, that's the audio output options and that's because the sequence will give you options for audio that match your output type.
You'll get pan parts for example if you're outputting to stereo.
Now, let's take a look back inside this Project panel.
I'm going to just expand the Video bin, so we can see its contents.
If I scroll over a little, very helpfully we keep seeing the name and there we go, I can see my Video Info.
It looks to me like we have three clips that are UHD and four that are HD.
If I scroll back over just a little bit, we can see that the Frame Rates do differ as well.
Or do they?
As I mentioned just now, 23.976 is an NTSC drop frame version of 24 frames per second media and in fact, it doesn't have any impact on playback until you get to the point of broadcasting and that's really over terrestrial TV network.
In fact, when you're playing back media, whether it's drop frame or not in pretty much any other circumstance, it's actually going to be the full frame rate.
That means that this 23.976 media is actually going to play back at 24.
So, in that respect, we don't have to worry about frame rate conversions and that's the type of conversion, or conforming in this case, that's likely to produce the biggest impact on picture quality.
So, nothing to worry about there.
If they did have differing frame rates, then I would suggest choosing a frame rate that more closely matches the majority of your clips.
Or there are some cases where you'd want to have them match your delivery standard, but that's a whole other conversation.
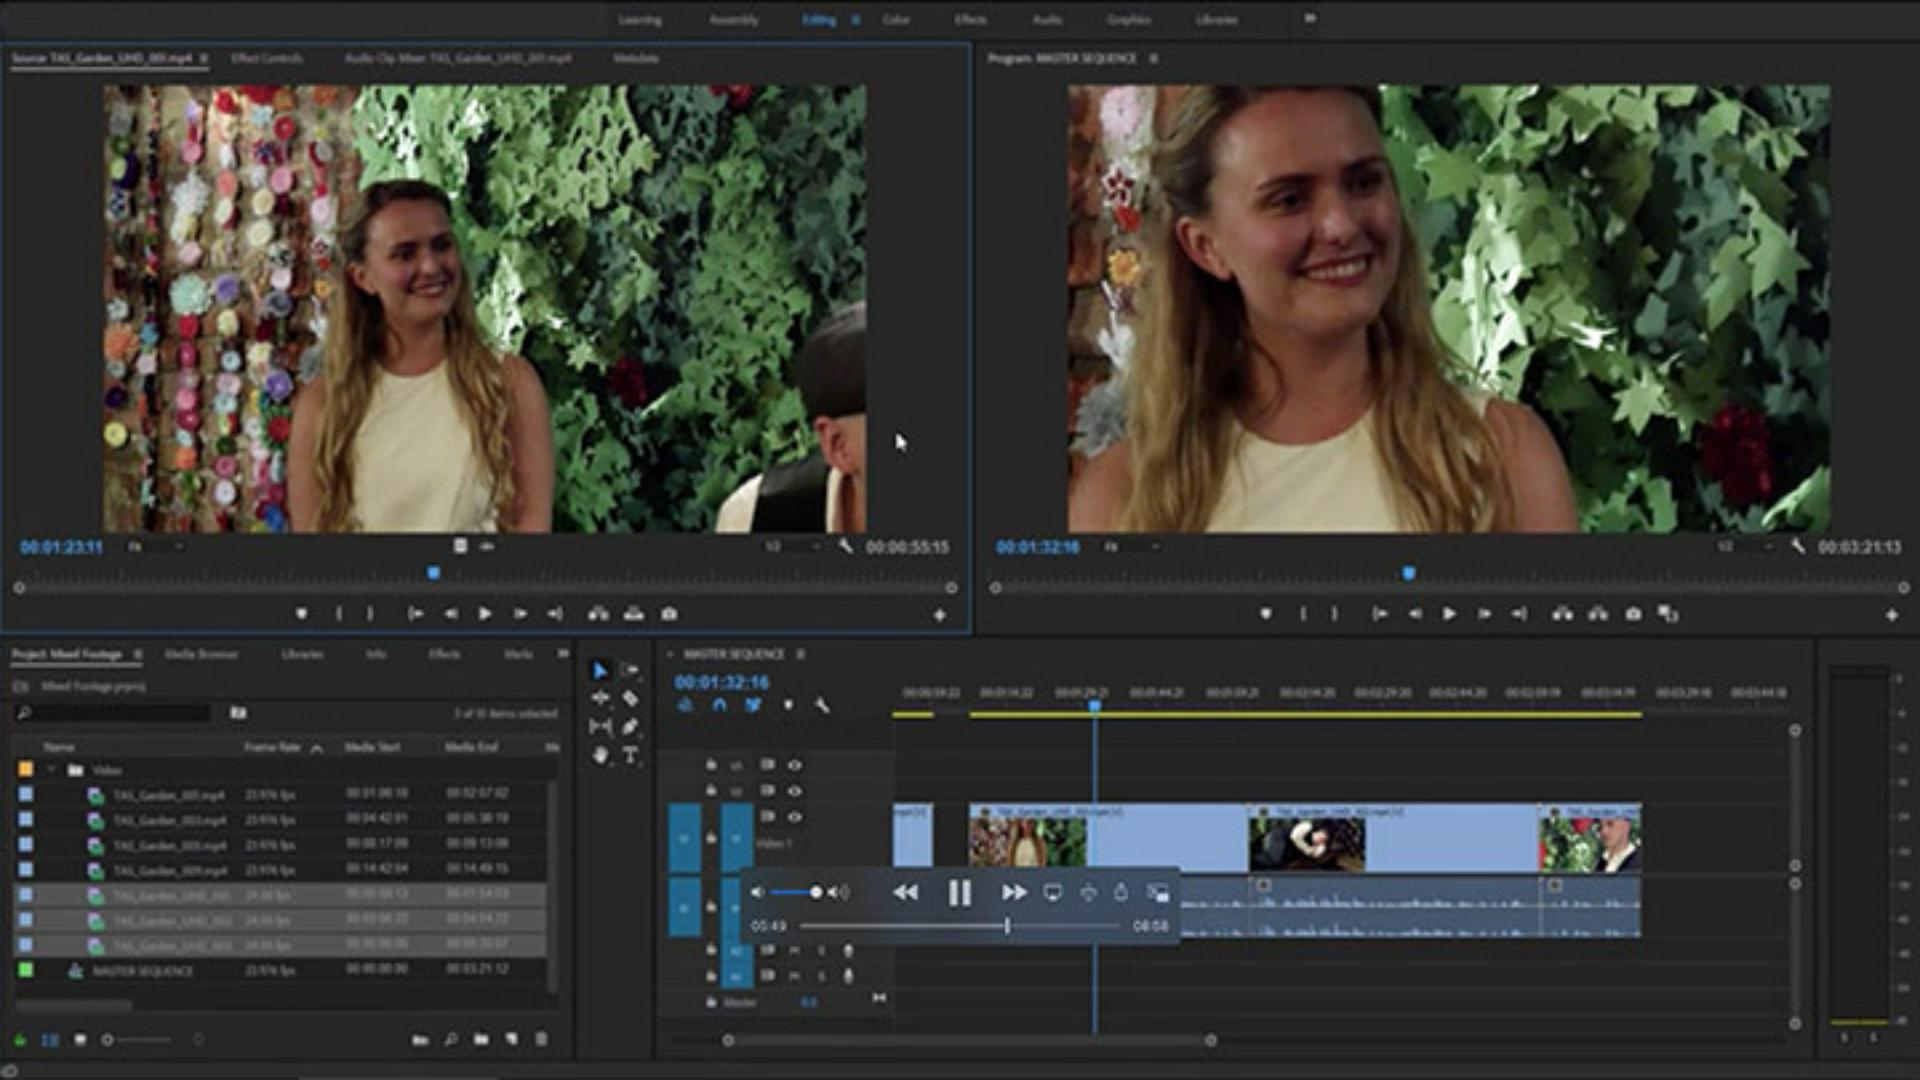
Now I'm going to take these three UHD clips and I'm holding the Shift key down there to create a list selection and I'm going to drag these into my sequence.
I'll just put a little gap in there and I'll resize the track a little, so we can see our thumbnails and our audio, not that we're so concerned about our audio right now.
And right away, we're going to discover we have a problem.
I'm going to click to move my playhead over and we can see that because this is an HD Timeline, but the footage is UHD, we're getting a kind of cookie cutter effect.
We're losing the edges of the image.
Just to illustrate this, I'm going press F for Frame.
This is the keyboard shortcut for match frame.
It's going to open the original master clip in the Source monitor.
And you can see just how much of this image we're losing.
So, I'm going to want to scale these clips down.
And I can do that by right clicking on the Timeline and I can choose either Scale to Frame Size or Set to Frame Size.
Now, Scale the Frame Size, we'll re-rasterize the image at the new image resolution and that's good because it speeds up rendering for effects, but it's bad because if you want a pan and scan around inside the image, you're actually zooming into the newly rasterized lower image resolution.
The other option Set to Frame Size really just changes the scale parameter in the Effect Controls panel.
Now, the upside with that is that you get all of the original resolution of your media.
The downside is that it's going to be more work to render effects.
I'm going to choose that option, and if we go to our Effect Controls panel, and I expand the Motion category, you can see that our scale setting is changed to 50.0 %, and that makes a lot of sense because UHD is twice the resolution horizontally and vertically, relative to HD.
We can actually apply this change to other clips as a group all in one step.
So, I'm going to make a marquee selection to choose both of these clips I'm going to right click and choose Set to Frame Size and both clips have been resized.
There's also a user preference to apply this Set to Frame Size or Scale to Frame Size option as clips are imported.
Let me just collapse this Video bin and I'm going to go to Edit and Preferences, - this would be the Adobe Premiere Pro CC application menu on Mac OS - and I'm going to go to Media...
In the Media Preferences, I have a Default Media Scaling option.
I'm going to choose Set to Frame Size and click OK.
Now, I'm going to look in my Photos bin and I'll just drag one of these photos into my sequence, so we can see the result.
Well, we've got a bit of an issue because although we now have the full image displayed inside the HD frame, because the image doesn't match the aspect ratio of our HD sequence, we're getting what is sometimes called pillar boxes, that's these black bars on the right and left of the image.
If the image was wider than HD, we would get classic letterboxing which would be black lines at the top and bottom.
Of course, we can fix this pretty easily by selecting the photo.
And here's our Scale setting.
We can scale this back up, I'm just clicking and dragging, and if I want to reposition the image, I can click on the Motion heading in the Effect Controls panel and now the clip is selected so I can re-frame it and choose another composition.
If you intend to work with still images often and you don't intend to pan and scan around them with keyframes, it might be worth pre-preparing them, so they have the same aspect ratio as your sequence.
This will save time during the edit and it'll also have less of an impact on the memory on your system which might make the whole thing snappier.
So that's working with mixed footage in Adobe Premiere Pro CC.


