For this tutorial, I'm using the Adjust_The_Anchor_Point.prproj file.
You can find that project file with the media associated with this tutorial.
Just double click on the project file to open it in Premiere Pro CC.
I'm also in the Effects workspace.
And you can choose and reset that workspace in the workspaces panel.
We have a sequence here with a simple background video and a square foreground graphic.
And the whole thing plays for about 20 seconds.
There's not much going on.
I'll just play a little.
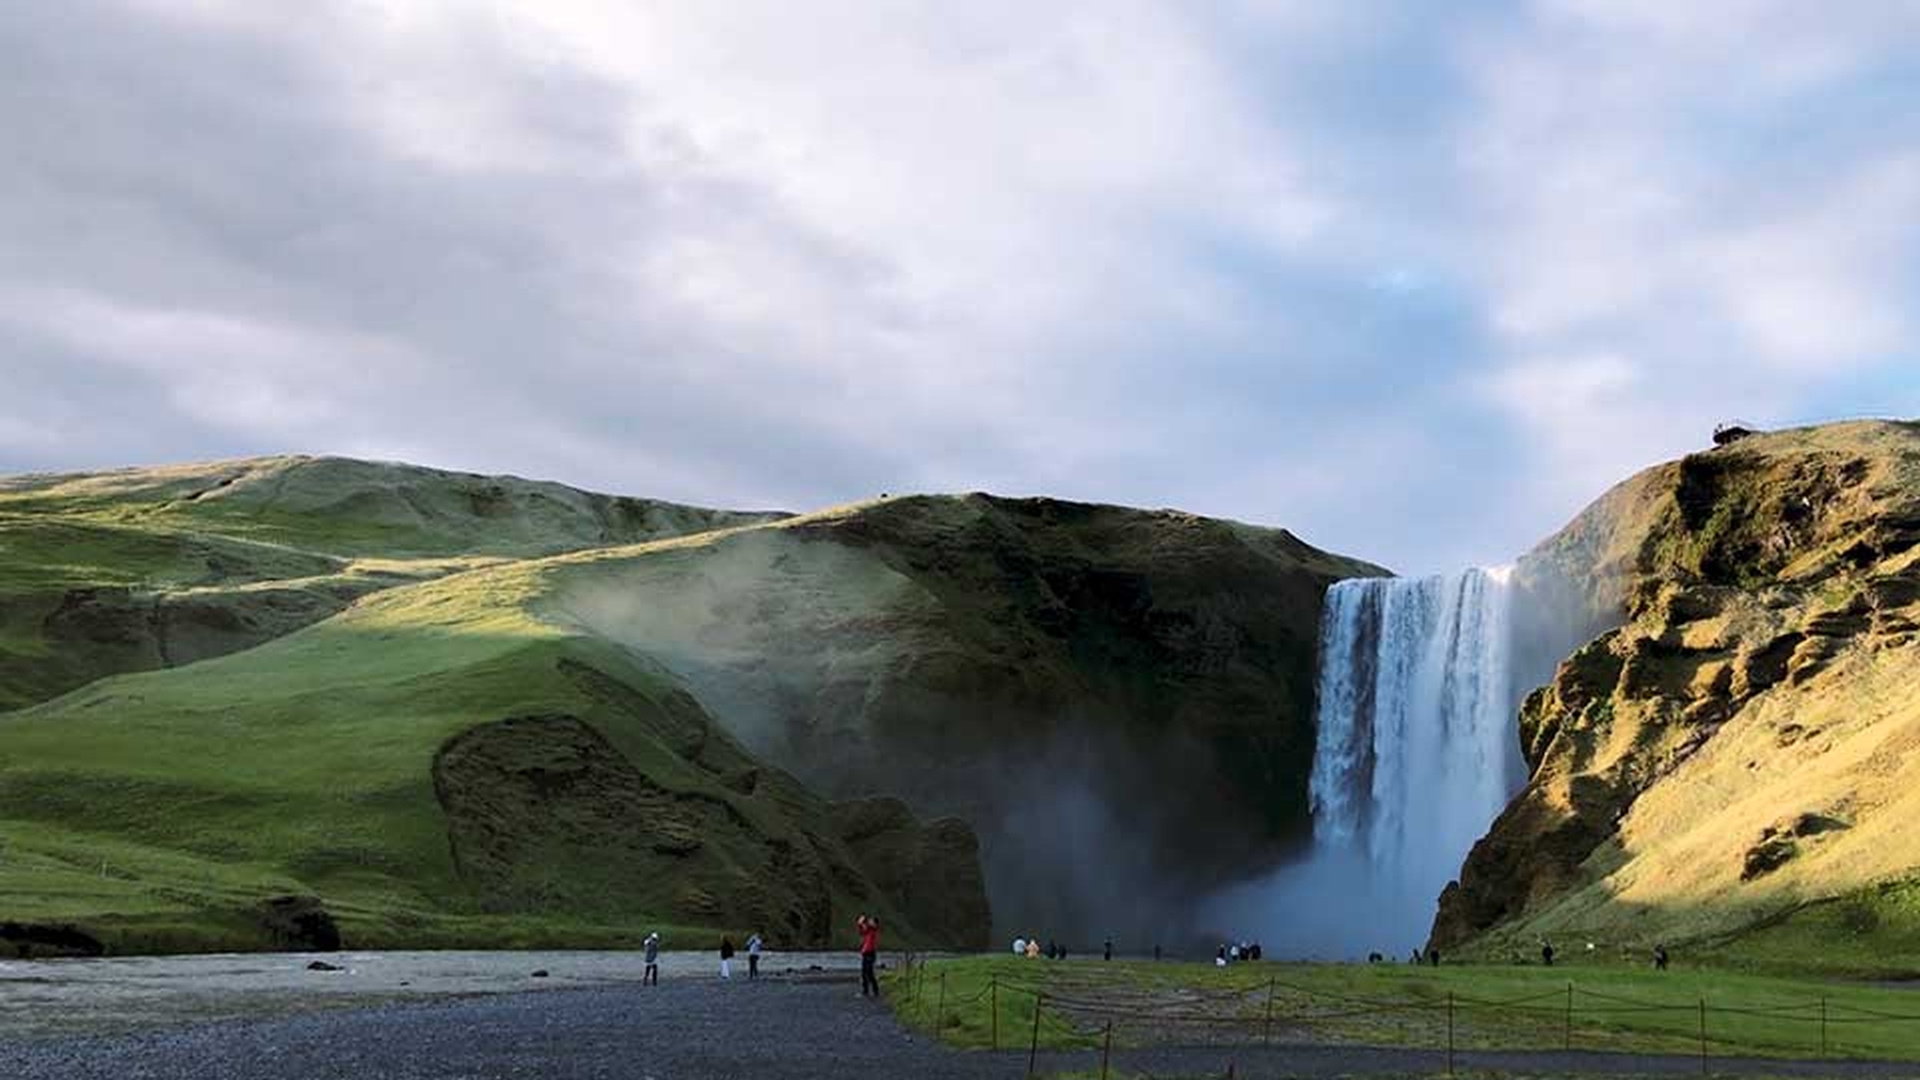
And you can see we've got the waterfall playing in the background, and this graphic in the foreground.
This is a beautiful part of Iceland.
I'm going to choose this graphic layer which I've already trimmed out to match the duration of the video.
So, we can see the settings in the Effect Controls panel.
If the Motion heading's not expanded on your system already then just click the disclosure triangle to see those options.
Before I make any changes here, I'm going to select the Motion heading in the Effect Controls panel.
And this is going to allow me to do direct manipulation inside the Program monitor.
You see I've got these control points that I can click and drag on.
And also, right at the center - it's very hard to see on this graphic - I have my anchor point.
Now when you look at the Position controls, for example, in the Effect Controls panel.
They may not make a lot of sense on first inspection.
Why would the Position for this graphic be 960.0 and 540.0?
This is the X axis horizontally and this is the Y axis vertically.
Well the answer is that the position is actually the position of the anchor point.
I'm going to zoom in.
Let's set this to 100% on the screen, so that perhaps you can just about make out the anchor point right here.
In fact, let me go a little bit larger, and you can see it even more clearly.
It's a little circle with a cross in the middle.
And I wanted to show you with this particular graphic because it can sometimes be difficult to even see the anchor point.
But, it's very easy to move it.
If I click here and drag, you'll notice - let me move it up here, so you can see it more clearly - this is changing the position values again X and Y, horizontal and vertical, but not moving the image itself.
What I've done by clicking on the anchor point is moved it in relation to the graphic.
I'll just undo with Control Z or Command Z, and undo again.
Now the anchor point is also used for rotation.
I'm going to zoom back out to Fit.
And in fact, let's make this a little bit larger on screen, so you can see a little more clearly.
If I expand the Rotation settings in the Effect Controls panel and just click and start to rotate, obviously, the graphic is rotating on that center point.
But it's only the center at the moment.
I'll just reset that.
And I'm going to click on that - very hard to see - anchor point and move it somewhere else in the image; let's move it up here.
And now when I click the Rotation setting, you can see clearly that this graphic is rotating on that new anchor point.
Again, I'll just reset the Rotation.
You'll notice that both the Position and the Anchor Point settings are changing.
So, see as I drag this around.
And that's in order to allow us to keep the graphic exactly where it is but change the position of the anchor point.
The Position settings are changing to compensate for the repositioning of the anchor point.
I'm just going to reset all of the Motion settings here again.
So, what are these numbers?
Well, the Position controls are the position relative to the sequence frame.
This is a 1920 x 1080 HD sequence.
And half of those numbers is 960.0 x 540.0.
So, this is the exact center of our frame, but the Anchor Point numbers are relative to the size of the layer.
That is the graphic that we're adjusting.
This graphic happens to be 500 x 500 pixels.
So, halfway across and halfway down that is 250 pixels.
So, now I can click and drag or scrub across the Horizontal Position controls.
Or I can click and scrub across on the Anchor Point control.
But you'll notice, well you'll notice perhaps more easily if you do this yourself, that you're dragging the opposite direction to move the item horizontally.
That's because when you adjust the position to create a bigger number, you're moving the anchor point across the screen.
But, when you move the anchor point, you're changing it in its relationship with the item.
So, a bigger number actually moves it further over to the right which means the item itself moves further to the left.
This is one of those things that's a little bit easier to understand by clicking and dragging yourself and seeing the result.
Again, I'm going to reset the entire Motion effect, so that we've got our original Position and Anchor Point controls.
Now just as you can animate clip volume and opacity using keyframes, you can actually animate any setting with a Stopwatch icon in the Effect Controls panel.
And that includes the Position and Anchor Point controls.
I want to animate the position of this graphic.
And in fact, I want it to start at 90°, and have it rotate on a corner into position.
And to do this, I'm going to reposition the anchor point on one corner of the graphic.
We could do this using the controls in the Effect Controls panel.
And sometimes this is the only way to get precisely the effect you need because you can click and type in exactly the numbers that you want.
But there's a quicker way to achieve the correct positioning right in the Program monitor.
I'm going to set the playhead in the sequence where I want the animation to have finished.
And just for the purposes of this tutorial, I'll set it to around about 00:00:08:00 - something like that.
Now I'm going to enable animation for Rotation, and you'll notice when I do that, a key frame is added automatically at this point on the clip.
Remember we've got the graphic selected, not the video background.
Anytime you enable keyframing in this way, a keyframe is added at that moment with the current settings.
Now just so you can see this a little more clearly, I'll go back to 100% zoom.
And I'm going to select the Motion heading in the Effect Controls panel, so I can get access to the anchor point.
And I'm going to click and drag it down to the bottom left corner.
And as I do, I'm going to hold the Control key here on Windows.
This would be Command on Mac OS.
I haven't released anything yet; I've still got the mouse button held down, and the Control key or Command key.
And you'll notice that as I move the cursor to different areas of the layer of this graphic, the anchor point is snapping into these control points.
And I want the bottom left corner control point.
Now I'm going to release the mouse button, and then I'm going to release the Control key.
Of course, the Position settings have been updated automatically.
Now I'm going to move my playhead to about halfway up to that point, a few seconds earlier in the sequence.
And I'm going to adjust the Rotation.
I'm going to drag here back, back, back.
And in fact, I want this to be exactly -90.0°.
So, I'm going to click on this number; I'm going to type in a hyphen which is the minus key as well, and 90, and press Enter.
I'll just zoom back out to fit, and we can see the result.
Because we've got animation turned on for Rotation, you can see we've got a second keyframe as well.
The location of this first keyframe is where I want another piece of motion to end.
So, I'm going to enable Position keyframes.
And so now we've got a turning point for this graphic.
And I'll just scrub through, so you can see the result of the animation.
Because we've got our anchor point in the corner, we're rotating on that corner.
Let's play that back.
It's slow, but it works.
Now I'm going to take the playhead to the beginning of the clip.
I can do this up in the Timeline in the Effect Controls panel, or in the Timeline panel.
And because I've got animation turned on for Position, I can just take the Horizontal Axis control here, and drag left, and drag left, and drag left until this graphic is off screen.
You can try this yourself if you hold down the Shift key while you drag on these numbers, they change much, much faster.
Now let's just scrub through and see the result.
The graphic comes on and falls into position.
Perfect.
There are countless ways to combine position, rotation, and scale keyframes for that matter to produce results that are more interesting than simply fading a graphic on screen.
But the principles are absolutely universal.
As long as you understand the relationship between the Position settings and the Anchor Point settings, you're free to experiment.


