Welcome back.
I'm Hallease, filmmaker, storyteller, and you're you.
Let's start the fine-tuning process together.
While you're reviewing your video, you may decide that a clip isn't quite right for your story.
Removing a clip at the end of your sequence is straightforward.
You just need to select the clip and press the Delete key.
But let's say we want to remove this latte_art.mp4 clip.
Watch what happens.
It's removed from the Timeline, but now there's a gap where the clip was.
Which is not what we want because then there would be a gap in our final video.
We could go through and shift all the clips forward, but there are much easier ways to go about this.
One way is to select the gap by clicking on it, just once, and then pressing the Delete key.
This will remove the space and bring all the clips together.
That's one way to go about it, essentially in two steps.
But you can also accomplish this with just one step.
First, let me undo everything we just did by hitting Command or Control Z on a PC to bring back our latte_art.mp4 clip.
Now I'll delete it again, but this time I'm going to hold Option on a Mac or Alt on a PC, and press Delete.
The clip is removed and all the clips that follow ripple forward in the Timeline at the same time.
We're working smarter, not harder, over here.
What if we just want to remove part of the clip?
I can cut or trim the unwanted parts.
First, let's zoom into the Timeline so we have a more detailed view.
To do this, I'll grab one of the handles at the end of the Scroll bar and drag it inward.
As you drag the Program monitor shows a preview of the particular frame you're setting as the new end of the clip.
If the clip I want to trim is at the end of my sequence, I just need to drag the end of the clip to the left and make it shorter.
But what about clips in the middle of your sequence?
If I shorten the clip in the middle, watch what happens.
We've left a gap again, just as we did when we removed the clip by selecting and deleting it.
Now sometimes this will be exactly what you want.
Other times you'll want to close the gap automatically.
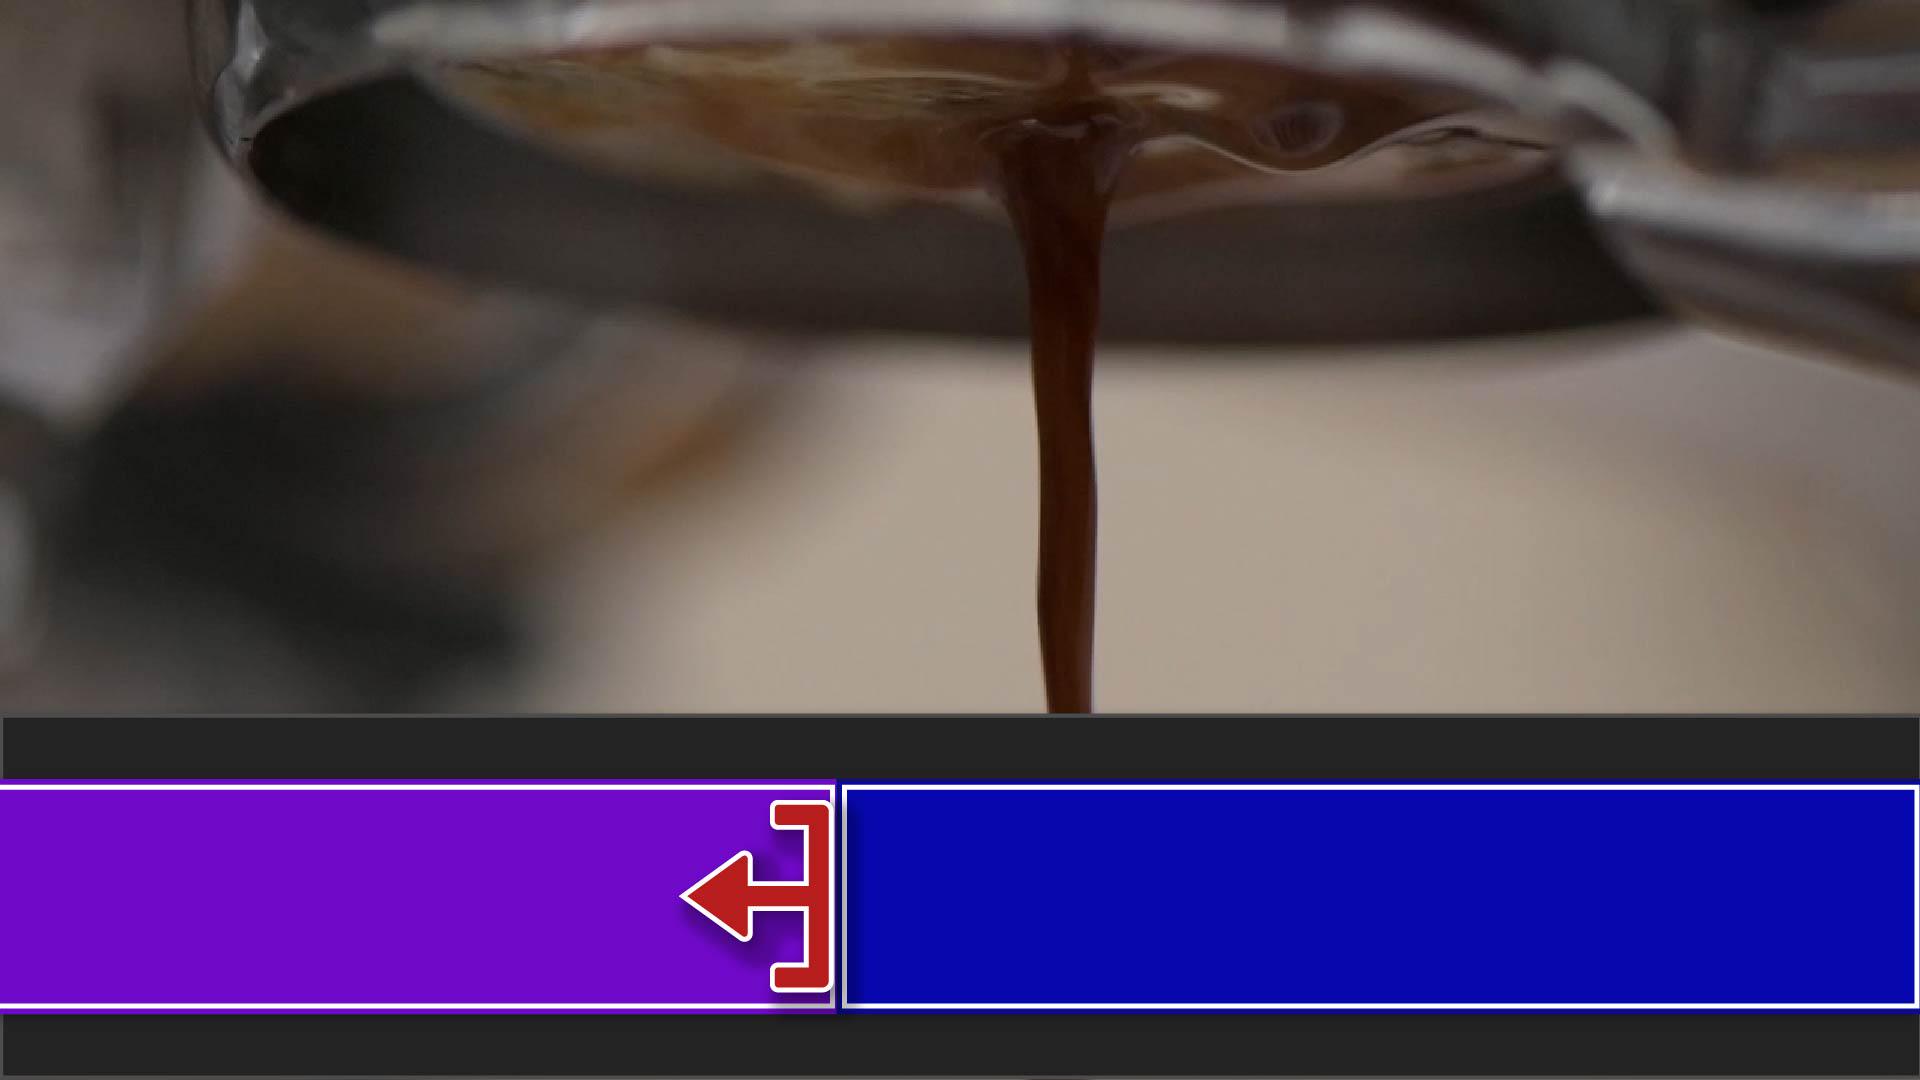
If you hold the Command key on Mac or Ctrl key on PC, the red arrow will turn yellow.
Now when I trim the clip, everything moves or ripples along the Timeline to close the gap.
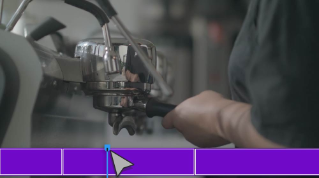
In a previous video, we added this espresso dripping clip using in and out points.
Since I'm only using a portion of the original clip, I can always extend it out by hovering over the beginning or ending and dragging it outward until it's just right.
But if you see this small white triangle at either end of the clip segment, that signifies you're already using the first or last frame of the original material.
Let's recap.
You can remove a clip by pressing Delete.
If you want to automatically close a gap when you remove a clip from the middle of your sequence, hold the Alt or Option keys to ripple all the clips forward.
To trim unwanted frames from the beginning or the end of the clip, drag inward and hold Alt or Option to close any resulting gaps.
You can extend the length of a clip by dragging outward, unless you see a small white triangle indicating you've used all of the original footage.
In the next video, we're going to cover transitions.
I'll see you over there.