In Premiere Pro CC, when you're working with 360 equirectangular footage, you can use the VR Projection effect to easily work with footage of different sizes or formats.
Let's take a look at a few quick examples.
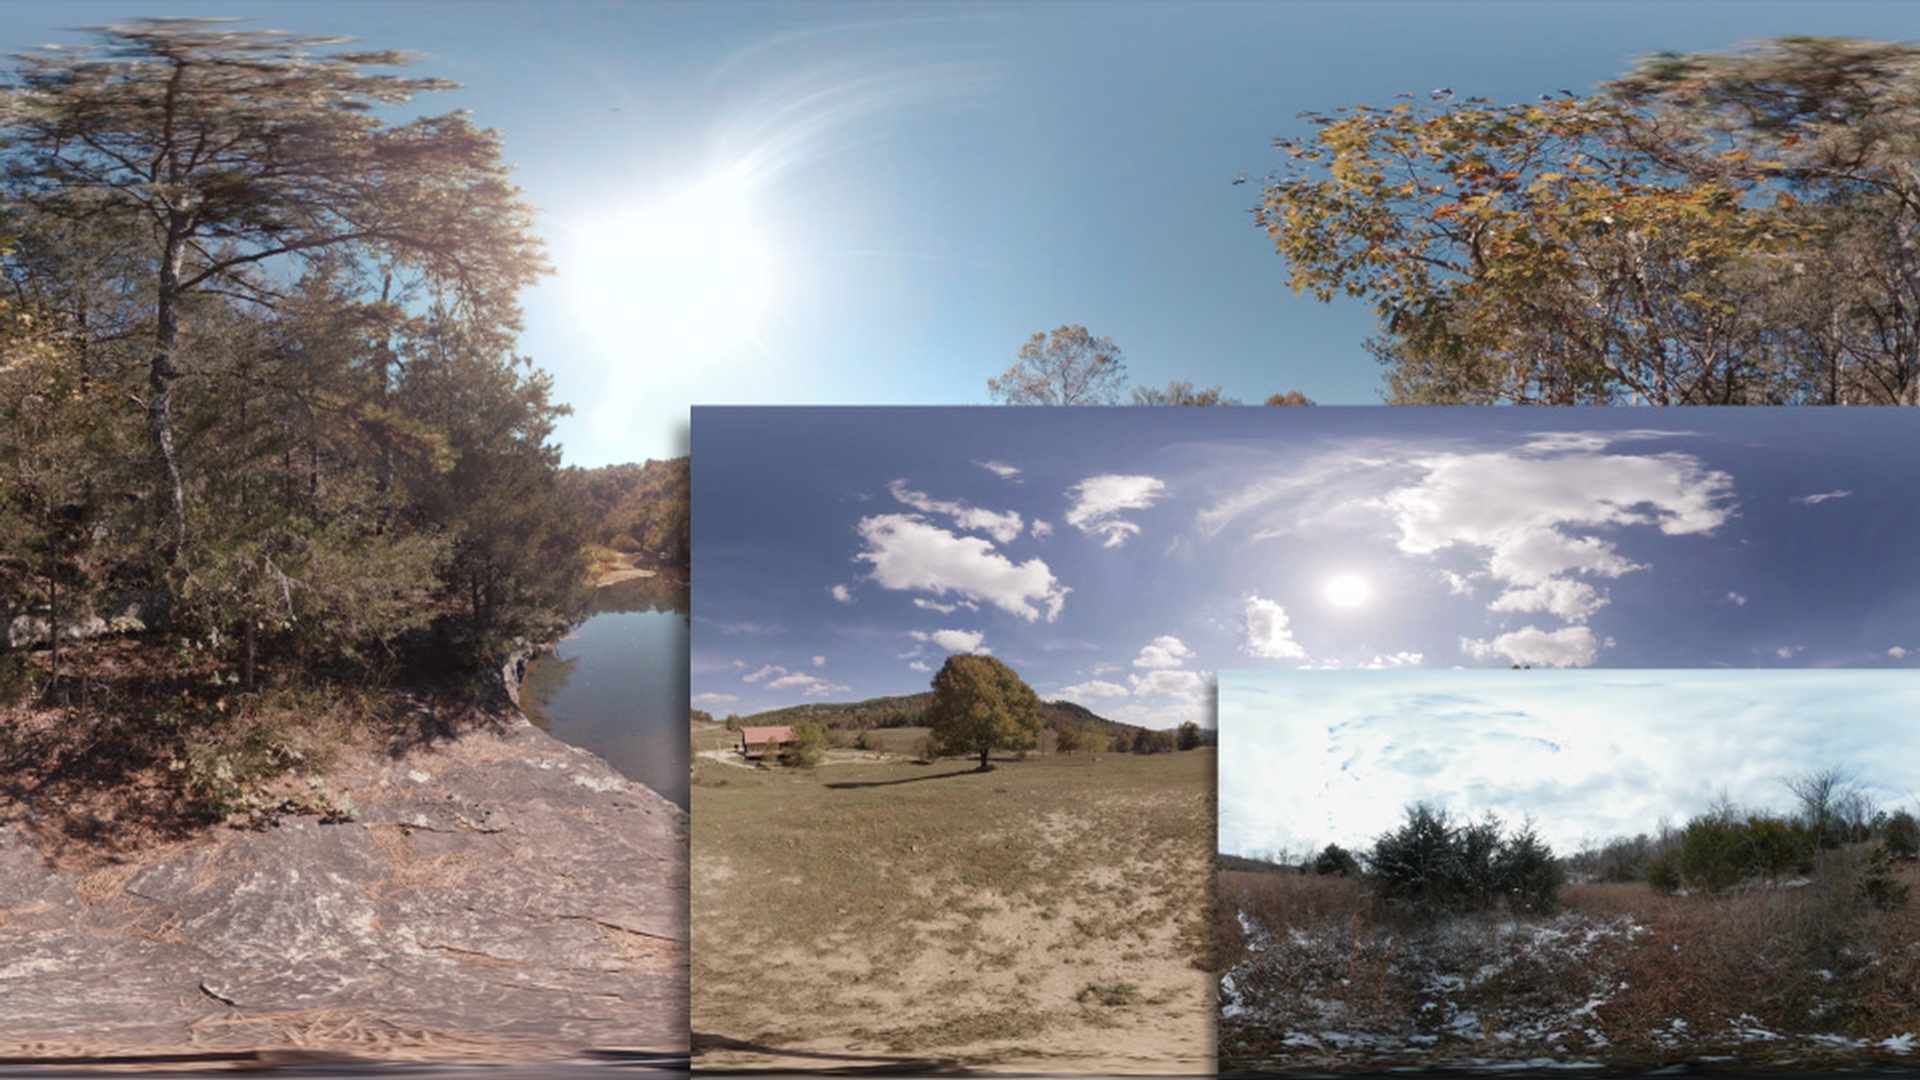
What I have here is a 360 clip, and this clip is sized 4096 x 2048.
So, it's a 4K clip.
And I'm going to drag in another clip I've got which is a little bit smaller.
I'm just going to place this right after that first clip.
If we scroll through this you'll see our current clip fills up the entire frame and then if we scroll through to the second clip, we're going to notice this clip doesn't quite fill up the entire frame, so it's slightly smaller.
Now, what's going to happen if we actually view this in VR?
Let's go ahead, I'm going to click over here.
I'm going to toggle the VR Video Display.
And now we're looking at this in 360, so I can actually click around and look at this scene and we can see that this scene is completely seamless.
So, let's go over to our next clip.
And now, if we look at that, because it doesn't fill up the entire frame we have this large black line on the back side of the video and a little bit of air happening here at the top and bottom pole areas.
So, I'm going to go ahead and toggle out of the VR Video Display.
Now, you might be tempted to come over here to this scale for that second clip and try to scale that up to fit perfectly and that can also be quite difficult to get exact.
And you still may end up with a seam line, so a much faster solution is going to be using the VR Projection effect.
So, let's come here to the Effects panel and under the Video Effects, I'm going to scroll down here to Immersive Video.
And then you're going to see VR Projection.
So, I'm going to select that effect and apply it to my second clip.
And immediately, you're going to see that that clip has now been resized to fill up the entire frame of our sequence.
And this is also seamless, so let's go back over here and toggle the VR Video Display once more.
And now if we go ahead and look over at the back side, we'll see we don't have any seam lines and you'll see the that top, and the bottom pole areas look correct now.
I'm going to go ahead and exit out of the Toggle VR Video Display.
So, if we navigate to the Effect Controls for VR Projection for that clip we applied it to, you'll see the first option here is Stretched To Fill Frame and that's automatically checked.
That's why I'm going ahead and resize our clip to fit in our sequence size.
Our next option is the Input Layout which is Monoscopic, and that's what type of clip this is.
And we have an option for the Output Layout where we can select from Monoscopic, Stereoscopic - Over/Under or Stereoscopic - Side by Side.
And we have that same option under Input Layout as well for each of those three.
Finally, we have a few other options which is Pan, Tilt and Roll.
If we need to make some adjustments on our clip at this point, I'm going to go ahead and reset that.
Now, let's go ahead and add a Stereoscopic clip to our Timeline.
And I'm going to drag in my Stereoscopic clip, and now we scroll over here and look at this.
We'll see now we have a stereo sized clip.
And this clip is actually larger than our sequence, so we can't really see the entire clip.
But again, if we go ahead and select VR Projection over here in the Effects panel, I'll just drag that on the Stereoscopic clip.
It's automatically going to resize it, but we can still see it's currently outputting it as stereo.
So, we can go ahead and correct that.
So, if I come over here to the Input Layout, I'm going to select it, it's actually Stereoscopic - Over/Under.
And then for the Output, it's currently at Monoscopic, so now we can only see one of those views and that's what we want, that way it's seamlessly with our current video.
Again, if we go over here and toggle the VR Video Display, we can now look around this 360 shot, even though it is Stereoscopic.
We're only seeing one view.
So, this is seamless and works correct now for our current sequence.
I'm going to go ahead and toggle that back off.
This also works with images.
So, I'm going to drag in a large 8K equirectangular image and place that in my sequence as well.
And again, I'm going to scroll over here, click on top of that and you can see we don't see the entire 360 view.
So again, I'm going to apply VR Projection to that image.
Now, let's go ahead and resize that 8K resolution image to now fit within our 4K equirectangular sequence.
Finally, you can also convert Monoscopic videos into Stereoscopic if you're working with a Stereoscopic sequence.
So, I'm just going to come here and I'm going to select my Stereoscopic clip, I'm going to add that to a new sequence, just so we can see this in practice.
And you can see this is a 1:1 Over/Under Stereoscopic clip.
So, I'm going to drag in a Monoscopic clip that I have, I'm going to select that same Farm Field clip that I was working with.
I just add that into the sequence.
And if we scroll over here and look at this, we're going to see it doesn't fill the entire 1:1 size of the sequence we're working with.
So again, I'm going to select VR Projection, I'm just going to drag and apply that to my clip.
And you can see it automatically resize it, it stretches to fit this 1:1 size comp.
But we want the output to actually be Stereoscopic.
So, we come over here to Input Layout.
We want that to be on Monoscopic.
And for the output, I'm going to select Stereoscopic - Over/Under.
And now we can see it's outputting that clip in stereo.
Now, it's important to note this clip actually will not be true stereo, however it will allow us to use this clip now in a stereo sequence.
The reason it won't be true stereo is because there's no parallax difference between this top clip and this bottom clip.
But again, it allows us to use it in a stereo timeline.


