Manage scans
Adobe Scan provides several options to help you find, view, and manage your scans.
View recent files or All scans
The Adobe Scan home screen displays a list of your Recent scans. To switch between your Recent scans list and All scans list:
Tap

Tap View Recent scans or View All scans.
Sort by name or date
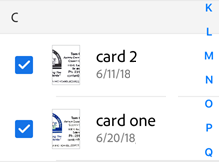
When in the All scans view, you can sort your files by file name or by scan date. A check shows you the current sort method.
Tap All scans to see all your files.
Tap
Tap Sort by Name or Sort by Date.

Search files and content
From the home screen, you can search for files by filename or content. To search for a file:
Tap

Enter text in the search field.
Tap Search.
Tap on a search result to preview the file.

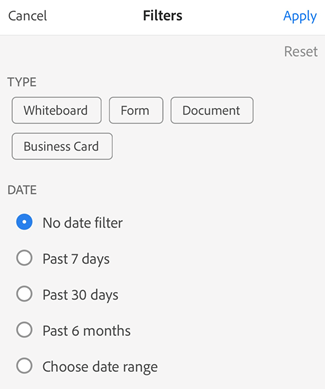
You can also filter your search results by tapping the  . Select a document type and/or a date range and tap Apply.
Search within a file
When you have a file open, you can search for file text in any saved scan.
Keep in mind scans start out as images. Since optical scan recognition (OCR) converts your scan to text, the initial quality of your scan may affect your ability to search for and find text.
Tap
Enter text in the search field.
Tap Search.
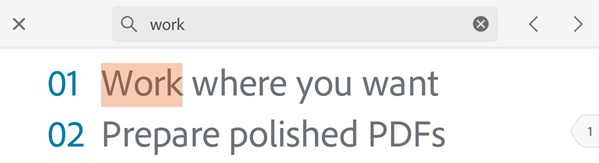
The shows the first found item. Tap the previous and next arrows to navigate through the search results.
Take text actions in preview
For a scan containing text, you can use the text actions button to copy the content, email, or place a call. To perform these actions:
Open a scan in preview.
Tap
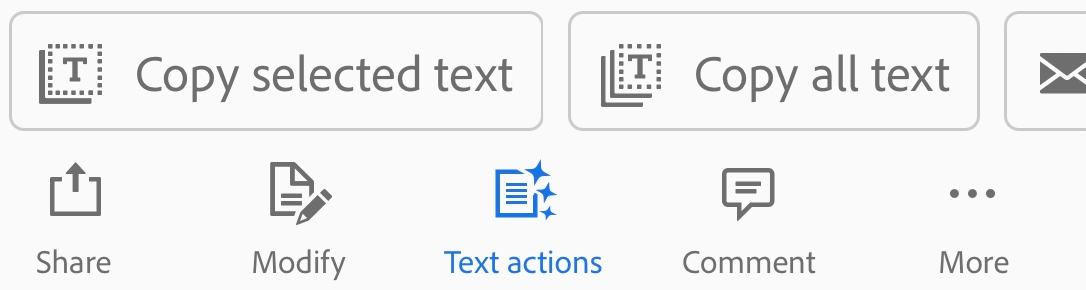
 . It displays a panel with text actions and pre-selects all the text on the displayed page.
Copy the text:
Single-page document: Tap Copy text to copy the selected content.
Multiple-page document: Tap Copy all text to copy text of the entire document, or scroll down to the desired page and tap to select the content.
Tap the email action button to send an email
Tap the call action button to place a call, send a text, or to copy the number.
Tap the web action button to go to the displayed web link or to copy the link.
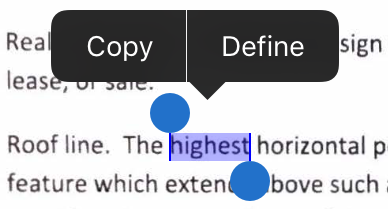
Select and copy text
You can select and copy text from any scan. Simply:
Open a scan.
Long press the text you need to copy.
Drag the handles to select the copy boundaries.
Tap Copy.
Note
Optical character recognition (text recognition) must be enabled for this feature to work.
Access scans from other apps
Any app that supports working with PDF can access the scan app’s PDF list. This allows you to attach, view, and perform other supported actions within those 3rd party apps.
Select multiple files
Scan allows you to select multiple files to move, delete, combine, or share more than one scan.
Tap
> Select Multiple Items.Select the files that you want to apply an action to.
From the top bar, tap the icon for the desired action.
Add business card scans to contacts
If you’ve selected Business Card during the scan or the scan app determines the scan is a business card, you can save the scan details directly to your contacts list. After the text recognition process completes, a Save Contact icon appears on the document card thumbnail. On the preview screen, you may also see a “This looks like a business card…” message.

To add the scan data to your contacts:
Tap

When the New Contact form appears, enter or edit the details. The business card thumbnail appears at the top so you can verify the information.
Tap Save.
Note
If you’ve captured more than one business card in a single scan, you can select which cards to add to your contacts.
Rename a file
To rename an existing file:
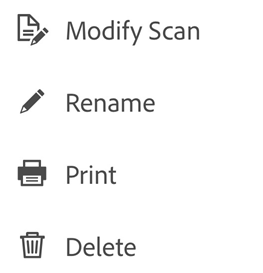
From any file list, tap
next to the file that you want to rename.Tap Rename.
Enter a new name.
Tap Rename.

You can change a scan’s defalut name before saving it as PDF by tapping  .
.
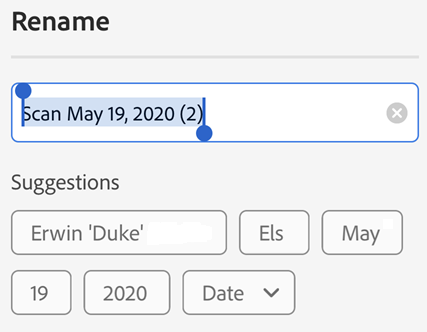
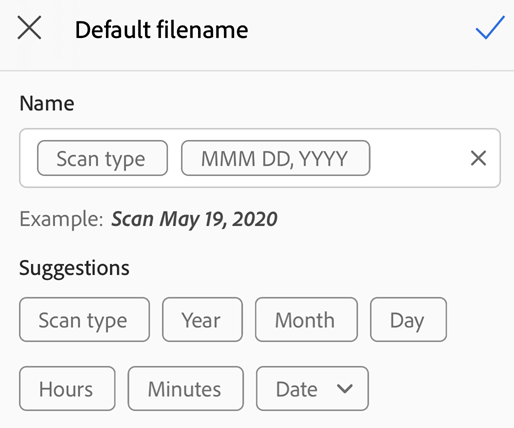
Renaming suggestions: When the app recognizes document text, the rename dialog invoked from the review screen displays suggestions based on the recognized text. These suggestions only appear when OCR occurs on the device. Only date suggestions are available for server-based OCR (for example, with business cards). Note that suggestions do not appear when renaming a file from the Preview, Recent, or All scans views. Tap the suggestions that you want to apply.
Change the default name
While the default scan name is “Scan + Date”, you can change the default name in renaming workflows for documents that recognize text. The new default name applies to all new scans. You can also set the default name from the app’s preferences screen.
To change the default name:
Scan a document with text.
Tap the
In the rename dialog, tap Edit Default Name.
Enter a new default manually, or tap the suggestions.
Tap

Modify existing scans
You can modify scans after they are converted to PDF. The feature allows you to organize, crop, and enhance scans at any time. To use this feature:
Do one of the following:
Open a PDF scan in the preview screen.
For any thumbnail in the file list, tap
Tap

Modify your scan as needed.
Tap Save.
Note that you cannot modify scanned files which have been altered outside of Adobe Scan. For example, if you have opened a scan in Acrobat and have added comments, added attachments, organized pages, and so on, Adobe Scan will not be able to modify that file.
Note
For details about editing scans, see Scan documents.
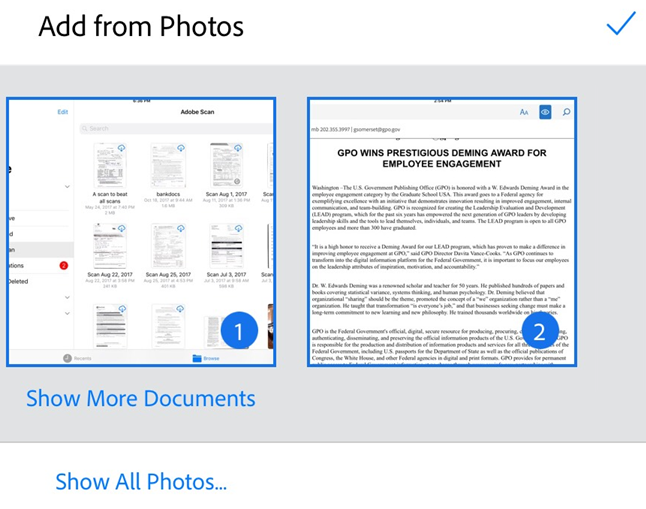
Import photos
Document detection for the add-from-photos feature means the app tries to distinguish documents from selfies, artwork, and other non-document photos. By showing you document-specific images first, it’s easier to find and work with what you actually need. Integration with the device photo library allows you to easily browse your photo library and add images to new or existing scans.
To access this feature:
Tap
 on the capture screen or file browser. While reviewing a current scan, you can also tap
  in the bottom menu and tap Select from Photos. Photos from last month appear by default.
If you don’t see what you need, tap Show More Documents or Show All Photos.
Tap a thumbnail to select one or more files.
Tap the checkmark to finish adding the photo to your scan.
Import gallery photos via Share extension
You can open one or more images from the Photos gallery on your device and modify them using the Scan app. To do so:
Open your Photos folder.
Select one or more images.
Tap

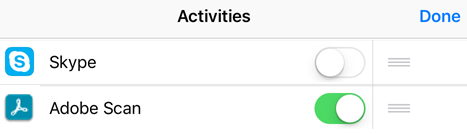
Tap
 . If you don’t see the Adobe Scan icon, tap More, enable Adobe Scan, and tap Done.
Optionally, disable Auto-crop when importing to import the original photos or documents without cropping. By default the app auto-crops the imported photos or documents.
Tap Review in Scan.
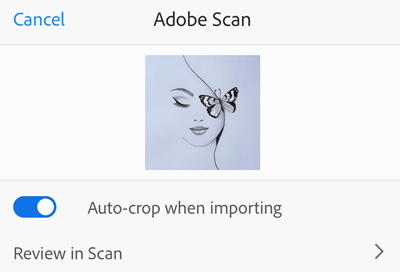
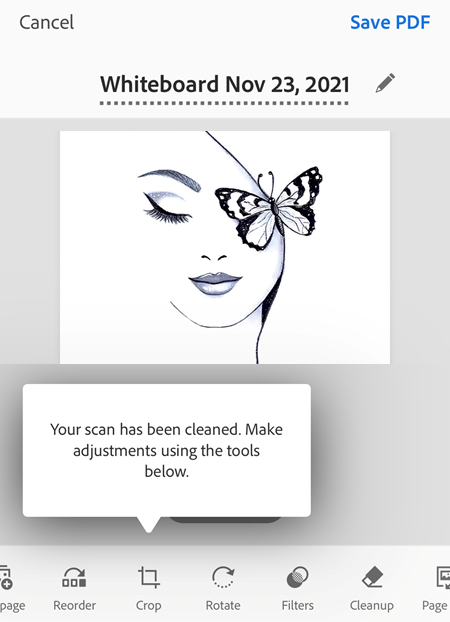
The selected image opens in the scan app where you can modify it and save as PDF. With auto-crop enabled, you get a notification that your imported image has been cropped and cleaned.
Modify the image as desired and tap Save PDF.