Scan Documents
Adobe Acrobat Sign app’s Scan document feature allows you to capture document images on-the-fly during your signature workflows. Existing images and new captures are converted to PDF before being sent for signing. You can invoke the scan feature from the Select Library or the Add Document screen when initiating a signing workflow or while getting signature in person. This feature allows you to:
Scan a new document and/or add images from your device
Reorder pages
Crop pages
Adjust the color
Rotate pages
Delete pages
Attach the PDF scan

Device settings
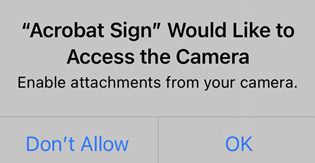
The scan feature requires access to your camera. When prompted, choose Allow. Alternatively, use the device settings to configure Adobe Acrobat Sign ahead of time. For details, see Configure Adobe Acrobat Sign.
Scan a document
To scan a document:
Start a signing workflow: Tap either Send for Signature or Get Signature in Person.
Tap Documents to add a document.
Tap

When the capture screen appears, scan your document. While scanning, you can:
Toggle the flash off and on by tapping
 , if your device has flash capability.
Toggle auto crop on and off.
Add an existing photo or document to your current scan collection by tapping the gallery icon.
Cancel the scan session by tapping the X in the upper left-hand corner.
Tap
 to enable auto crop and use edge detection hints to improve scan quality. When enabled, messages may appear on the screen as follows:
Looking for document: The app is looking for the document and trying to detect its boundaries.
Move closer: You may be too far away.
Level the camera: The camera is at an angle to your document.
Ready to capture document: Edge detection can see the entire document.
Tap the documents thumbnail to view or Edit your scan. You can tap the back arrow to return to the current scan session.
If no edits are required, tap Attach to save your scan to the list of documents.

Edit your scan
When you’re finished scanning, tap the documents thumbnail in the lower right-hand corner to view your scans and the edit menu at the bottom (as shown below).

You can use the edit menu options to:
Add images from your device
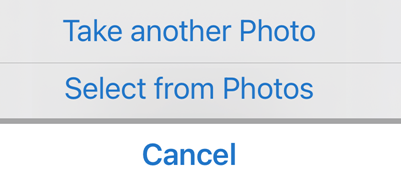
While in the editing mode of the scan workflow, you can browse your device for images and documents that you can add to your current scan:
Tap

Take another photo or select a file from your device.
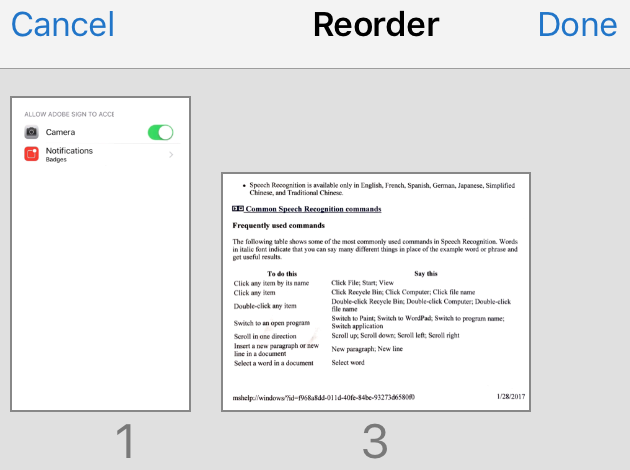
Reorder pages
Navigate to the page you want to modify.
Tap

Drag and drop pages to new locations.
Tap Done.
Tap Attach or choose another tool to continue.
Crop pages
Navigate to the page you want to modify.
Tap

Drag the crop handles to resize the scan area.
Tap Done.
Tap Attach or choose another tool to continue.
Adjust the color
Navigate to the page you want to modify.
Tap

Choose your color options for the current page.
Repeat as needed for other pages.
Tap Attach or choose another tool to continue.
Rotate pages
Navigate to the page you want to modify.
Tap

Repeat as needed for other pages.
Tap Attach or choose another tool to continue.
Delete pages
Navigate to the page you want to delete.
Tap

Confirm you want to delete the page.
Tap Attach or choose another tool to continue.
Save as PDF
Your scan is automatically converted to a PDF and attached to the current document.
If you’re finished editing your scan, tap Attach.
Tap Done. to return to the signing workflow.