Introduction
When you're preparing an image to post on Instagram, Pinterest or any social media platform it's a good idea to match your image to the size requirements of that platform so that the image displays the way that you expect it to.
That's particularly true when the image will be persistent and prominent like your Facebook cover or your YouTube channel art.
So in this tutorial we'll share a photoshop technique for quickly changing the size of an image.
So it's just right for use on a social media site.
In this case as channel art on YouTube.
Even if you don't need YouTube channel art you'll still find this method useful because you can apply it whenever you need to change an image to a specific size for any social media platform or really for any use at all.
So let's jump over to Photoshop CC.
Step 1: Evaluating the image and size requirements
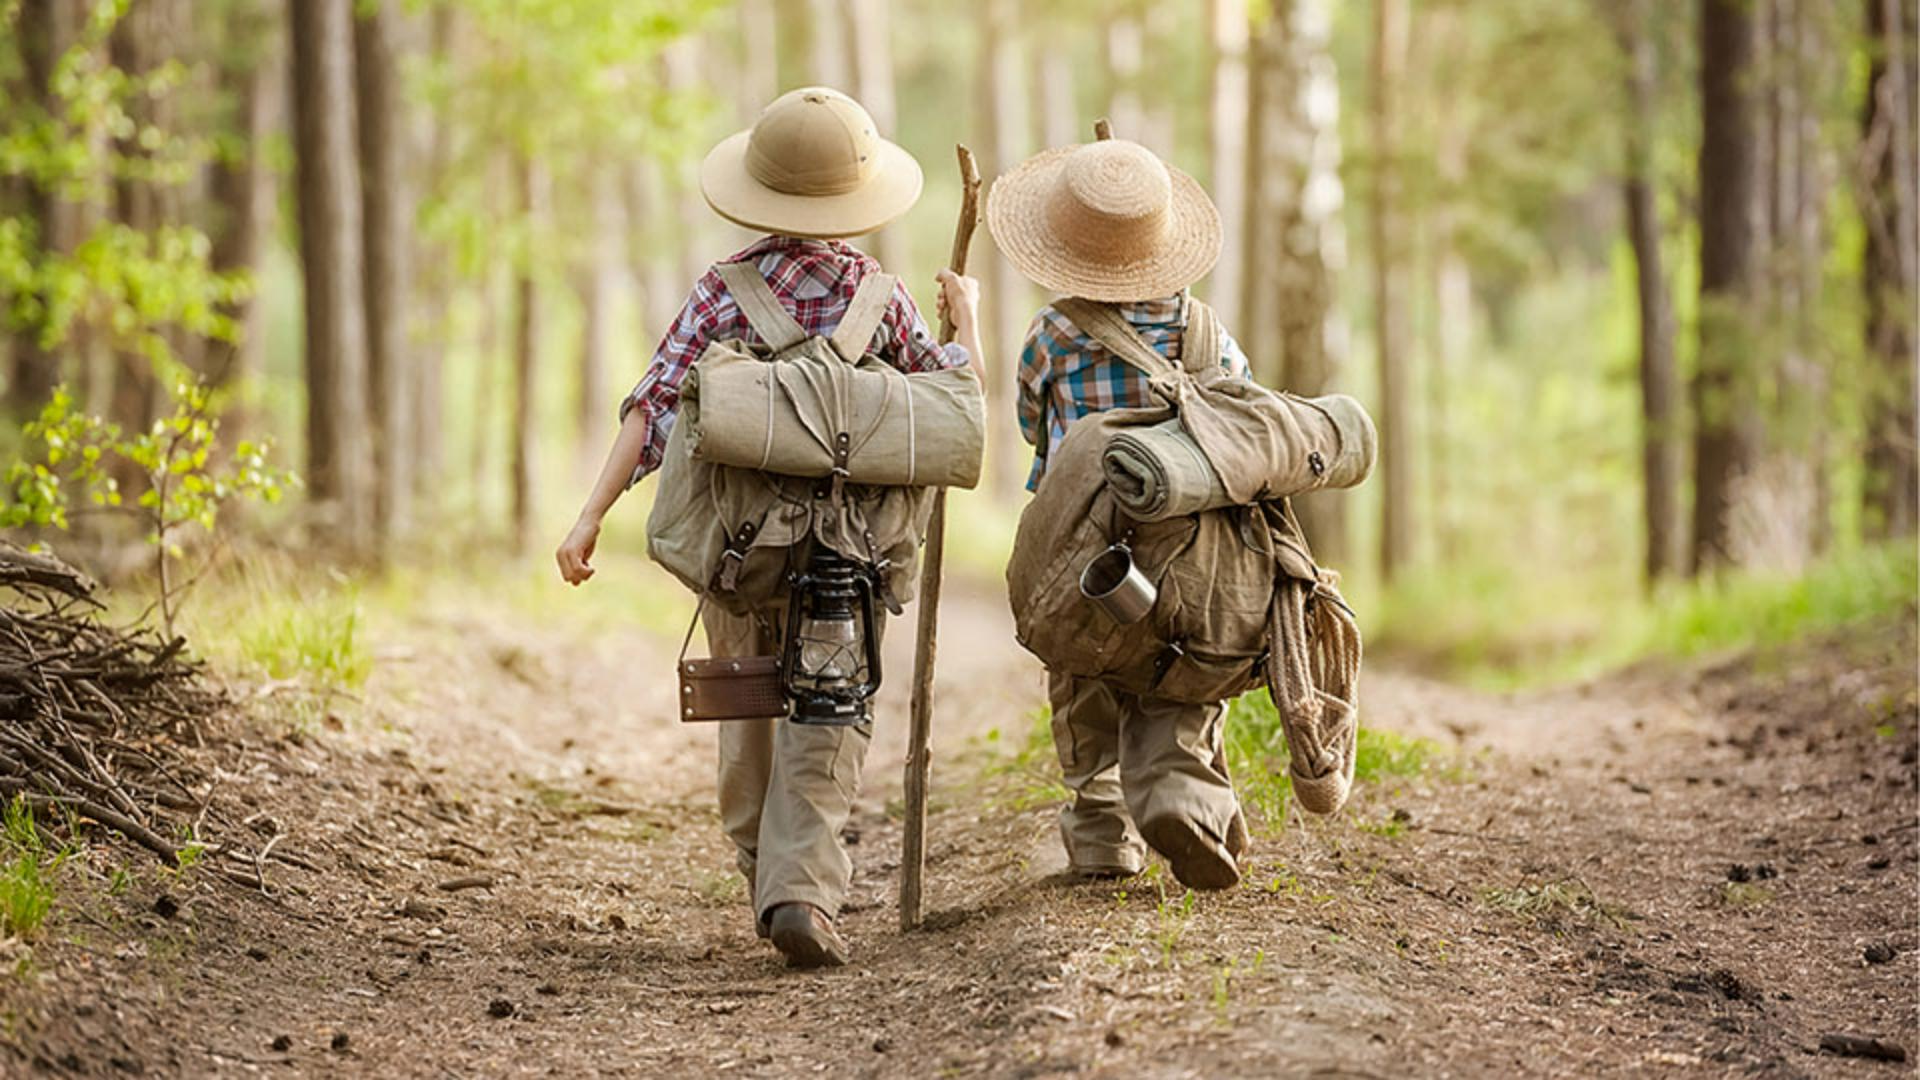
Here, we have a photo that's a good choice for this project because it doesn't have important content at the edges that we have to worry about losing when we crop this image to resize it for social media.
Let's check out the current size of this image by pressing and holding the information field in the bar at the bottom of the screen.
Here you can see the dimensions of this photo in pixels.
30.500 pixels wide and 2.300 pixels high.
A little online research would tell you that the best size for YouTube channel art is 2.560 by 1.440 pixels.
So we're going to resize this photo to those specific dimensions.
The perfect tool for resizing an image to a specific size is one you may not have thought of for this job.
Step 2: Setting exact dimensions with the Crop tool
It's the Crop tool so select the Crop tool in the Toolbar and in the options bar go to the Aspect Ratio menu in that menu choose W x H x Resolution then go to the first field and type in the width in pixels that you want for the final image.
Remember we said that 2.560 pixels is the best width for YouTube channel art and 1.440 is the best height.
Now what's really important is that you type px for pixel after both the width and the height value here.
Or you won't get the result that you want.
The next field is the Resolution field and it's optional for our purposes because resolution really isn't critical when you're making an image for use on screen.
This boundary shows you a preview of the crop and you can really see in this view that the final image is going to be a different aspect ratio of with to height than the original and that's why we are using the Crop Tool for this technique rather than another method like the Image Size Command.
Because we're changing not only the size of the image but also it's aspect ratio cropping is necessary.
Now let's work on positioning the subjects so the most important part
Step 3: Positioning content within the new aspect ratio
the children's heads are in the center of the image vertically and horizontally which seems to work best for YouTube.
I click inside the crop boundary and I'll drag down and over to the left a Little.
That leaves some white space inside the crop boundary.
There are two possible ways to deal with that.
You could hold down the Shift key and come over to one of the corners and drag inward until there's no whitespace left inside the crop boundary and that would probably work okay for this Image.
But I'm going to put that back to show you another way to do it.
And that is to come up to the Options bar and check Content Aware.
Step 4: Filling empty areas with content-aware crop
And that will cause Photoshop CC to automatically fill in this white area by creating content from Scratch.
Whichever way you do it you'll end up with an image that's the recommended dimensions for YouTube: 2.560 by 1.440 pixels because we're using that W x H x Resolution option up in the Aspect Ratio menu.
So let's click the checkbox at the top right to commit the crop and have Photoshop CC fill in those white areas for us.
And it has done a seamless job.
Now choose Files, Save and save the cropped image as a JPEG and let's jump over to YouTube to upload the resized photo as YouTube channel art.
Step 5: Saving and uploading the resized image to YouTube
In YouTube navigate to the my channel space from your identity icon up in the top right and then click Customize Channel if your view looks different than mine then just navigate through whatever screens you see until you get to a button that allows you to edit channel art.
In this screen you can upload the photo that you just saved from Photoshop CC.
Take a look at the previews of how your channel art will look on YouTube on different devices.
If you like it, click Select and in just a moment you'll see your new channel art at the top of your YouTube channel.
The Photoshop CC techniques that you learned here not only work for resizing channel art for YouTube you can use the same techniques to resize an image to the specific size requirements of any social media platform.