In this video, you will learn how to cut out hair in Photoshop.
To follow along, you can download the sample files from the Adobe page for this tutorial.
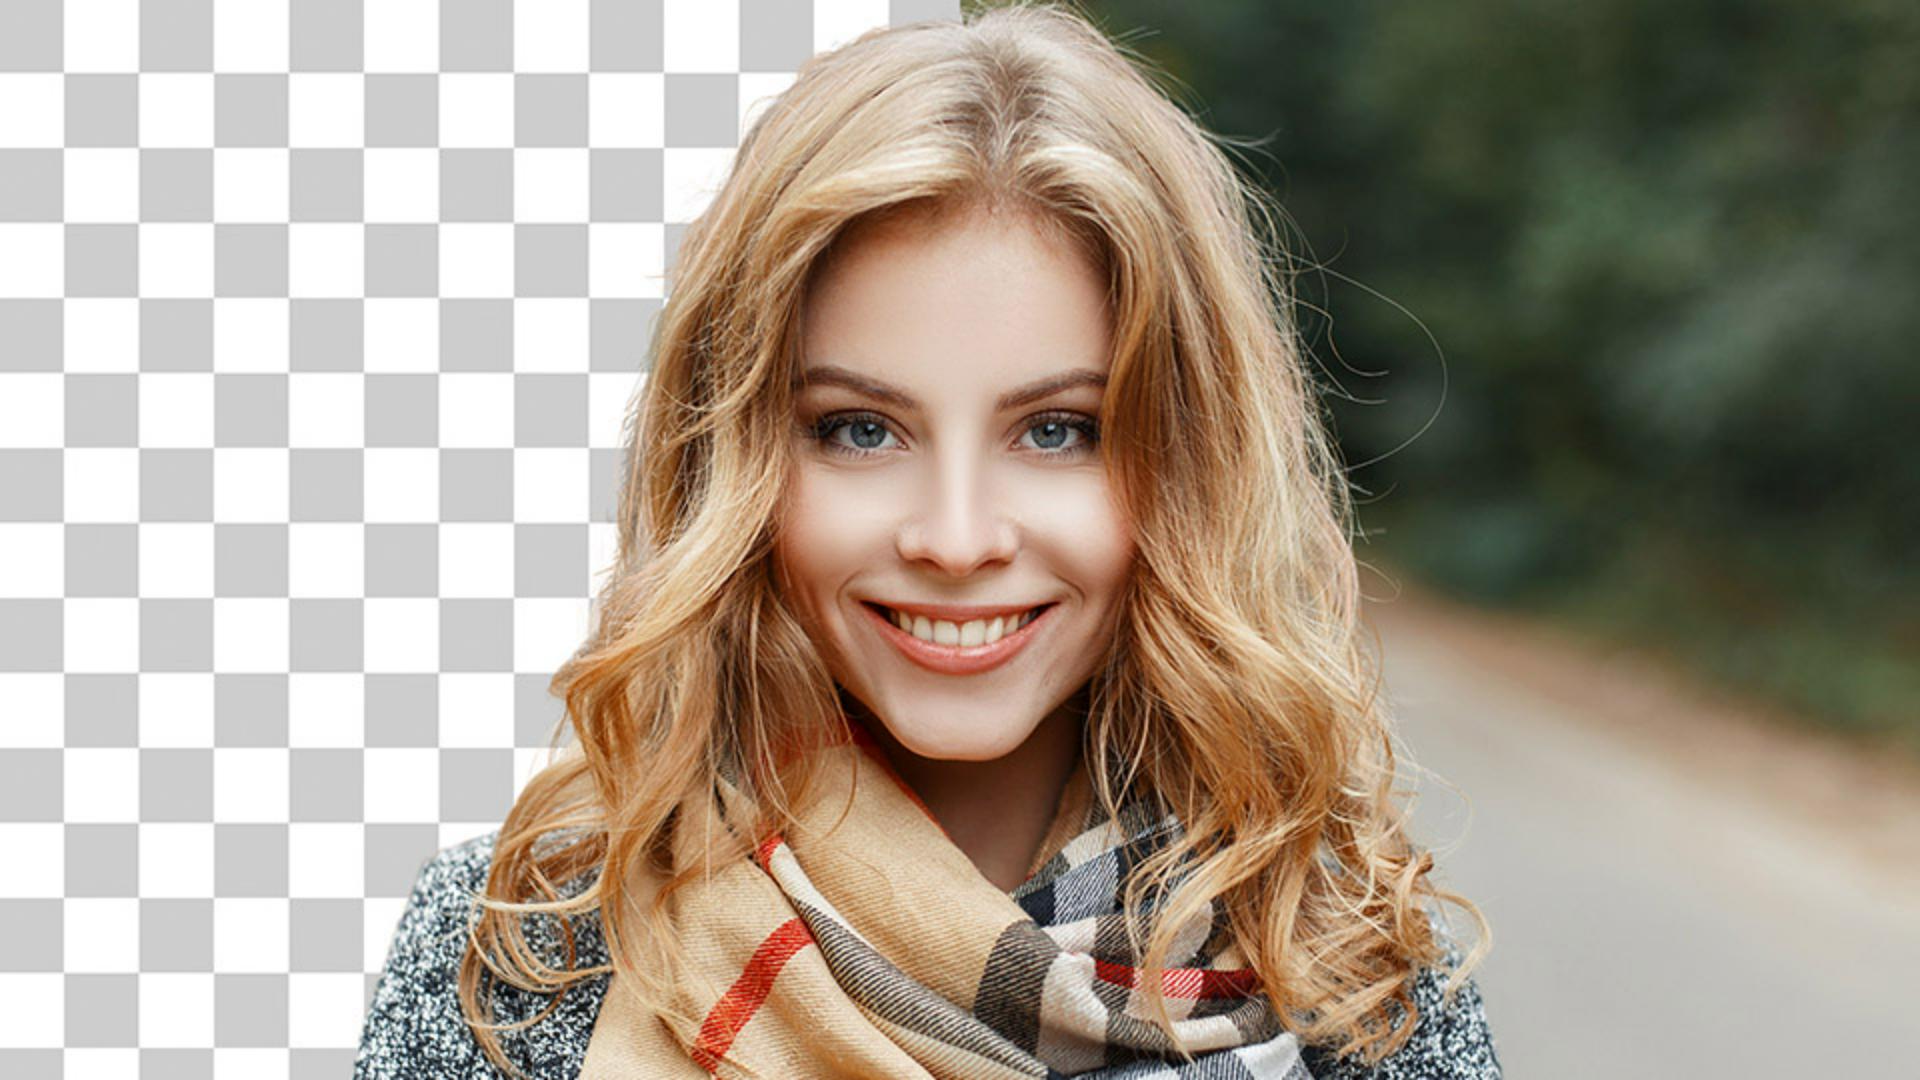
The main file that we're going to work with contains two layers: A Portrait and a blue Background.
We also have a second image that we're going to use to create a custom brush to paint in here.
Start by removing the background from the Portrait layer.
You can do this with just one click.
With the Portrait layer selected, go to the Properties panel and click on the Remove Background button under Quick Actions.
Photoshop will then use machine learning technology to determine the main subject and it will create a layer mask to isolate it from the background.
In this case Photoshop does an excellent job, but we can refine the mask further to get better results.
Click on the layer mask thumbnail then from the Properties panel, click on Select and Mask...
To better see the mask edge, set the View to On Black (A) and the Opacity to 100%.
Then select the Brush Tool, if you need to, resize the brush by tapping in the bracket keys.
You can find them next to the P key on most English keyboards, then paint over areas that should have not been masked out, like the bottom part of her scarf.
Next, fine tune the mask with the Global Refinement sliders.
Start with the Smooth slider to reduce mask edge jaggedness, then soften the edges by increasing the Feather.
Next, we will refine the hair, but we don't want these slider adjustments to affect the hair strands that we will reveal in the next step.
So, apply these adjustments to the mask.
Make sure that under Output Settings, you set the Output To: dropdown to Layer Mask and press OK.
Then go back into the Selected Mask workspace to refine the hair.
From the Toolbar, select the Refine Edge Brush Tool and pane over the edge of the mask around the hair to try to mask in as many of the original hair strands as possible.
Again, you can use the square bracket keys to resize the brush.
Next, use the global adjustments to finetune the edge of the mask.
You can increase Contrast, then Shift Edge of the mask inward by dragging the slider to the left.
Press OK when you're done.
The mask is much better now, but it's not perfect.
It is challenging to select every strand of hair in images with busy backgrounds.
The trick to masking something so difficult is to disregard the challenging areas and simply paint in digital hair where necessary.
Go to the second image provided for this tutorial and we will use it to create a custom hairbrush to paint in small strands of hair.
Start by selecting the Crop Tool and drag the right center handle inward to isolate the left side of her head.
Commit the changes by pressing the Enter key on Windows, the Return key on the Mac.
Next, desaturate the image by going into Image, Adjustments, Desaturate.
Then you need to make the background white and the hair completely black.
To do so, you can go into Image, Adjustments, Levels...
Drag the center point to the right to darken the hair, then drag the white point to the left to make the background as white as possible.
Finetune this slider so that you don't lose too much detail in the hair and press OK.
Select the Dodge Tool, set the Range to Highlights and the Exposure to 50% and paint over the bottom left corner to make the light grey pixels white.
Then switch over into the Burn Tool, set the Range to Shadows and the Exposure to 50% and paint over the hair to make the dark pixels black.
Next, select the Brush Tool.
To make this image into a brush, go into Edit, Define Brush Preset..., name your brush.
I'll call mine Hair and commit the changes.
If you have the Brush Tool active, your custom brush will automatically load, go back into your working document, select a background layer, and create a new blank layer.
Then you can use the bracket keys on the keyboard to resize the brush to match the hair on the original image.
I'm tapping on the left bracket key to make my brush smaller.
When using the Brush Tool, you can hold Alt on Windows, Option on the Mac to temporarily activate the Eyedropper Tool to select a color to paint with.
I'll hover over this light blonde area and then I'll click to set this color as my foreground color.
You can then click once to paint the strands of hair.
If you didn't make the hair's background completely white while creating the brush, then you will see part of it when you paint.
To fix it, finetune the source image until you get a white background and create a new brush.
Next, use the Move Tool to place the layer into position.
You can press Control T on Windows, Command T on the Mac to transform, click and drag just outside of the corner handles to rotate the layer.
And you can right click and select Warp to distort the layer and match it as best as possible to the original photo.
When you're done, click on the checkmark to commit the changes.
To save time, I'll duplicate the layer by pressing Control J, - Command J on the Mac - then I'll press Control T - Command T to transform.
Right click and select Flip Horizontal.
I'll move the layer to the other side, rotate it and drag it down a bit.
Then I'll commit the changes.
Part of her hair is blurry because of the shallow depth of field, so we will need to match that blur.
Go into Filter, Blur, Gaussian Blur.
A blur of one pixel should work, press OK.
And this creates a much more realistic effect.
You will need to repeat these steps several times using different hair colors to get a better result.
This is what my final image looks like and this is the photo in front of different backgrounds.
Now that you know how to mask hair in Photoshop, go ahead and try this custom hair technique on your photos.


