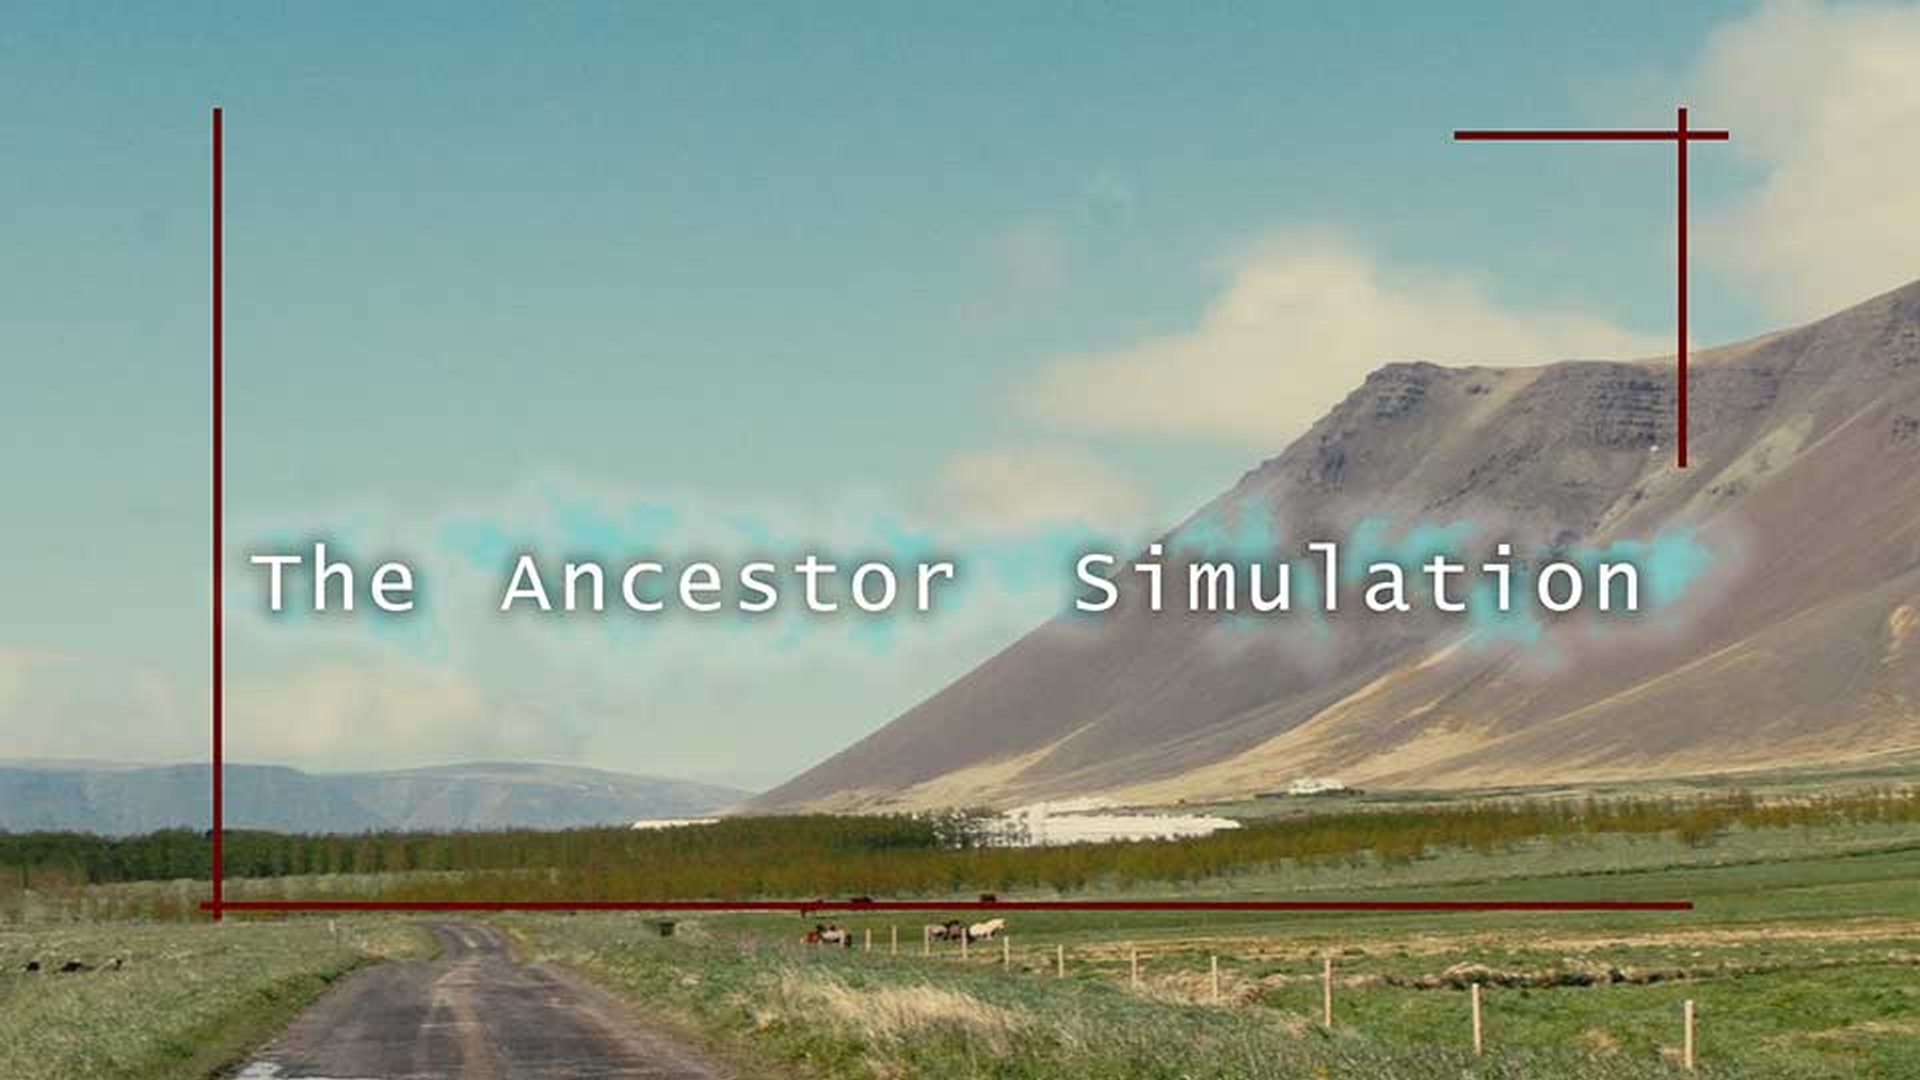
For this tutorial, I'm using the Animate A Layered Title Fly-In.prproj file.
You can find that project file with the media associated with this tutorial.
Just double click on the project file to open it in Premiere Pro CC.
I'm in the Effects workspace.
You can reset that workspace by clicking on the Panel menu and choosing Reset to Saved Layout.
I've got a sequence with a background photo.
And I want to use a Photoshop CC document as the opening title for this new sequence.
When working with Photoshop CC files, it's quite possible that changes will be made even though the file's already incorporated into a sequence.
And this is absolutely fine.
I'm going back to my MEDIA folder.
And I'm going into my Graphics folder.
And I'm going to drag this graphic into Premiere Pro CC.
This is a self-contained file, so I don't really need to use the Media Browser panel.
In Premiere Pro CC, I get the Import Layered File dialog box.
And instead of choosing the option to Merge All Layers, I'm going to choose the Sequence option.
This way, each layer will already be on its own track which will save me a little bit of time later on.
I'll click OK.
And there's the newly imported graphic which has all of the individual layers and the sequence the same name as the graphic all ready to use.
I'll just double click to open that up.
And we can see each of those layers, and there's the complete graphic.
It doesn't really have a black background.
That's just the background of the Timeline.
But if it did, I could always strip that out easily by selecting it and removing it.
I'll just reposition the split here between the video and audio tracks.
You can see I've got 8 video tracks altogether.
I'm going to select all of these.
And then I can press Control C or Command C on Mac OS or I can right click as I'm here and choose Copy.
I'm going to go back to my Master Sequence.
I'm going to turn off Video 1 and turn on Video 2.
And I'm going to paste; in this case, I'm going to use Control V, or Command V on Mac OS.
And I've got all of those tracks added to my sequence.
You'll notice that we didn't have a Video 7, 8, or 9, and so on before we added these clips.
But because they were needed, Premiere Pro CC has added them automatically.
We could edit the PSD sequence into the master sequence as a nest.
But to illustrate this workflow, we're going to work on the individual clips in position, so you can see what's happening.
I'll just scroll back down a little on the Timeline again.
And because I have all the clips selected, as I trim, they're all going to trim out together to the full duration of that photo.
So, there's our finished composition with the graphic in front of the photo background.
I want to begin by positioning my playhead in the sequence at the final resting position.
The point at which my graphics should be fully visible and in position on screen.
And then I'm going to animate each of the individual layers, so that they merge into position.
I'm going to position the playhead around about 3 seconds.
I think something like that is ideal.
Because each of the layers of the original PSD has its own track, you can see it's pretty easy for me to selectively turn these off and on.
And it's also easy for me to animate them independently.
So, I'm going to select the first clip on the Video 2 track.
I'll just click outside of the clip first to deselect all of them.
And then click on that clip.
I'm going to go to my Effect Controls panel.
And I'm going to turn on Animation for Position.
This adds a keyframe at the current location of the playhead.
As well as using Bezier keyframes to change the timing of edits.
We can also use them to change the path clips follow as they animate across the screen.
I'm going to right click on this newly created keyframe.
And first I'll choose Temporal Interpolation and Ease In.
And this will give us a smooth ease into position for our animation.
Now that I've got my end position keyframe setup, I'm going to right click on the Motion effect heading in the Effect Controls panel and I'm going to choose Copy.
I'll position my playhead at the beginning of the sequence.
Double click on the name of the sequence which is effectively the name of the panel here, so it's full screen.
Select all of the other clips, and I'm going to press Control V or Command V on Mac OS to apply the Motion effect settings to all of these clips.
And then I'll just double click on the panel name again to return it to its original frame size.
You'll notice that the effects badge has lit up in yellow to show that there is an effect applied.
Though if I click away and click back again, you can see nothing's really set up to animate.
We just set the final resting position with a keyframe for each of these clips.
I'm going to just pull this dividing line down a little bit more.
And shrink the Video 1 track, so we can just see these graphics.
And I want to trim the start of each of these clips to a different time, so that they come on screen separately.
Because we pasted a version of the motion effect onto each of these clips that has animation enabled, every change we make is going to add keyframes from now on.
So, let's just trim, and trim, and trim just to give these different layers slightly different timing.
Now I'm going to turn on all of the Tracks Selection buttons by holding down the Shift key while I click on one of them.
And I can use the up and down arrows to jump between the beginnings of these clips.
That's just useful for setting my first keyframe for the animation I'm going to apply.
I'm going to change the zoom on my Program monitor down to 25%. because I want to be able to drag these items off from the frame.
And so, I'll start at the beginning I'm pressing the up arrow.
I'll select this first clip, select the Motion heading.
And let's just pull this off over here.
Select the Timeline panel, press the down arrow to go to the next clip.
Select it; select the Motion heading.
Drag this one up here.
And I'm going to keep doing that as I work my way through each of these clips.
You can double click on the image to jump into these direct controls in the Program monitor.
But doing so only really works conveniently if you manage to click on the right pixels which is easier to do if you've got a full screen image.
A little bit more difficult if you're working with individual layers.
OK, there we go.
Let's take a look at the result.
I'm setting the Program monitor back to Fit.
Great.
Certainly, there's more I could do with that.
I can add more adjustment to the path that the layers take, but it's a bit more interesting than a static image.
Although we've now added animation and worked with these individual layers separately in Premiere Pro CC, we're still actually displaying the contents of the original Photoshop CC document.
So, any changes to it, like changing the colors or positions of the elements, will dynamically update inside of Premiere Pro CC every time they're saved.


