In this video you're going to learn how to bring dull photos to life using Lightroom CC.
You can follow along with your own photos or you can download the three assets from the Adobe page for this tutorial.
Once you have downloaded and imported the images into Lightroom CC you will see them in the photo grid.
You can select this photo first then open the Edit workspace by clicking on the Edit icon or by pressing E on the keyboard.
Then click on the Effects panel to expand it.
In this panel you will find two sliders that you can use to make dull photos pop and make them more impactful.
And they are the Clarity slider and that Dehaze slider.
Let's start with Clarity.
The Clarity slider helps you give your images an extra punch by adding contrast to the mid tones which creates sharpness and it makes your texture stand out.
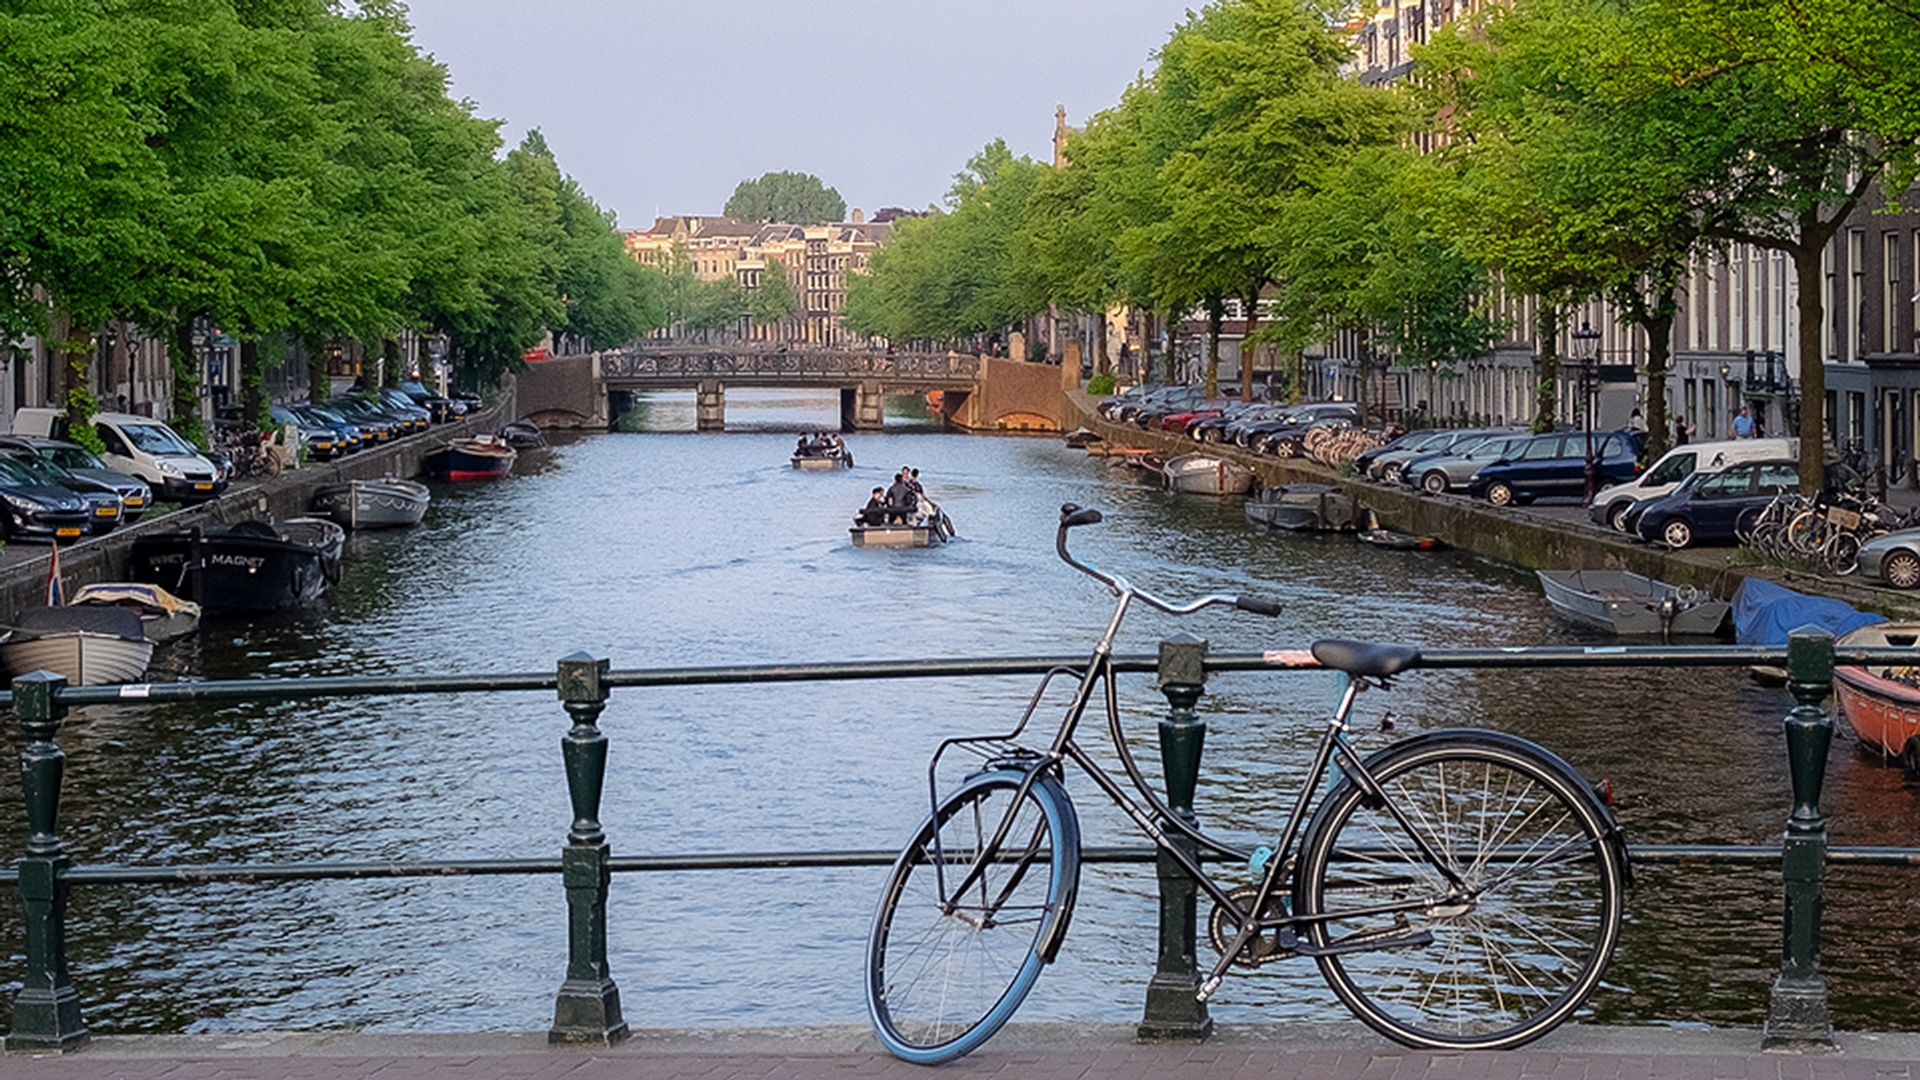
In a dull photo like this one you can simply drag the Clarity slider to the right to make it pop.
Notice how much more detail this adjustment added to the trees, cars and even the water.
Click on the Show Original icon so that you can compare it to the original - before and after.
If you're working with portraits keep the clarity adjustments subtle since it can bring out a lot of unwanted detail, texture and contrast of the skin.
If you drag the Clarity slider to the left, you will get a soft image.
This can be a great creative effect.
You can even use it to soften the skin in portraits.
But it is not the look that were going for in this video.
Let's now look at the Dehaze slider.
We will work with a different image.
Click on the Grid icon or press G on the keyboard then select this image, click on the Edit icon or press the E key.
Right below the Clarity slider you'll see the Dehaze slider which as the name suggests helps you reduce haze in photos.
The technology behind the Dehaze slider is based on a physical model of how light is transmitted.
It tries to estimate the light that is lost through the atmosphere.
In other words, it tries to bring back the detail behind the layer of haze.
This photo clearly contains haze.
It's a dull photo and I would like to get some of the detail back so that the image pops more.
So, I'll drive the Dehaze slider to the right.
Notice how this adjustment cuts through the layer of haze and it restores detail, color and contrast.
When you move the Dehaze slider to the left it will simulate haze.
This is a great way of adding an atmospheric effect to your photos.
But in this case, we want to reduce the haze.
So, I will drag the Dehaze slider back to the right.
Don't move it too far because you can destroy some of the details in your image.
Click on the Show Original icon so that you can compare it to the original - before and after.
Another thing that you can do with the Dehaze slider is bring back the detail from images that are too bright and too dull even if they do not have any haze.
Go back into the grid view by clicking on the Grid icon or by pressing G on the keyboard, then select the third image for this tutorial.
Click on the Edit icon or press E on the keyboard.
This dress is a bit flat and dull.
All the detail of the fabric is hidden in the highlights.
We can bring that detail out by simply using the Dehaze slider.
Notice that as soon as I start dragging the Dehaze slider to the right the details of the fabric emerge much like the detail behind the layer of haze in the previous photo.
You cannot move the slider too far to the right or you will blow out the image.
So, find a good balance.
To add a bit more pop to this photo you can also use the Clarity slider.
So, I drag the Clarity slider to the right.
Keep in mind that these adjustments are all subjective so it's up to you to decide how the image should look.
This dress now has a lot more detail and interest.
We brought it back to life by using only the Dehaze and Clarity sliders.
You can then click on the Show Original icon to see the before and the after.
Now that you know how to bring dull photos to life using Lightroom CC give these sliders a try with your own images.


