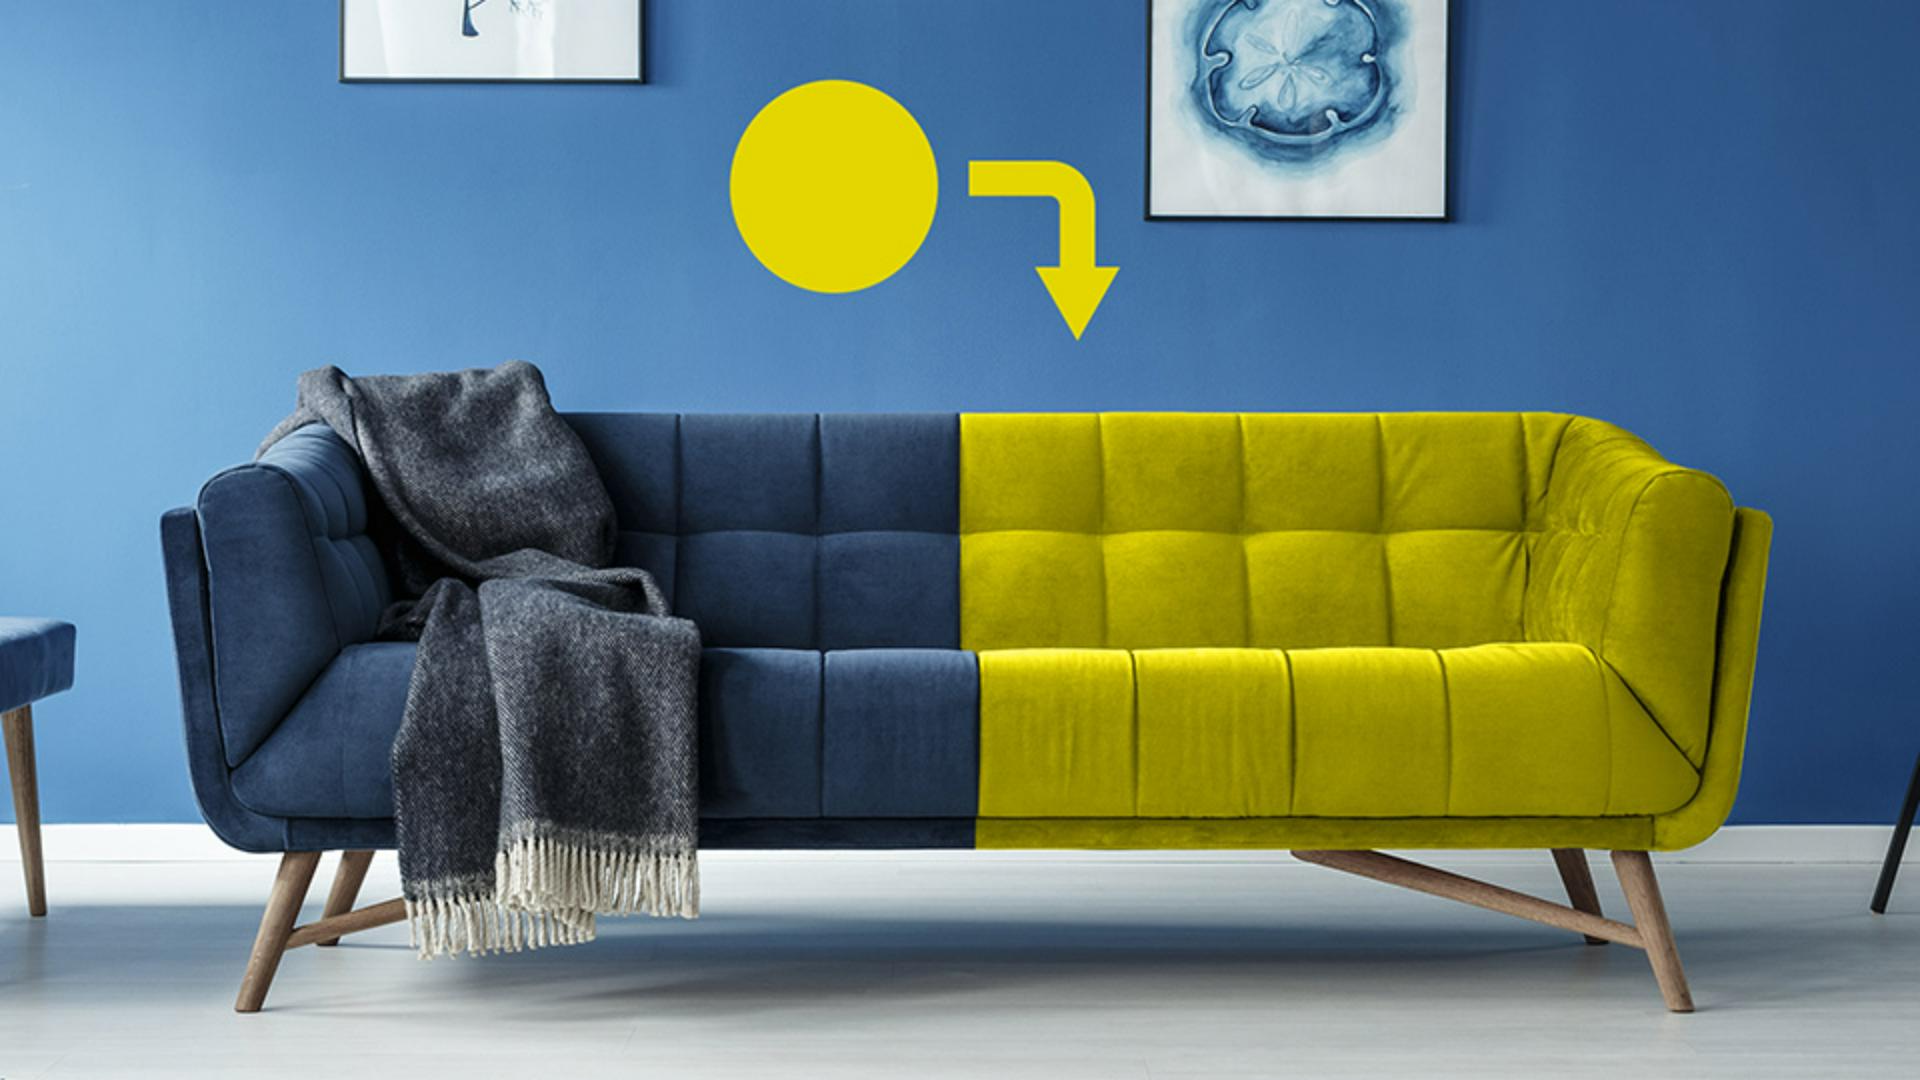
In this video, you will learn how to match a color onto any object in Photoshop.
To follow along, you can download the sample file from the Adobe page for this tutorial.
Our working document contains two layers: A photo of a room and a yellow circle, which is the color that we're going to reference for the color match.
The goal of this tutorial is to apply this yellow color to the couch.
Before we get into that, we need to understand an essential concept about how color works inside that HSB color system.
If you double click on the foreground color, the Color Picker will come up and you will be able to select any color that you want.
When you drag over the color gradient or the Hue slider, you'll notice that the values in the HSB boxes change depending on the color that you select.
HSB stands for Hue, Saturation and Brightness which are the three color components that we need to understand to complete this advanced color matching technique.
Hue is what color something is.
Is that orange, green, blue, magenta or red?
Saturation is the intensity of that color, a vibrant red or completely be saturated.
And brightness is how light or dark the color is.
A combination of these components will make up all the colors that you see in Photoshop.
In this video, we're going to match the hue and saturation of the yellow circle onto the couch, then we're going to try to match the brightness as close as possible.
You can't match all three components of the yellow color to the couch because you'll end up with a flat yellow couch with no shape or details.
You need the different levels of brightness, the highlights and shadows that give the couch its shape and texture.
The first step is to select the couch.
From the Toolbar, select the Object Selection Tool and with the Background layer active, click and drag a rectangle that covers the couch.
Photoshop will then use machine learning technology to select the couch.
If you inadvertently select an area that you did not intend to select then you can subtract from the selection by going into the Options bar and making sure that Object Subtract is enabled and hold Alt on Windows, Option on the Mac and click and drag over the blanket to deselect.
You don't have to be precise; you can fine tune the mask later.
Then you can create a group and click on the Layer Mask icon to create a layer mask based on the selection.
The reason that we're applying the mask to the group is so that one mask can control multiple adjustment layers.
If you need to edit the mask, you will only have to do it once.
Next, create a Solid Color Fill layer and click in the yellow circle to apply that yellow color and press OK.
Currently, the Solid Fill layer is applying all three components of the yellow color to the couch.
The hue, saturation and brightness, which is why it looks completely flat.
To keep the hue and saturation of the yellow but use the brightness of the couch to bring back the detail, you can use a blending mode.
In the Blending Mode dropdown, you'll notice the four Blending Modes below this line.
These Blending Modes control one or more of the color components: Hue, Saturation, Color and Luminosity.
To match the Hue and Saturation, you can use the color Blending Mode which combines both.
Next, we can adjust the brightness and for that, you can create a Levels Adjustment layer.
Drag the color fill layer above the Levels Adjustment layer, then select the levels adjustment and from the Properties panel, use the Highlight slider to brighten the couch.
You can then use the midpoint slider to increase contrast.
If you made a strong highlight on the cushions, you can drag the white point slider to the left to reduce it.
This makes the brightest point on the couch a light grey and not white.
At this point, you can finetune the mask if necessary.
And as simple as that, we've applied the yellow to the couch.
If you're wondering why we didn't use a hue and saturation adjustment layer for this, then let me show you why.
I'll disable the couch group and I'll hold Control on Windows, Command on the Mac and click on the layer mask thumbnail to load the couch as a selection.
With the group selected, I'm going to create a Hue/Saturation adjustment layer.
I'll adjust the Hue to get the yellow, then I'll increase the Saturation.
And this is where the problem arises.
If I adjust the Lightness lighter to get a brighter yellow, I'll wash out the shadows of the couch making it look very flat.
Even if I click on the Colorize checkbox and apply the proper Hue and Saturation adjustments, you will still end up with the same problem when you adjust the Lightness.
By splitting the components into two layers, you have complete control over the color and brightness, and you don't lose the shadows on the couch, you can control them independently.
Now that you know how to match colors in Photoshop, go ahead and try this color matching technique on your photos.


