Basic Tasks
Signing in and out
Adobe Sign requires a network connection for most features, including access to online documents.
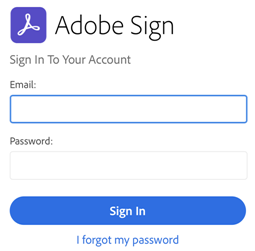
The December, 2016 release streamlines sign-in workflows and adds support for new credential types. To sign in:
- When the Sign In screen appears, enter your email address.
- Tap in the password field.
- After the screen changes based on your email address, choose your authentication method and/or enter your ID and password. For details, see the next section.
Note
Signing in on any Adobe mobile app signs you in on all apps, including Adobe Acrobat Reader, Adobe Sign, and Adobe Scan.
Why multiple login workflows?
Most users have one login credential and will only see one set of screens. However, because Adobe Sign supports several types of IDs, users may see alternate views because the user interface changes based on the domain of the user’s email address. Adobe Sign supports several authentication methods, and the login workflow may vary slightly across each type.
- Adobe Sign ID: Enter your Adobe Sign email and password.
- Adobe ID: Tap Adobe ID, enter your password or tap the enterprise ID link and then enter your enterprise user ID and password.
- Single Sign On (SSO): Enter your email, and then enter the username and password provided by your organization.
Signing out
Signing out disables access to online documents and workflows. To sign out, tap Settings > Sign Out.
Settings configuration
Personalize your app: Adobe Sign settings help you pre-configure workflow features, document access, cellular data usage, and so on. See App Settings.
Understanding roles
The web interface supports all available roles as described the product help. Support for roles in the mobile apps is evolving. The June, 2019 mobile release adds support for:
- Form filler (To Fill): Participants with this role only have form fields assigned to them and they do not need to sign or approve the document.
- Acceptor (To Accept): Participants with this role need to accept the document. This is very similar to the approver role, except the participant is accepting rather than approving the document.
- Certified Recipient (To Certify): Participants with this role need to view and acknowledge the document. This participant does not interact with form fields.
Creating a signature
If you have not created a signature already (a signature appearance), you will be prompted to do so when you try to sign a signature field.
To change or clear a signature, see Changing your signature.
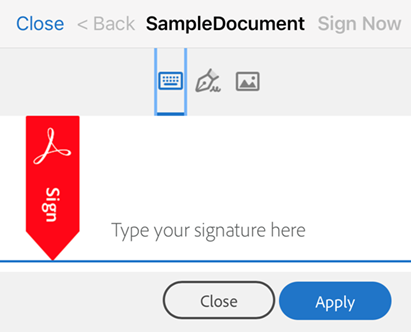
To create a signature:
Create your signature by one of the following methods:
- Draw your signature.
- Tap the image icon, select an image, and choose Done.
- Tap the camera icon, take a photo, choose Use Photo, and choose Done.
Enter your name in the text field above your signature.
Check Save if you want to reuse this signature. Note: The label varies based on whether you’re logged in.
Tap Done.
Note
If camera or photo access is blocked, see Allowing access to camera, photos, etc..
Saving a signature
If you have a Document Cloud or Adobe Sign account or are using Single Sign On (SSO), you can save your signature for future use. Note the following:
- Typed signatures are automatically saved for later use.
- Drawn signatures are not saved unless you toggle the Save slider to on.
Allowing file access
Signing workflows require access to the files which require signing. Granting Adobe Sign access to your local and online files streamlines subsequent workflows.
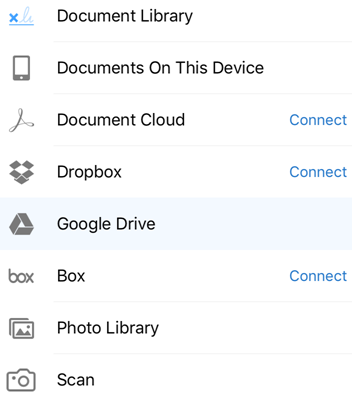
To allow file access:
Initiate any workflow that requires choosing a document (for example, Send for Signature or Get Signature in Person).
Tap a file location or feature. You can access the following:
- Local documents
- Local files in your gallery
- Online storage locations (Document Cloud, Dropbox, Google Drive, etc.)
- Photos you take on-the-fly
If logging in is required, log in and grant Adobe Sign access to the new location.
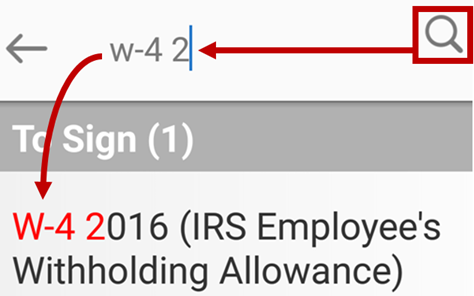
Searching for a document
Document views which display lists of documents provide a search field. To search for a document, tap  . You can search for any part of the text string in the display, including the file name, date, signer’s name, and so on.
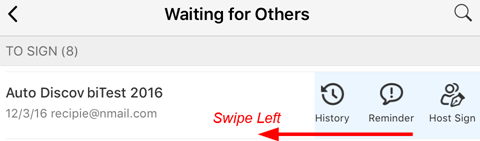
Showing the quick access menu
The October, 2016 release provides a streamlined way to view an agreement’s history, send reminders, and initiate host signing without having to drill down into a document view. From any document list, swipe left from the right side of the screen to display the quick access menu. For example:
- Choose a document list such as Waiting for Others.
- Swipe left from the right side of the screen.
- Tap History, Reminder, or Host Sign.
Note that the menu items are context sensitive, and some items don’t appear on the menu if they are not relevant to that document or document list.
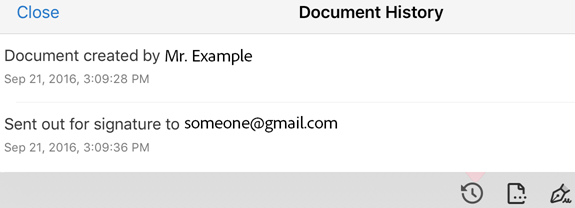
Viewing history
Adobe Sign provides audit trails with details about your signature workflows, including when a document was sent, who signed it, and so on. To view a agreement’s history, do one of the following:
- Open a document and tap
 .
. - From any document list, show the quick access menu and tap as described above.
Viewing files in completed/canceled workflows
The Completed and Cancelled/Declined views enable viewing documents in finished or ended workflows. Simply tap Completed or Cancelled/Declined to display the document list. From here you can:
- Download documents
- View file history
- Search for documents
- Share or print documents
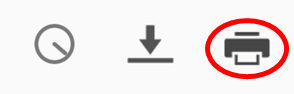
Printing
You can not print an agreement that’s in an open workflow. To print, the agreement must be completed or cancelled.
- Tap Completed or Cancelled/Declined.
- Open a document.
- Tap
 .
. - Tap Print.
- Tap Select Printer and configure a connection.
- Specify the number of copies.
- Tap Print.
Sharing and copying files
You can share, copy, and perform other tasks on any file that’s not in an open workflow.
Tap Completed or Cancelled/Declined.
Open a document.
Tap
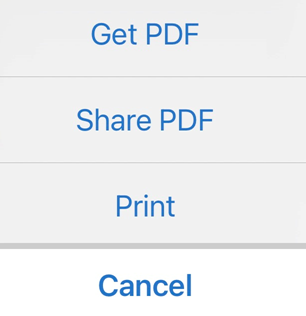
.Do one one of the following:
- Tap Share PDF to perform tasks with other apps such as copying, saving to Dropbox, and so on.
- Tap Get PDF to copy the PDF to another location such as Acrobat or other 3rd party storage locations.
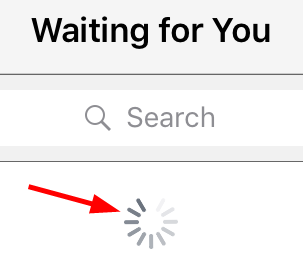
Refreshing a document list
To verify you are seeing the most recent files in any list, refresh the document list. For example:
- Tap any category such as Waiting for others.
- Swipe down just below the search bar.
A rotating spinner indicates the page is being refreshed.