
Creativity for all
Photography, video, graphic design, illustration and so much more. Everything you need, wherever your imagination takes you.


PHOTOGRAPHY
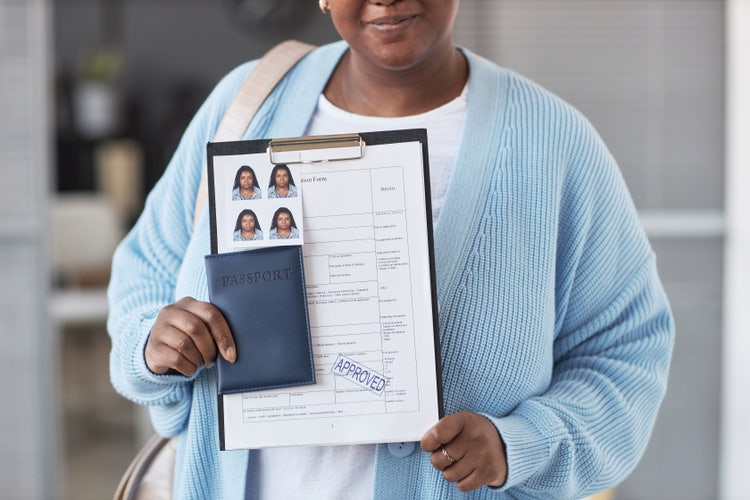
Need to update your passport photo background for an Indian passport, visa, or OCI application? Learn how to replace your background using Adobe Photoshop with tips for enhancing your photo, choosing the right colour, and exporting it in the correct format.
JUMP TO SECTION
Benefits of changing the background colour of a passport size photo
How to change the background colour in Photoshop
Further enhance your passport photo with Photoshop
Tips for choosing the best background colour
A clean, professional background ensures that your photo meets application standards while also keeping the focus on your face. Here are some of the key benefits:
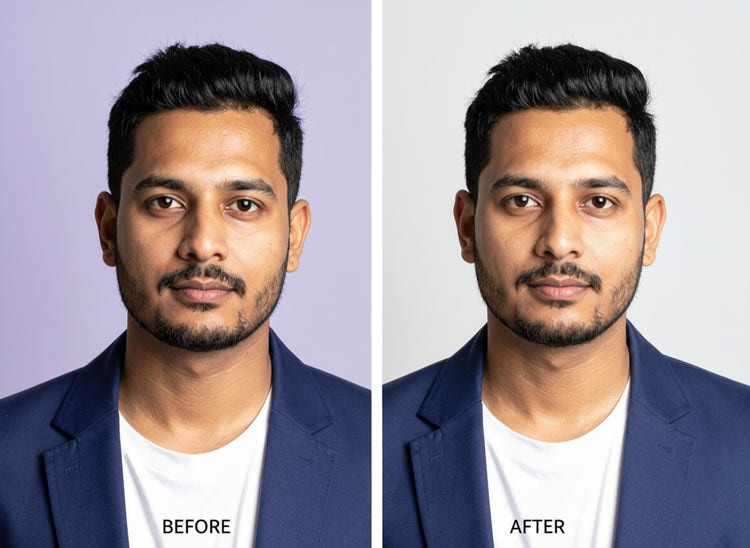
Changing the background is quick and intuitive with Photoshop tools. This works best for photos where the subject is clearly in front of a simple background.
Launch Photoshop on your desktop and select new file to open a blank canvas. From the Contextual Task Bar, choose Import image and select your passport photo from your device. Click Done.
Select Remove background from the Contextual Task Bar. Photoshop automatically removes the original background, leaving only your subject.
Select Generate background. You can enter a descriptive prompt or leave the box empty.
Select Generate and choose from the generated variations that appear in the Properties panel.
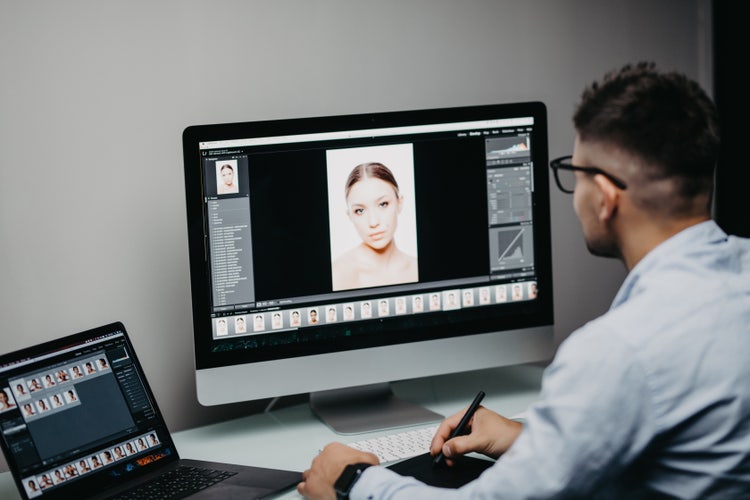
Once your background is set, you can use Photoshop’s powerful tools to polish your passport photo with subtle, natural-looking enhancements.
These photo retouching tools help you clean up and enhance your passport photo while maintaining a natural look, a must for meeting official requirements. Small, precise edits go a long way in making your photo look polished and ready to submit.
The background colour you choose does more than just frame your face, it sets the tone of the entire image. For professional profiles or digital IDs, soft shades like light grey or pale blue create a clean, polished look that works across platforms. For personal or creative photos, bright or bold colours can add personality, as long as they complement your features and do not distract from you.
When it comes to passport, visa, and OCI photos, clarity and compliance matter most. Here is how to get it right:
For Indian passports, a white background is standard. For OCI applications and some international visas, a light sky-blue background may also be accepted. Always check the latest guidelines from Passport Seva before submitting your photo.
Download the official Passport Application Instruction Booklet to learn more.
White, pale blue, and light grey are widely accepted. These shades provide a crisp, uniform backdrop that ensures the focus stays on your face.
Passport photos require a solid, evenly lit background. Any textures or uneven tones may cause your photo to be rejected.
Choose a background that clearly separates you from your outfit. For instance, if you are wearing a white shirt, a pale blue background can add definition.
Avoid adding props, filters, or decorative elements. Your passport photo should present a neutral, natural look with you at the centre.
Your passport photo is one of the most important images you will ever use. With Adobe Photoshop, you can quickly change your passport size photo background colour to white or sky blue, ensuring compliance and saving time. Whether for a passport, visa, or OCI application, the right background keeps the focus where it matters.
For online submissions, JPEG is widely accepted due to its small file size and compatibility. If you need to preserve transparency (for example, before adding a background), save as a PNG. Always check the file format and size requirements of the application you are submitting to.
Photoshop supports a wide range of export formats, including JPEG, PNG and TIFF, giving you the flexibility to choose the right format based on how and where the photo will be used.
Photography, video, graphic design, illustration and so much more. Everything you need, wherever your imagination takes you.
Based on your location, we think you may prefer the United States website, where you'll get regional content, offerings, and pricing.