Introduction
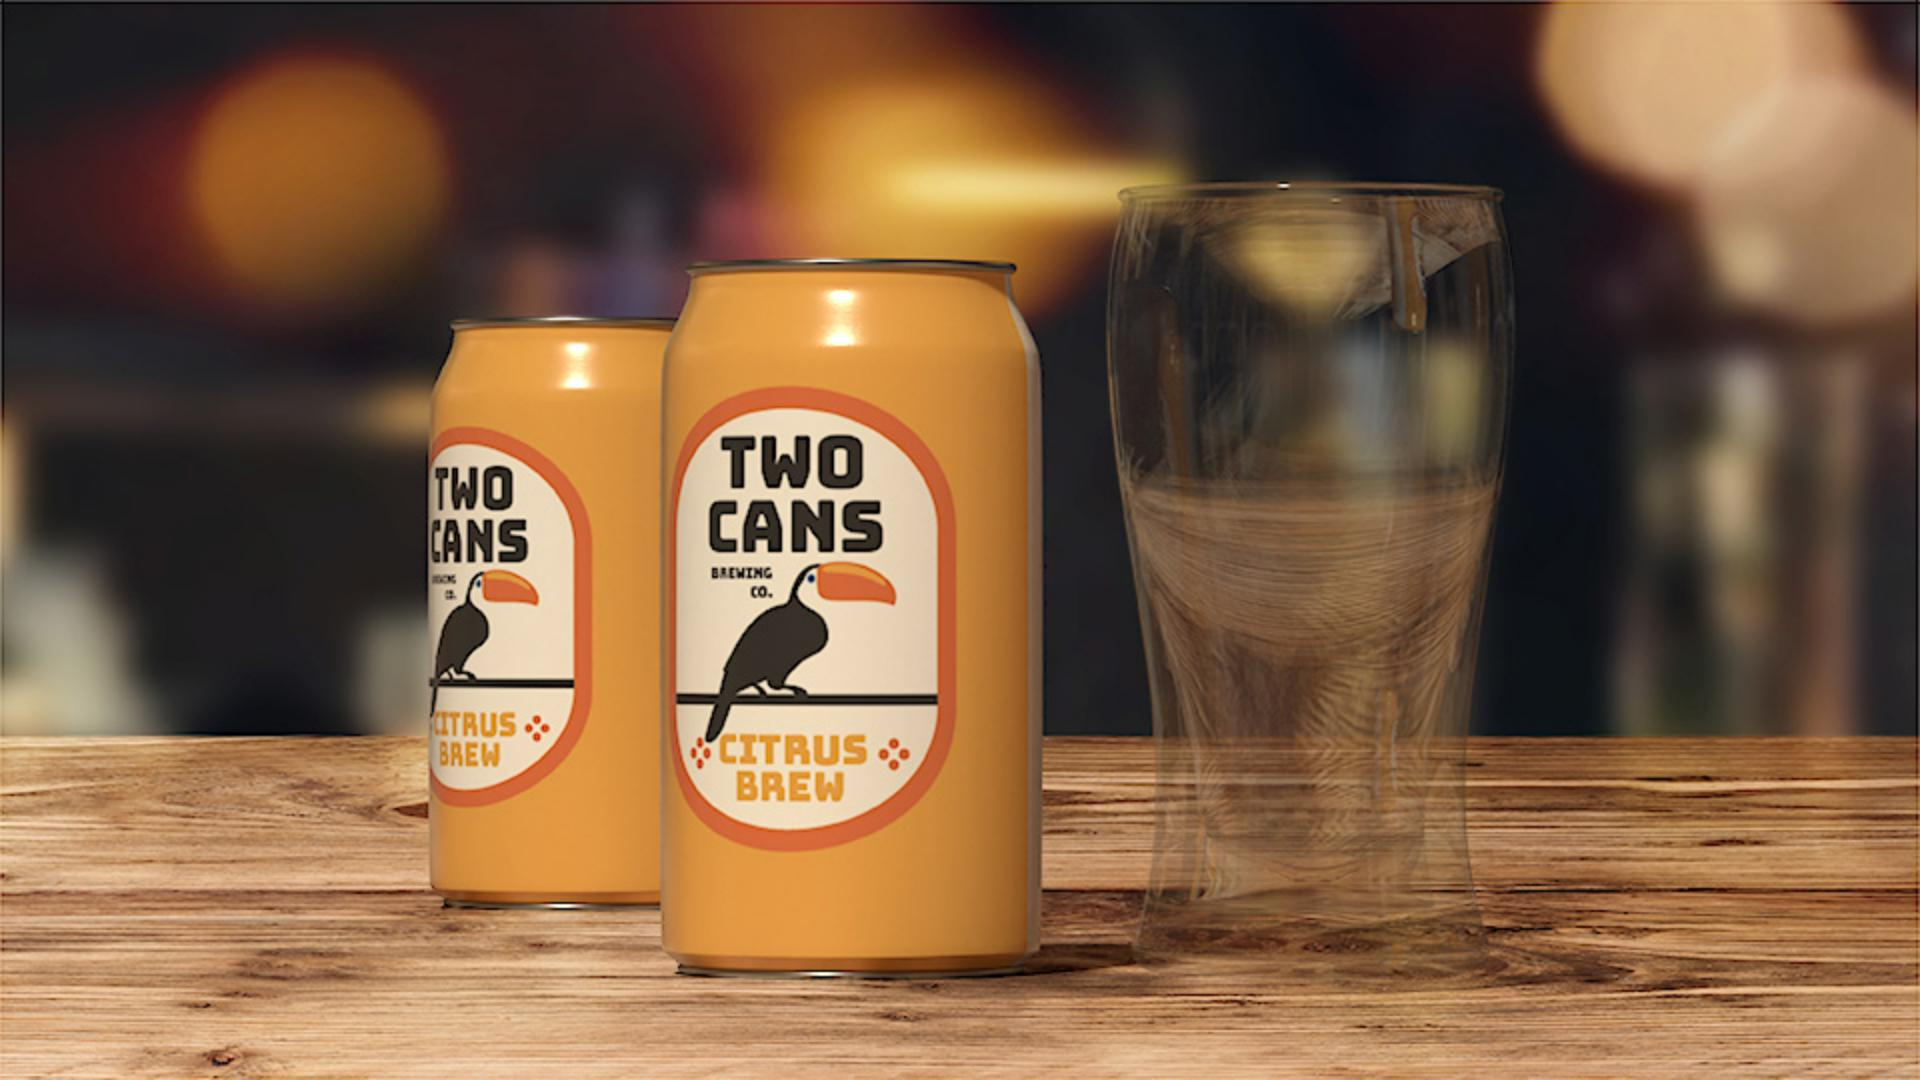
In this Illustrator tutorial, you'll create the bird you see here to finish the label for a brewery, by tracing and drawing parts of this image.
Tracing an image to create editable artwork
Now, to get started you're going to trace the image here to turn it into shapes you can then edit.
So, with the Selection Tool select the image.
To zoom in, press Command + on Mac OS, or Control + on Windows a few times.
Now, to trace the image click the Image Trace button in the Properties panel and try choosing Sketched Art from the menu.
The image is traced in black and white, and any white is ignored.
Now, to clean it up in order to edit the bird's shapes you need to commit to the tracing.
So, click Expand in the Properties panel.
Now, it's a group of objects that you can clean up.
Cleaning and rebuilding shapes with eraser and blob brush
First, you'll erase what you don't need.
So, select the Eraser Tool and come out to the artwork.
Press and drag across parts of the bird, like the branch and the bill up here.
We're going to redraw the bill and the eye.
Don't worry about removing too much, you can either choose Edit, Undo Eraser or add it back in shortly.
With the Eraser, release the mouse button often so you can easily undo smaller amounts, if you need.
That looks good.
Now, to fill in the missing parts, you can use the Blob Brush Tool.
Press and hold on the Paintbrush Tool and select the Blob Brush Tool.
Unlike the Paintbrush Tool which draws stroked paths, the Blob Brush creates filled shapes.
When working with a shape like this bird, the Blob Brush will actually add to the shape.
Now, to change the size of the Blob Brush, you can press the Right Bracket or Left Bracket on your keyboard.
Then come into the bird, and press and drag to fill in the shape.
Once again, press and drag and release often, so you can easily undo smaller things later on.
Now, to paint smaller areas, press the Left Bracket to make the brush smaller.
Make sure to paint in some of the feet here, and you might want to zoom in a little bit.
Smoothing traced shapes with the simplify command
Now, you'll smooth the edges of the shape with the Simplify command.
Because tracing can make it pretty rough.
So, select the Selection Tool, and click the bird to select it.
Then choose, Object Path Simplify...
In the dialogue that appears, Simplify is set to automatic by default.
Now, simplifying a path removes extra anchor points without changing the shape of the path.
You can actually drag this Reduce Anchor Point slider to have the minimum number of anchor points, in other words to remove anchor points or the maximum number of anchor points.
I tend to start closer to maximum of the original and work down.
If you wanted to go back to the auto-simplified value, click here.
And to see even more options, you could click here.
I think it looks good.
So, you can press the Escape key to hide the dialogue or simply select another tool.
Now, to make the eye and the beak.
Drawing details with ellipse and curvature tools
For the eye, you'll draw an Ellipse.
So, press and hold on the Rectangle Tool, and select the Ellipse Tool.
Draw an eye out here, like this.
To change the Stroke color, first, make sure the Fill color is black, then change the Stroke color to a blue swatch, over here.
Now, to draw the beak you'll use the Curvature Tool.
So, select it in the Toolbar.
Come out and click to start the path.
Keep clicking in a bill shape to create it.
Making sure you don't click on the bird shape.
Come to the original point and click on it to close the path.
Now, to edit the path you can drag the existing points.
You can click on the path to add new points.
Even double click a point to convert it between a sharp corner and a curve.
There.
Change the Fill color to an orange in the Properties panel and let's remove the Stroke.
You can click the Down Arrow here several times to do that.
I can also create new shapes with the Blob Brush Tool.
So, select the Blob Brush Tool, come over here, and we're going to create a highlight for the bill.
So, press and drag to create a separate shape.
Good.
Now, to change the color of the shape, select the Selection Tool, and click on it.
Then change the Fill color to a light orange.
Drag the shape onto the bill, and we've got the bird just about finished.
Now, to keep the parts of the bird together,
Grouping and placing the finished illustration
you'll group it.
So, drag across the bird parts and click Group in the Properties panel.
Now to drag it into place.
So, you can see everything, Choose View Fit All in Window and then drag the bird onto the label, over here.
Using a combination of tracing, drawing and editing tools you can create all kinds of artwork.
Try tracing an image of your own and see what you can create.