Introduction
Transitions are often used to suggest the passing of time or to blend abrupt cuts.
Applying transitions in Rush is super easy and can really make some footage more engaging.
I'll create a new project and give it a name.
Creating a project and applying a basic cross dissolve
I've got some clips in a Media folder on my Desktop, so I'll select some shots to use in a new sequence and press Create to get started.
Now, I'll select the first clip in my sequence by positioning the playhead over it, then I'll open the Transitions panel and under Presets, I'll choose the Cross Dissolve.
When a clip is selected in the sequence, the transition is applied at both the start and end of the clip.
A Cross Dissolve blends one shot into another, but at the start of a sequence, the Cross Dissolve creates a fade in by dissolving the image up from black.
When placed between clips, a Cross Dissolve blends one shot into the next.
Applying and removing transitions across a sequence
If I press Command or Control A to select all the clips in the sequence and then choose Cross Dissolve from the Presets panel, the transition will be applied at every cut point between all the clips.
With everything in my sequence still selected, I'll now choose None from the Presets panel and remove every transition all at once.
I'll deselect all and select the first clip again and this time, I'll choose the Dip to Black preset.
Using dip to black and dip to white for scene changes
The first clip will simply fade up from black, but when it's placed between clips, this transition fades the outgoing clip to black and then fades up on the next shot, like a blink.
A Dip to Black transition is typically used to signal the beginning or end of a scene.
So, I'd like to use it at the very end of my sequence.
Rather than select the final clip which would apply the transition in two places, this time, I'll drag the Dip to Black preset from the Transitions panel and drop it at the end of the last clip.
Another useful transition is Dip to White which works a lot like Dip to Black, but as you'd expect, fades the image to and from white.
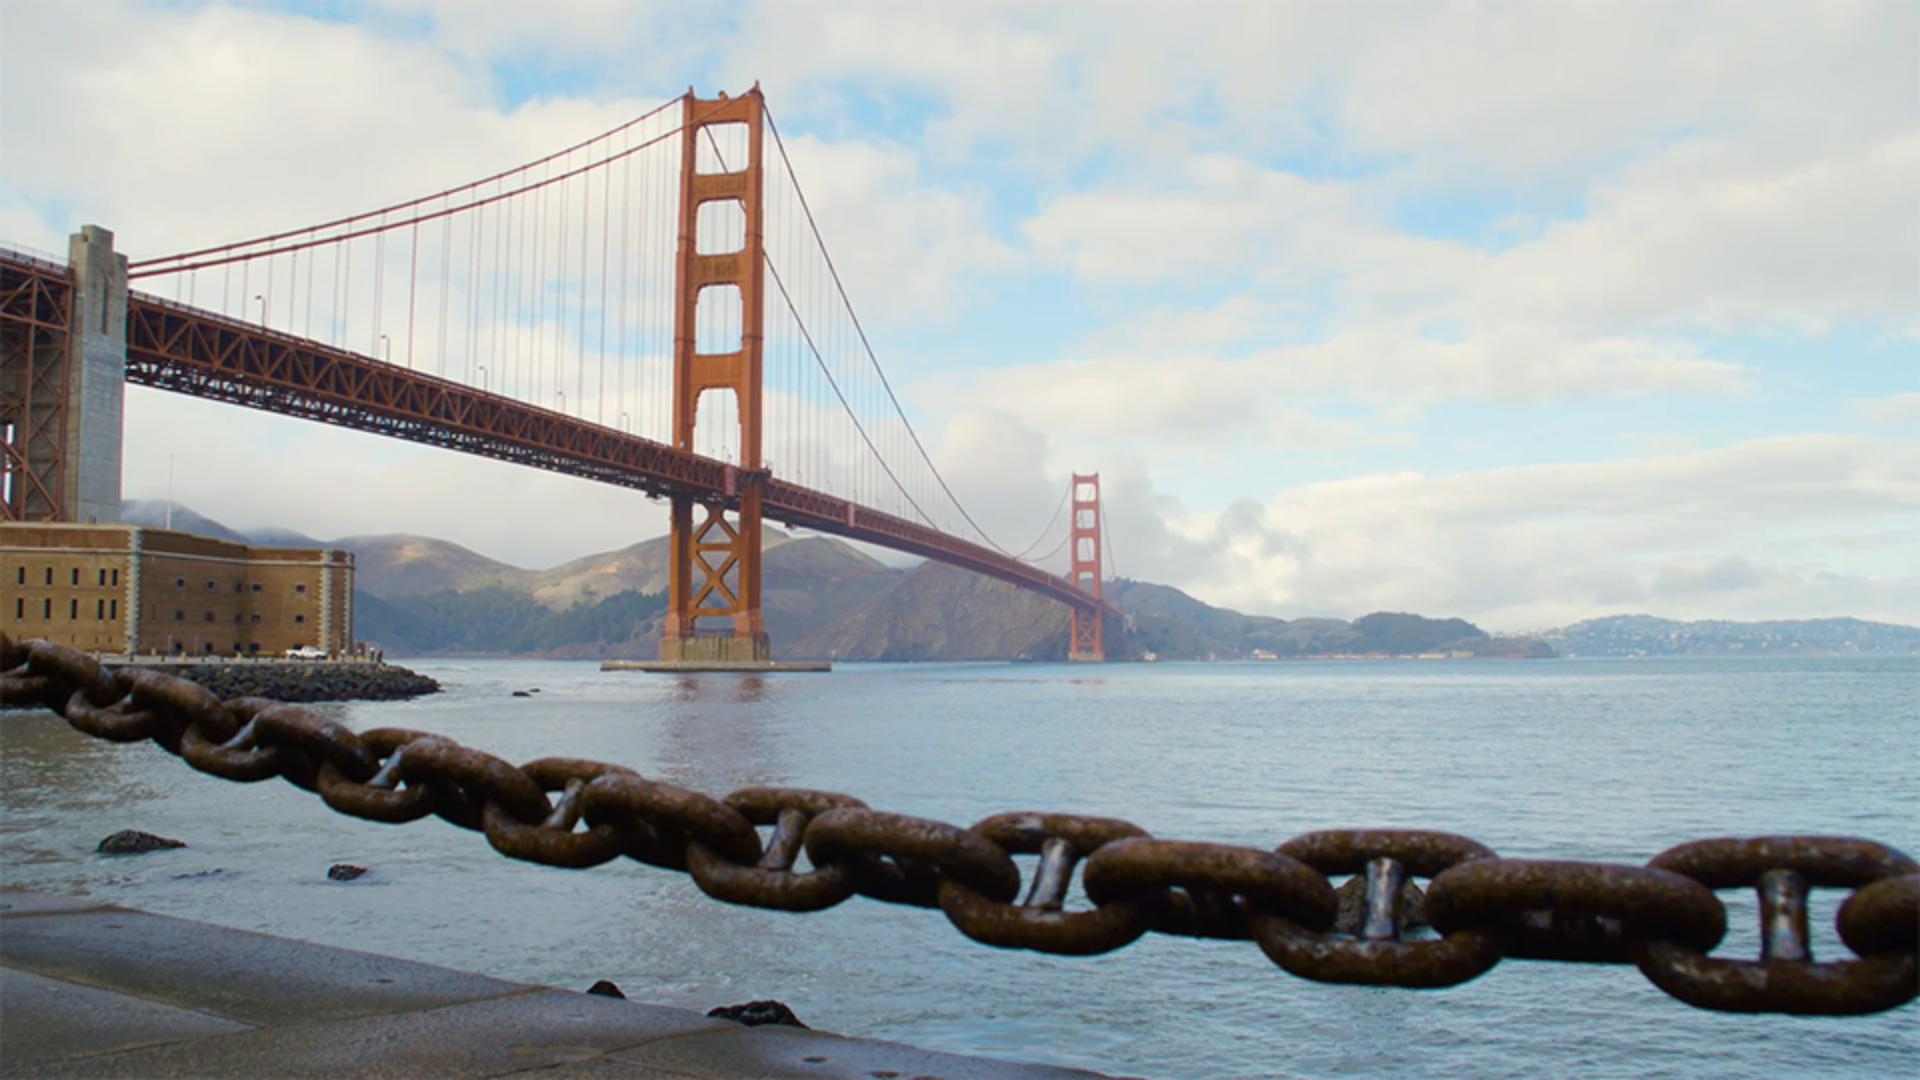
It should work well to smooth this cut where the camera tilts up into the fog above the Golden Gate.
So, I'll head up to the Presets panel, grab Dip to White and then drag and drop it on the cut.
Now I'll press Play to see how it looks.
Adjusting transition duration and timing for better flow
I think it could be longer.
With this transition still selected in the sequence, I'll go to the Edit panel, it's right next to Presets, and drag the slider to the right to extend the Duration.
You can also enter a numeric value.
I'll type 2 and press Return to make this Dip to White take exactly 2 seconds.
It'll take one second for the first image to fade to white and another second for the clip to fade in.
I've got one last cut that could use a transition.
As the cyclist rides into view, I'd like to transition on her motion right into the next clip, so it feels like we're seeing her POV over the handlebars as she continues to ride onto the bridge.
I'll drag and drop a Cross Dissolve preset onto this cut and play through it.
It doesn't quite work yet.
I need to adjust the timing and position of this transition.
My favorite way to change the timing of a transition is by dragging the edges of the effect.
I'll press the = sign to zoom in.
Now I can click on the center of the transition and drag it left or right.
So, the effect will begin and end earlier or later as it blends the two clips together.
When I drag the transition to the right of the cut, it doesn't really work because you can see the cyclist slowing down and coming to a stop.
But if I drag the transition to the left so it ends at the cut point, the incoming clip will be fully visible before her bike comes to a stop, creating the illusion that she is still in motion and now riding on the bridge.
If you want to change an existing transition,
Replacing, trimming, and removing transitions
just select it in the sequence and choose another preset.
The transition type updates, but the location and duration of the effect stays in place.
If you want to update the duration too, drag the edges or double click on the transition which opens the Edit panel.
Be careful dragging the Duration slider in the Edit panel when more than one clip is selected in the sequence because the slider can update many transitions at once.
I'll press Command or Control Z to undo these changes and then play these transitions.
I think it's really cool that you don't have to remove a transition to trim clips, but you can always select a transition and press Delete to remove it.
Play with some of these transitions in your own videos to condense time or to creatively smooth abrupt shot changes.
Have fun with it.


