For compositing projects in Photoshop CC that require a gradual and seamless blend, one of the best tools to use with a layer mask is the Gradient Tool.
In this tutorial we'll explore some of the ways that you can use a gradient mask to create smooth transitions from one image to another.
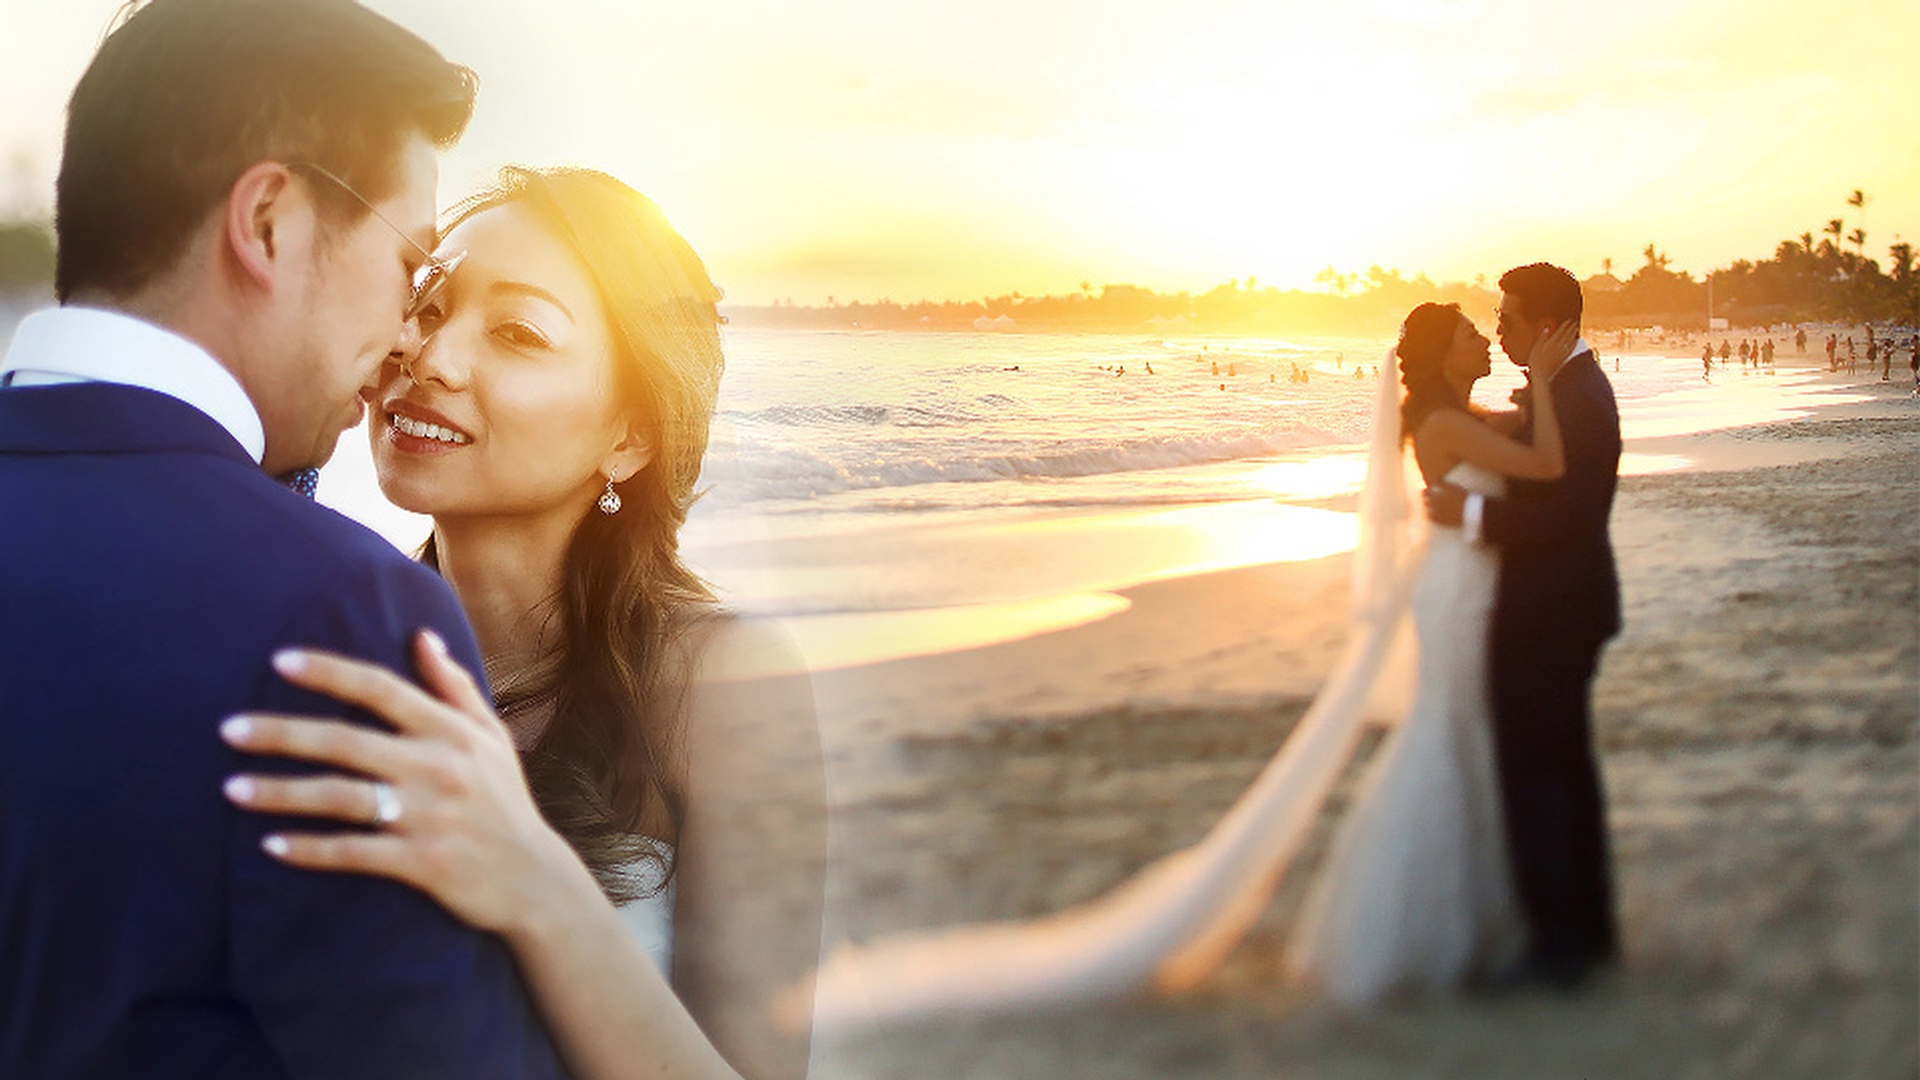
In this wedding composite, I have a nice close-up view of the couple embracing, with the bride looking into the camera, as well as a long shot of the couple on the beach.
My goal with this is to create a smooth and seamless transition between the two photos.
I'll click on the top layer to make it active and then down at the bottom of the Layers panel I'll click on the Add layer mask button.
The layer mask that's added is totally white which means it's currently showing all of the top layer.
To create a smooth transition, I'll come over to the Tools panel and I'll choose the Gradient Tool.
Up in the Options bar for this tool I'll click on the first Gradient Style icon which is for a Linear Gradient.
Next, I'll come over and I'll make sure that the Blending Mode for the gradient is set to Normal and the Opacity is at 100%.
I also want to make sure that this button which controls reversing the gradient colors is unchecked.
Next, I'll come over to the Gradient Picker and click on it to open it up.
The first two Gradient Swatches are always based on the foreground to background color or foreground to transparency, so their appearance may change depending on what those colors are set to.
The third Gradient Swatch is always Black_White and that's what I'm going to click on here.
In a layer mask black hides what's on the layer and white shows the layer.
So, this will create a smooth transition from parts of the layer being hidden to being totally visible.
I'll press the Enter key on the keyboard to close the Gradient Picker.
Next, I'll double check to make sure that the layer mask is indeed the active part of this layer and the highlight border around the Mask thumbnail confirms this.
My goal with this mask is to totally hide the hard edge of the photo on the right side here and then gradually reveal the photo to create a seamless blend between the two images.
With a gradient where you start dragging the line will be the beginning color which in this case is black and where you end the line will be the end color which is white.
So, I'm just going to click just to the left of this hard edge here and drag to the left to about where the woman's earring is and that creates a really wonderful blending effect between the two photos.
If you're not satisfied with the way the gradient looks simply drag out a new one and it'll replace what was there before.
You can also try dragging out diagonal gradients to see how that looks.
For this image it doesn't work too well but for some projects it might.
Now when you drag out a really short gradient line it creates a more abrupt and noticeable blend.
If you drag out a longer gradient line it creates a more gradual, smooth and seamless transition.
Now, for this photograph, this gradient is working really well, but let's try a different type of gradient.
I'll come up to the Options bar for the tool and I'll click on that second icon which is a Radial Gradient.
Then I'll place my cursor right where their faces are meeting and drag down diagonally to the woman's elbow.
So, that's not working the way I wanted because I'm still set to a Black_White gradient up here in the Gradient Picker and the black, which is the starting color, is hiding their faces.
You can see that here in the thumbnail of the layer mask.
All I have to do to fix that is come up to the Options bar and click on this button to reverse the gradient colors.
Now if I do that same drag again from their faces down to her elbow, it creates a much better blend.
There's still a little bit of the hard edge showing here, but if I come over and get the Brush Tool, I can use a large soft edge brush and paint with black to hide that.
There we go.
Next, I'm going to tap X on the keyboard which will place white down in my foreground color swatch and I'm going to press 2 on the keyboard to set my brush opacity to 20% and I'm just going to brush in a little bit more of her arm and elbow showing up there.
There we go.
That looks really nice.
The gradient tool is definitely one of the most effective tools in Photoshop CC for many different photo and design scenarios.
Using it with a layer mask is an essential technique for creating a smooth and seamless transition in multiple image composites.