If you've ever wanted to create an animation where one layer in a composition follows another layer, parenting is a technique you’ll want to investigate.
Let's start this off by watching the reference composition so we can see what it is we're going to build.
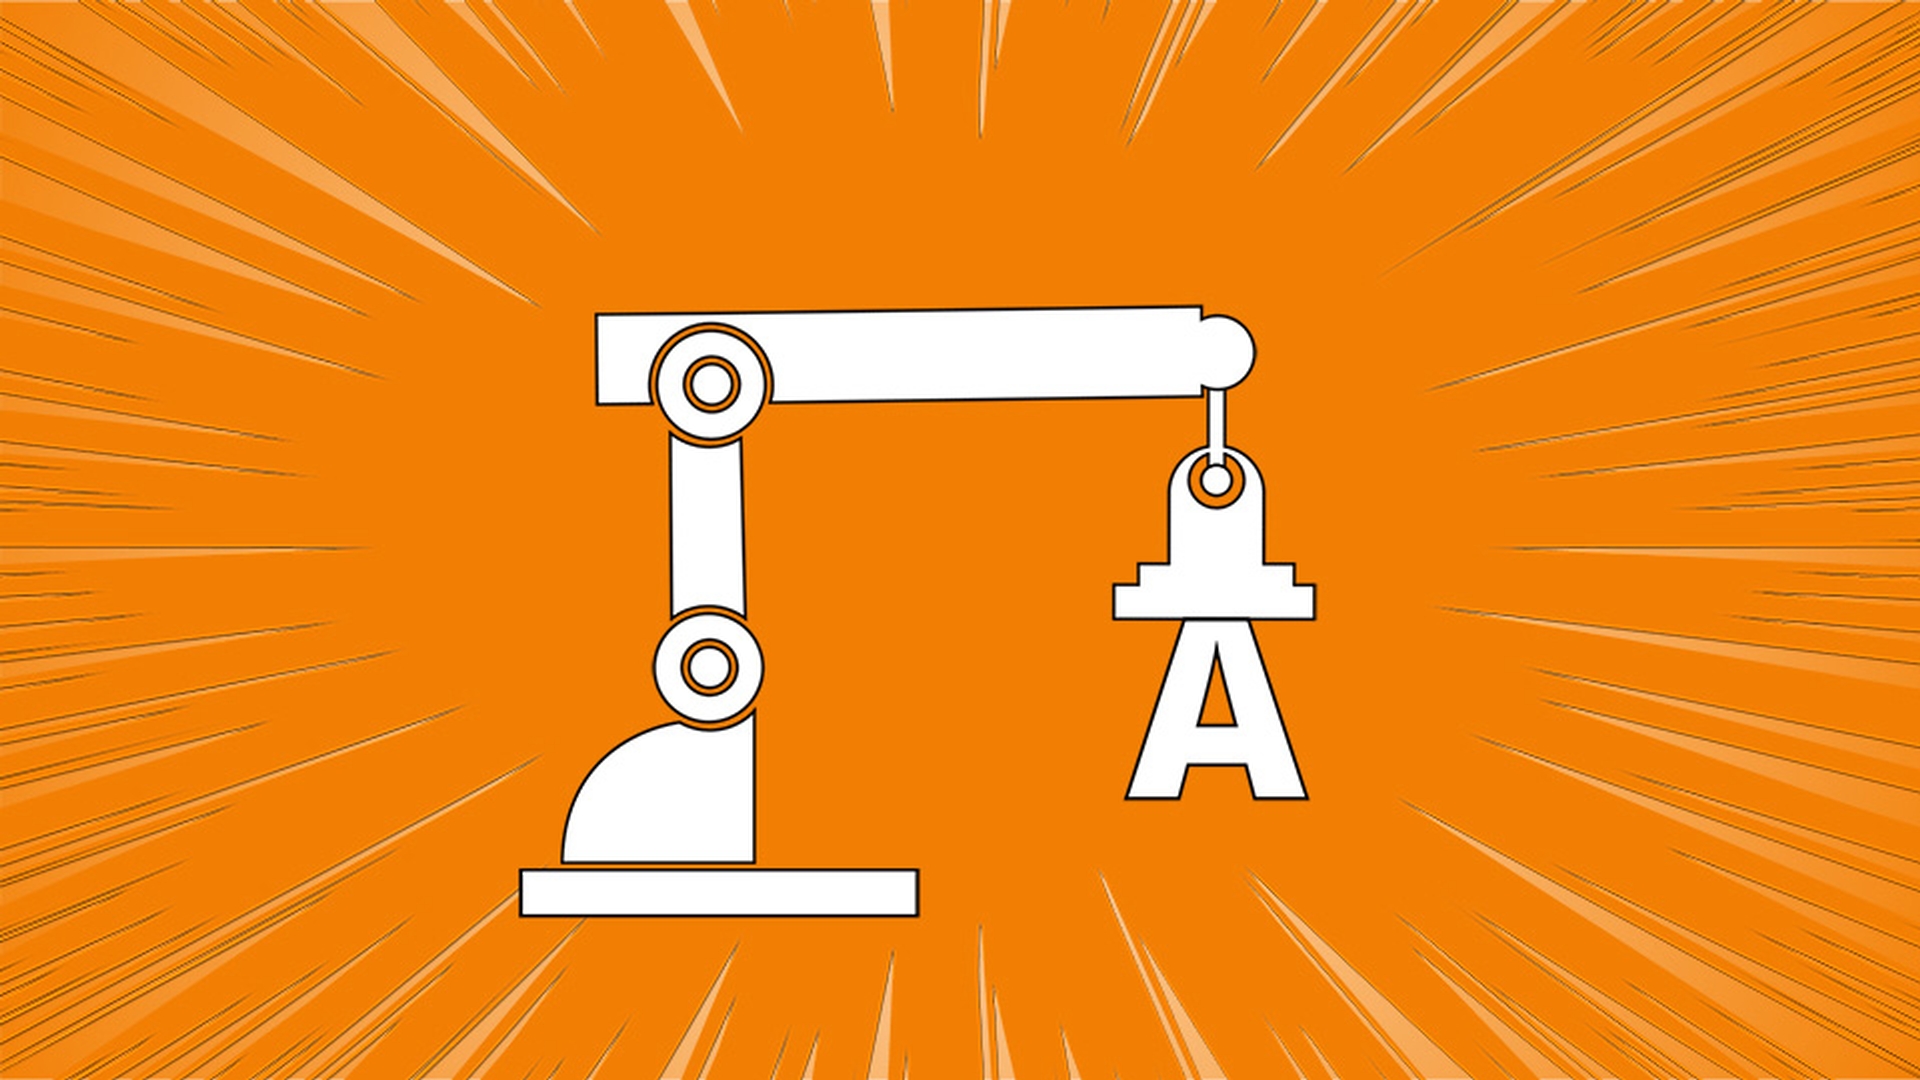
In the Project panel in the Finished Reference Composition folder double click on the Finished Reference comp, then press the Spacebar and you'll see we have a robot arm that animates in and magnetizes the letter A up onto the magnet.
Now I just want to focus on this section of the animation, the arm, so I've already animated the A and the little magnet lightning bolts.
So, I'll press the Spacebar to stop playback and let's go back to the Control with Parenting Start composition by clicking on it in the Timeline here in the upper left corner.
Now in order to build this let's set the relationship of these layers working from the bottom up.
So, the (Background_Precomp) layer is fine, and it's not going to animate.
So, let's go to layer 5 the Base layer.
This is not going to animate as well, this is the base of the robot arm.
Let's select Arm_1 and press R to open the Rotation parameter.
Scrub on the right most Rotation parameter and you'll notice the anchor point is in the wrong position.
I want this to rotate around this center circle.
So, I'll just undo that last rotation, go up to the Tool panel and grab my Pan Behind Tool.
Now I can click on that anchor point and reposition it right in the middle of that circle.
So, now if I scrub with the Rotation Tool, you'll notice it's rotating properly, but this layer needs to follow that layer.
This is where parenting comes in.
So, I'll grab my Selection Tool and just undo that last rotation and I'll select Arm_2 because I want Arm_2 to follow Arm_1.
So, in the Parent & Link column for Arm_2 I'll click on the little curly cue here and hold my mouse down as I drag over to the name Arm_1.
Now Arm_2 is following Arm_1.
Let's repeat the same process.
Select the Top layer and have the Top layer follow Arm_2.
So, click on its pick-whip and point it at Arm_2.
Now if I scrub, you can see all the layers are moving together.
So, let's undo that last little rotation here and set some keyframes.
Select Layer 2, hold down Shift and click on Layer 4.
Then press R to open the Rotation parameter and click on the stopwatch to set our first keyframe.
Move the Current Time Indicator to 0;00;00;15 frames in the Timeline and deselect all the layers just by clicking any empty space in between the layers.
Now, scrub on the Rotation parameter for Arm_1 until that layer is pretty much vertical in the scene.
I'll set it to a value of 69.0.
Let's do the same thing here for Arm_2.
Scrub on the Rotation value until that arm is parallel to the ground plane.
I'll set it to -17.0.
Let's set the Rotation for the Top layer so that the bottom of the magnet is parallel to the ground as well.
I'll set that to -1.0.
Now if we scrub, you can see we have successfully created our animation.
If I press the Spacebar, you can see I even have the letter A popping into the scene, but I'll press the Spacebar again to stop playback.
Visually these are stacked incorrectly and the reason I didn't deal with that at first was because I like to setup the parent child relationships with multiple layers from the bottom up.
So, I stack things according to how I wanted them to be linked but now I can move my Top layer below Arm_2, so I’ll click on Top and move it below Arm_2.
Now that looks correct and let’s select the (Magnetic A Precomp) and position that below Arm_1.
Now we can see everything is actually set up properly and we've successfully executed our animation.
So, when it comes time to working with parented layers it's always wise to pay attention to the location of the anchor points especially when you're working with rotation.


