Introduction
To achieve some really cool effects - in Illustrator, you can change things - like the opacity of artwork and apply what's called blending modes.
Opacity actually means - controlling how transparent or see through something is.
Applying blending modes to your artwork can change how color in one object - blends with the color beneath it.
Like in this example.
Let's see how making content transparent - using opacity can lead to amazing things - in your artwork.
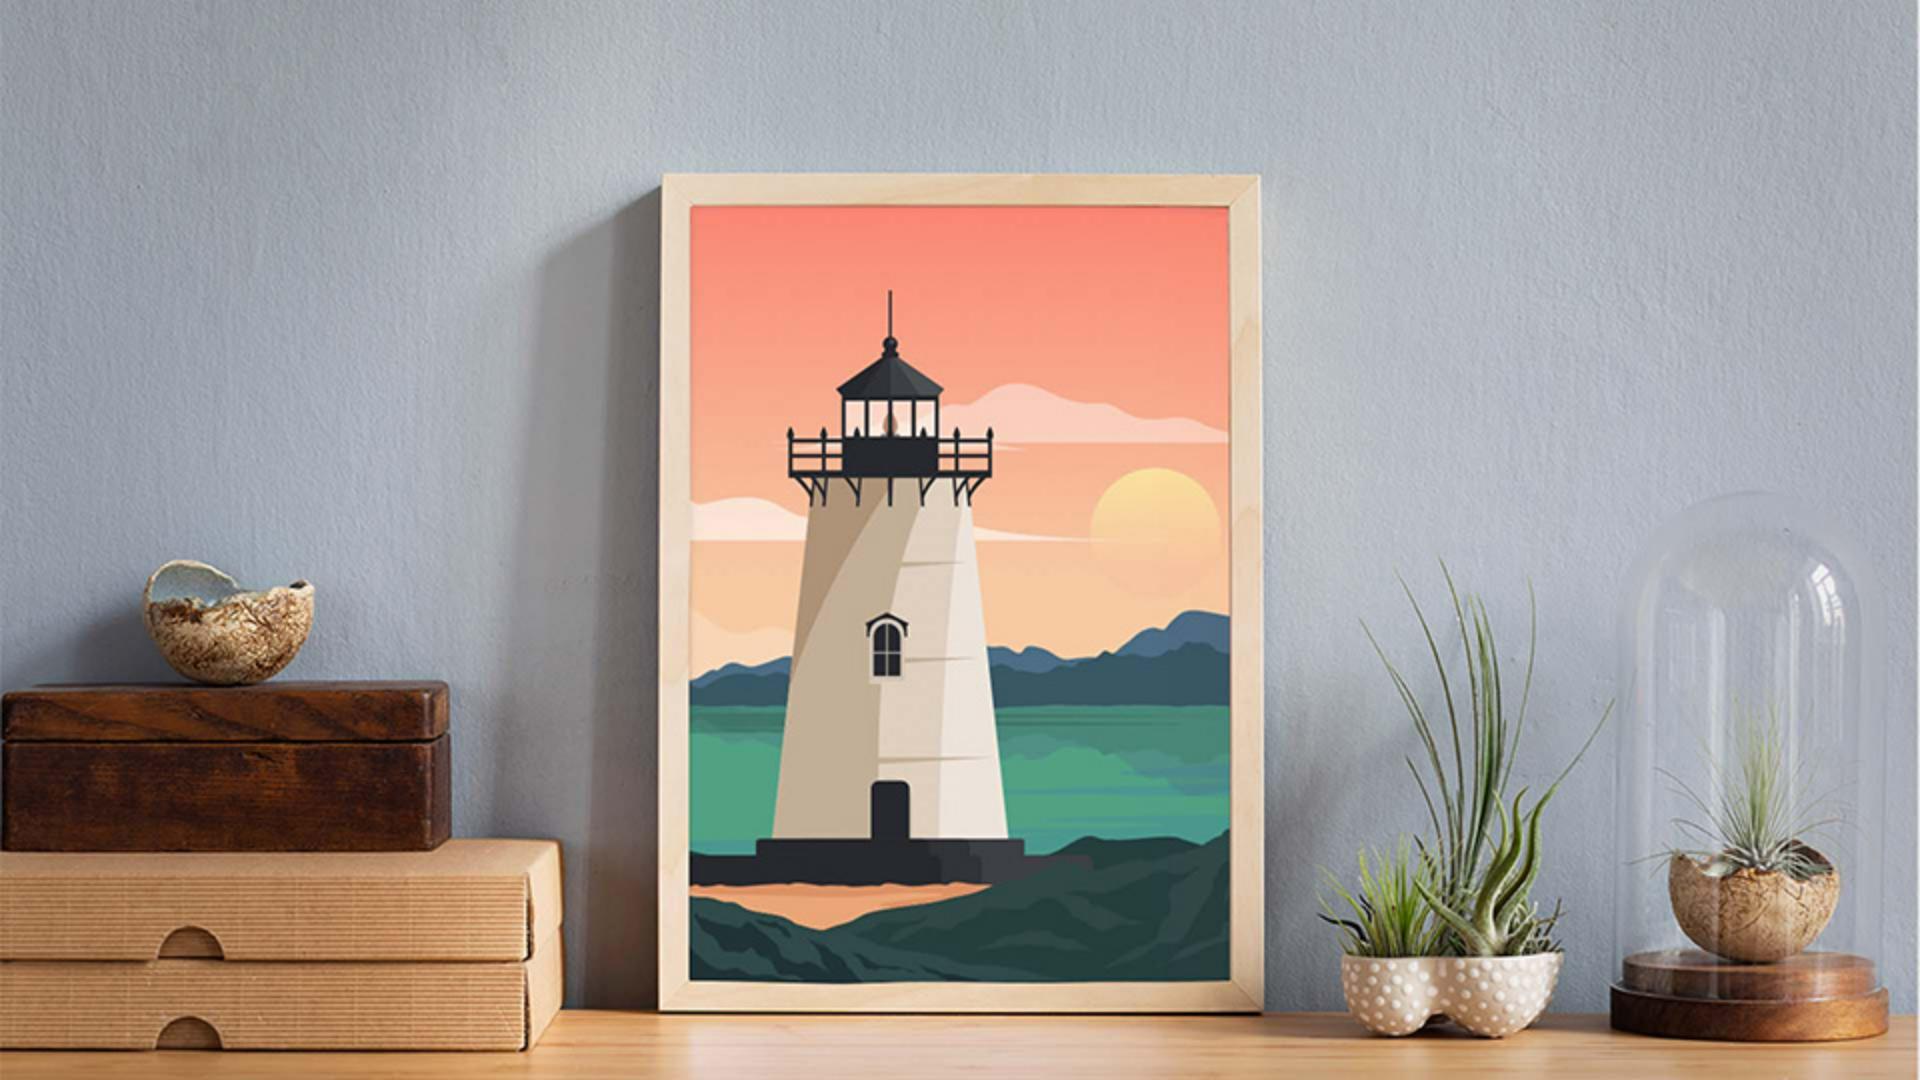
I'll zoom into this poster.
Using opacity to create reflections and depth
Let's temporarily hide this lighthouse.
So go ahead and select it and choose Object, Hide, Selection.
We're going to make these mountains - look like they're reflecting in the water.
So we're going to copy - and flip the mountains.
Go ahead and select them, copy them, and then paste them - right on top by choosing Edit, Paste in Front.
Now to flip them, click Flip Vertically over here - in the Properties panel.
Then drag them into place.
To make them more see through, - in the Properties panel over here, you're going to see Opacity.
I'll just drag the slider to the left - to make the mountains more transparent.
Now, the clouds here - would also look better if they were partially transparent.
So let's select a few of them - with the Selection Tool.
And then come over here - and change the Opacity.
Notice how you can actually see - where they overlap.
Let's try something - a little different here.
Applying opacity to groups versus individual objects
Set the Opacity back to 100%.
Now we're going to group the clouds first, - and then apply Opacity.
So go ahead and group them.
Now apply the Opacity - and check out the difference.
It's applying the Opacity - to the whole group.
Now, if you were to ungroup the clouds, the opacity change would be removed - since it's applied to the group.
If you want to practice adjusting opacity, why don't you try adjusting the opacity for some other artwork in this design - like this color on the water.
When you're finished, - go ahead and show the lighthouse again by choosing Object, Show all.
Now I'll introduce you to blending modes
Understanding and using blending modes
or a way to blend colors between objects.
See how these circles in this final artwork - sort of blend into each other making new colors?
This is caused by applying - a blending mode to each circle.
Let's try it.
Select this circle, come over here in the Properties panel - and click the word Opacity and you should now - see the Transparency panel.
Click this Blending Mode menu here.
And you'll see a whole bunch - of blending modes here.
They're arranged in groups in the menu - based on how they affect the artwork.
For instance, - blend modes in this Darken group here, produce a result that's darker - than the color of the artwork on top or even underneath.
This Lighten group produces a result that's lighter - than either the artwork on top or the underlying artwork.
Let's try one.
Try Multiply first.
You're going to see the resulting color - is actually darker, since the color - where the circles overlap is multiplied.
To finish this logo, - you're just going to take this top circle, copy it and rotate it around, - so it looks like this.
You're going to use a command - called Radial Repeat.
Creating repeated artwork with radial repeat
We're going to let Illustrator - make the copies for us.
So first get rid of this circle - by deleting it.
Then with this circle selected, - go ahead and choose Object, Repeat, Radial.
You can see that it made a bunch of copies - in a radial pattern.
Now to adjust them, there're all these widgets out here - you can drag.
Let's just do this one, drag this widget so the circles - are a little bit closer together.
Then just drag it up - a little bit into place.
Now the circles are in a special group - called a radial repeat object.
You can see that here.
To be able to edit the circle separately, you're going to need to do something - called Expand this repeat object, that means break it apart.
So choose Object, Expand...
In the dialog box that opens - select Object and deselect Fill.
That just means - we want separate circles or objects.
Click OK.
Now, the circles are circles, - but they're grouped together, so we need to ungroup them.
Click Ungroup over here - in the Properties panel.
And if you look up here at the top - of the Properties panel, it's saying that they're still grouped.
So click Ungroup once more, and you can now see that each circle - can be moved independently.
Expanding repeats and finalizing blended artwork
Make sure all the circles - are still selected.
And then we'll apply a blending mode - by clicking Opacity.
I'm going to try something like Overlay.
Let's also try changing the colors - of some of these circles.
That way we get more - of a colorful pattern.
I'll do that with the Fill color over here.
I think they look pretty good.
To finish the logo - you can drag the tree onto the shapes.
There are so many amazing things - you can do with blending modes and Opacity together or separately to make your amazing artwork come alive.
Why don't you try experimenting - by applying different colors and even different blending modes - to the circles to see what you come up with. -