Introduction
If you have a photo that's pretty dark like this one Photoshop CC can help you to brighten it up, so the hidden details shine through.
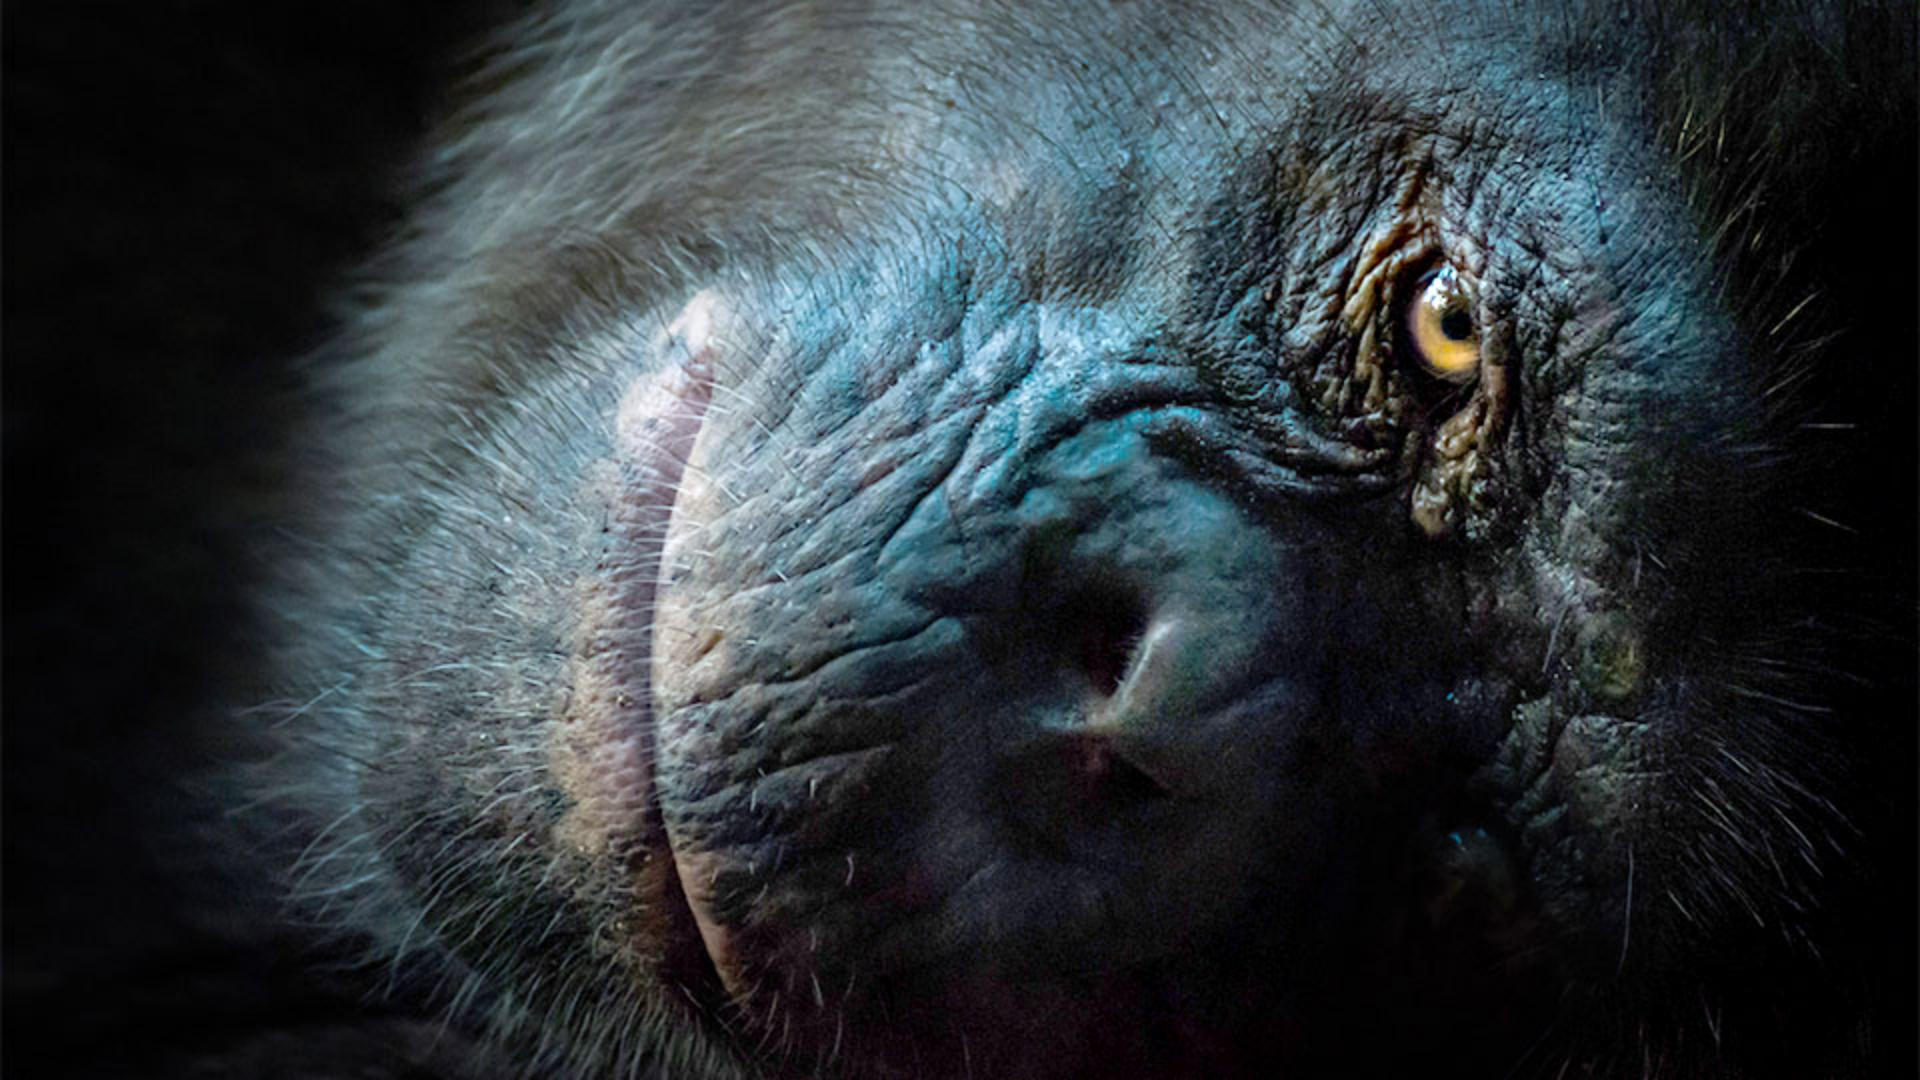
In this tutorial we´ll lighten this underexposed photo, changing it from this dark version where a lot of the content is hidden, to a lighter version that reveals expressive detail in this animal's face.
Adding a levels adjustment layer
To do this, locate your Layers Panel and go to the bottom of the Layers Panel and click the Black & White circle icon.
That opens this menu of adjustments.
There are a number of adjustments that you could use to try to brighten a photo.
From the simple Brightness/Contrast adjustment to the more technical Curves adjustment.
We're going to use Levels because Levels give you control over different tonal values without being too complicated.
So choose Levels in this menu and that creates a brand new Adjustment Layer, a Levels Adjustment Layer above the layer that contains the photo.
Whatever changes we make in this Adjustment Layer will affect the photo on the layer below without making direct changes to that photo.
The Adjustment Layer not only will protect the photo, it also gives you flexibility to change or even delete the adjustment in the future.
Making this Adjustment Layer also popped open the Properties Panel with the Levels Controls, that we will use to brighten this photo.
I am just going to move my Properties Panel out of the way, so you have a better view of my photo.
Using auto levels and reading the histogram
To brighten the photo, sometimes all you have to do is go into the Levels Properties Panel and click the Auto button.
That automatically moves the sliders under this chart.
These are the three sliders I am talking about and this is the chart which is called the Histogram.
The Histogram is a representation of the tonal values in an image.
So if you like the way that the Auto button made the photo look, you are done.
But if you have a different vision, you can drag the sliders under the Histogram yourself.
Let's do that.
Manually adjusting white, midtone, and black values
I am going to start with the White slider here, which controls the brightness of the lightest parts of the photo, like maybe the highlight in the subjects eye.
I am going to drag to the left to set the lightest parts of this photo to pure white.
As you drag, if you want to see which parts of the photo you're affecting, you have the option to hold down the Option key on a Mac or the Alt key on Windows.
That switches to this Mask View, in which the white areas are the parts of the photo that you are pushing to pure white and that means there will be no detail visible there.
So you do not want to go too far with this adjustment.
I suggest you stop just about here, when you see just a few small areas of white in this Mask View.
Just that one change made the photo definitely brighter.
But what will make the biggest difference is to brighten up the mid tones, the grey values in the image.
And those are controlled by the next slider, the Grey slider.
So lets drag the Grey slider toward the left.
By the way, if you want to use the same values that I am, you can see those in these boxes right underneath the Histogram.
So we are looking at the center box now, as we drag the Grey slider to the left.
Now not everything in this photo has to be brighter.
We might get a more natural look if we push the very darkest parts to a rich dark black.
So for that, you can drag the Black slider here in the other direction to the right or you can enter a low value in this leftmost box.
Brightening the photo has made a lot of difference, but it also brought out some things that I may want to hide, like some of the content and maybe some of the digital noise in the darker areas of the photo.
To do that, I am going to use this Layer Mask that comes with the Adjustment Layer.
Refining brightness with the adjustment layer mask
I will make sure that it is highlighted and then I will make sure that my foreground color is set to black.
I will select the Brush Tool and I will paint with black on the Layer Mask to hide the brightness adjustment from part of the photo.
If you want to partially hide the adjustment, you could adapt the opacity of the brush.
And one way to do that is just to type a number on your keyboard.
So, I will type 3 for 30 percent Opacity and now I am painting with grey, rather than black and that's partially hiding our brightness adjustment.
You can see those changes here, if you look at the Layer Mask.
The black on the Layer Mask is concealing the adjustment, the white on the Layer Mask is revealing the adjustment and the grey is partially concealing it.
To see how far we have come,
Comparing before-and-after results
I am going to turn the Adjustment Layer off by clicking its eye icon, so there's the original dark photo and here is how it looks with this Brightening Levels Adjustment Layer.
Being able to see more of the craggy details in the chimpanzee's face has really changed the mood of the photo and allowed us to see a detailed expressive portrait that tells us alot more about this remarkable subject.


