Introduction
Today, we're going to show you how to create an animated GIF using Generative Fill backgrounds.
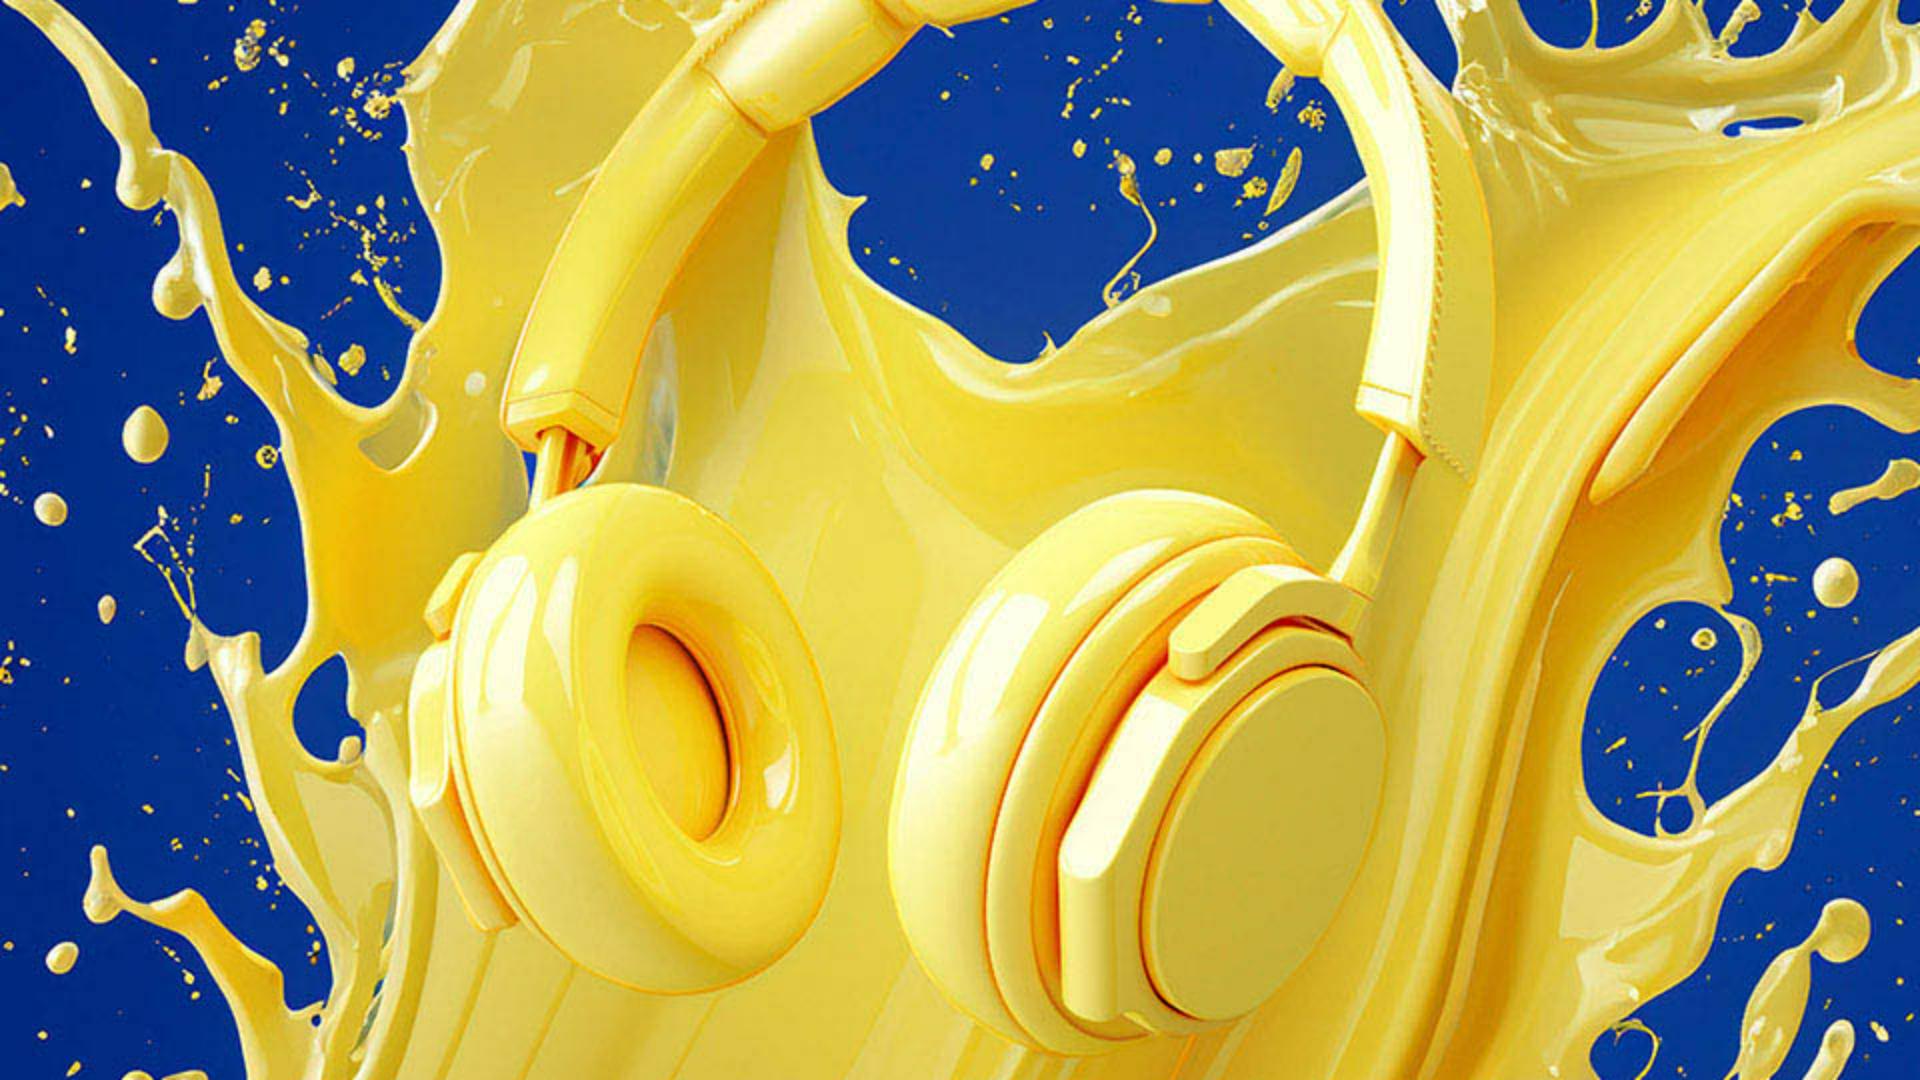
I want to show that these headphones are waterproof.
So some of these features we're going to be representing in the background.
Creating generative fill backgrounds to tell a product story
We're going to start by going to Select subject and then make this Contract by about 10 pixels.
Next, we're going to inverse our selection.
So it's selecting the background and click on Generative Fill, We're going to type in splash, and here we can see our variations.
We can see we have several different splash variations.
I think this one looks absolutely incredible.
Next, we're going to go ahead and type in clouds in sky and hit Generate.
I want to show how these are lightweight and show them actually floating in the sky.
And these variations look absolutely stunning, headphones in the sky, beautiful, nice and lightweight.
These results look incredible.
Next, we're going to go ahead and type in professional music studio with speakers and instruments and mixing boards.
I want to show that these headphones can be used in a professional environment.
And here we have our variations.
This one looks absolutely incredible.
Next, we're going to type in here, headphones smashing rocks and hit Enter.
We want to show that these headphones are very durable.
And these results look incredible, look at that.
Looks like the headphones are actually smashing these rocks.
I love this one.
Reviewing variations and planning an animated GIF
Now, all of these options are included in the Properties window.
So, as I go through them, we can see all of our different variations here.
And our goal is going to be creating an animated GIF using these variations.
So, now we want to create our animation, but before we do,
Separating generative fill results into individual layers
we need different variations of our Generative Fill layers to be on their own layers.
So, here's what we're going to do.
I'm going to go ahead and create four new layers, 1, 2, 3, 4.
Now, on this first layer, we're going to go to Image, and then down to Apply Image... and hit OK.
It's going to take whatever it sees and put that on a new layer.
Let's go ahead and make that invisible.
Click on our Generative Fill, and then choose our next option.
I love this music studio.
We're going to go back to our Layer 2, Image, Apply Image...
There we go.
And then repeat this process just a couple of times.
So, we're going to go ahead and click on these clouds, Layers, Layer 3, Image, Apply Image...
Fantastic.
And then we're going to go all the way back down to our Generative Fill and we'll go to our beginning with our splash.
And there we go.
On layer 4, Image, Apply Image...
So, now we can see we have four different layers.
Each of these has the content of different generations from our Generative Fill layer.
Now we want to create our animation.
Building a frame animation in the timeline
So the first thing we're going to do is go to Window and then down to Timeline.
And then right here, we want to make sure we click on Create Frame Animation and go ahead and click on Create Frame Animation.
Here we can see our first frame is what we have visible.
Let's click on a new frame and then make our other layer visible.
And as you can see, it makes up the second frame.
Let's click on one more frame.
Let's make that visible.
One more frame and make that invisible there.
Each one of these frames now makes up our images that we were able to get from Generative Fill.
Let's go and Shift click all of those, take our Delay and put 0.5 seconds and hit Play, so, we can see our preview of the animation.
Looking really, really good.
Now it's time to go ahead and save it out.
To save an animated GIF
Exporting the animated GIF using Save for Web
simply go to File down to Export and Save for Web (Legacy)...
Up at the very top, you want to make sure you choose GIF - or GIF depending on how you want to say it.
We're going to go ahead and resize our animation, our Width, and our Height.
We're just going to put our Width at 800 pixels and hit Enter.
And if I click on this Preview icon, it'll automatically load in my preferred internet explorer.
From here, all we have to do is hit Save, we'll just call this headphones and we've completely saved our animated GIF using artificial intelligence backgrounds.


