Premiere Pro offers countless ways to fix, enhance, and stylize footage through video effects.
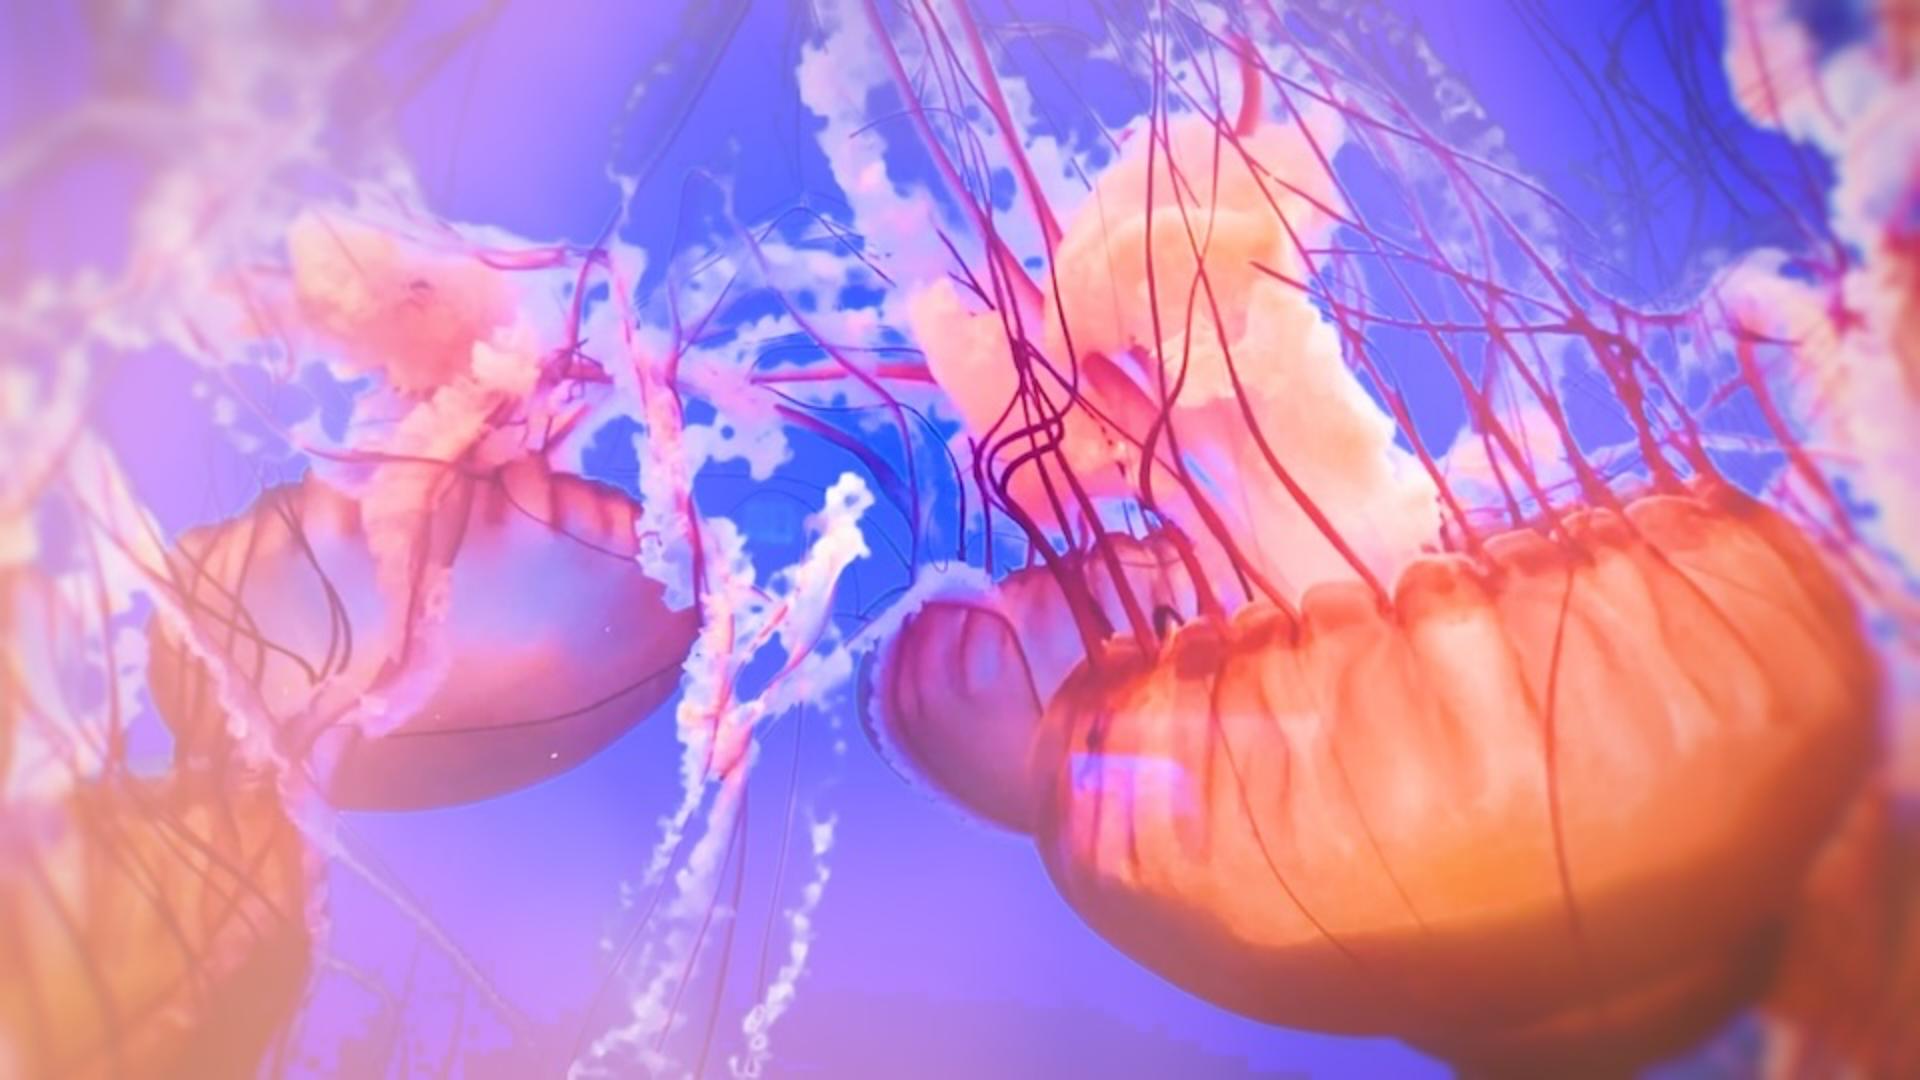
The Film Impact category adds some really modern, polished options, which I'll use to jazz up my jellyfish scene.
I'd like to add some lighting and motion effects to make this scene even more vibrant.
I'll come to my Effects panel, and under Video Effects, there are four Film Impact categories: Essential, Lights & Blurs, Motion, and Tools.
I'm in Premiere Pro 25.5, so your layout of these categories may differ if you're working in another version, but applying and adjusting works the same.
I'm also going to bring up my Film Impacts Dashboard.
Preview and apply effects in the Film Impacts dashboard
I'll go up to Window, then Extensions, and then Film Impact Dashboard.
Here you also see Essential, Lights & Blurs, Motion, and Tools.
The difference is I can hover over each of these and get a sense of what each of these effects does.
This space may also evolve in future Premiere versions.
Let's begin by adding a Vignette to my first clip, and that can be found in the Essential Effects category.
Essential Effects are those core effects that refine, enhance, and stylize our footage.
I'm going to select my jellyfish clip and then apply my Vignette.
Then I'll come to my Effect Controls panel and show you the before and after on this Vignette - a nice, subtle, shadowed vignette around my image.
If I want to change the look, I can adjust my parameters or use the Surprise Me!
button, which is present in all Film Impact effects.
As I cycle through, you can see different looks until I land on what I like.
I think I'll go with that.
I like the blurred edges; I think it makes the title really pop.
Let me just play through this.
And by the way, I have some background music in my sequence if you'd like to add some for your own, you can find it in the Essential Sound panel.
Let's move on to something a little flashier in the Lights & Blurs category.
Customize your effect with the Surprise Me! Button
These effects add different types of light play to create various mood and visual depth.
I'm going to add the Light Leaks effect to simulate shifting underwater light.
I will apply that to my jellyfish, and I think this is a bit much, so let's go into Effect Controls.
And again, I'll use the Surprise Me!
button to get to a good starting place.
I'll cycle through a few of these.
I think that's a little bit closer to what I'm after.
Let me play through this.
Very nice.
I think I just want to adjust my Hue a bit, a little bit closer to some blues and greens and my Diffraction as well.
Instead of keeping the effect at full intensity the whole time, let's keyframe it to shift it through different levels,
Add keyframes to change the intensity over time
which I think will be perfect for the underwater look.
I do that by keyframing my Master Value.
I'll go to the beginning and I'll click on my Stopwatch, and let's bring that down to something quite low.
Then maybe a third of the way through, we'll bump it up to something a lot higher, and then back down and then back up.
Now we should be moving through different intensities over the course of the clip.
I'll give it a quick play.
Now, let's copy and paste that to the rest of the clips.
So I'll press Cmd+C or Ctrl+C on Windows, and then select the rest of my clips.
And we want to Paste Attributes.
We just want our Light Leaks, and we want to make sure to Scale our Attribute Times so that the keyframes are proportional across all the clips.
Let's just play through a few of these moments.
I think that's working really well.
Now let's finish with some Motion effects, which add movement without keyframes.
Animate text with motion effects
I want my title to slowly grow and drift in the water.
So I'll select it and apply the Grow effect.
I think the default setting should be fine, but let's play it back to check.
Yes, that's good.
And then I'm also going to apply the Wiggle effect.
And let's take a look at the default value here.
A little bit much.
So let's modify that.
I'm going to come down to my parameters and just back off my Wiggle Speed to something close to around 10 or 11.
And let's play that.
That's the sort of subtlety I'm after.
And there you have it.
In just a few steps, we've transformed the scene into a glowing, drifting, underwater wonderland.
So that's just a taste of what's possible with effects in Premiere.
There are countless creative options, so take some time to explore, mix and match, and try the Surprise Me!
button for extra fun.