Comment supprimer l’arrière-plan d’une photo en un clic ?
Vous pouvez supprimer un arrière-plan pour personnaliser le contenu.
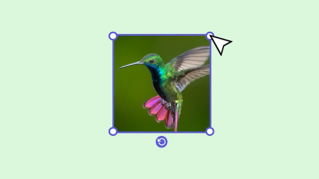
Option n° 1 : sélectionnez et cliquez.
Commencez par sélectionner l’image dans l’éditeur, puis cliquez sur Supprimer l’AP.
Vous avez changé d’avis ?
Cliquez de nouveau sur ce bouton pour restaurer l’image.
Option n° 2 : utilisez une action rapide.
Dans l’écran d’accueil, descendez jusqu’à Actions rapides, cliquez sur Supprimer un arrière-plan, puis ajoutez une image à partir de vos fichiers.
Choisissez de télécharger l’image sans l’arrière-plan ou de l’ouvrir dans l’éditeur pour la personnaliser avec des arrière-plans Adobe Stock, des éléments de design et bien plus encore.
Votre photo est à présent dépourvue d’arrière-plan et prête à être modifiée.
Adobe Express – Créez à l’infini.