Focus on lights that illuminate the night with light trail photography.
Discover how to create vibrant light trail photos by capturing the motion of vehicle lights with longer exposure settings.
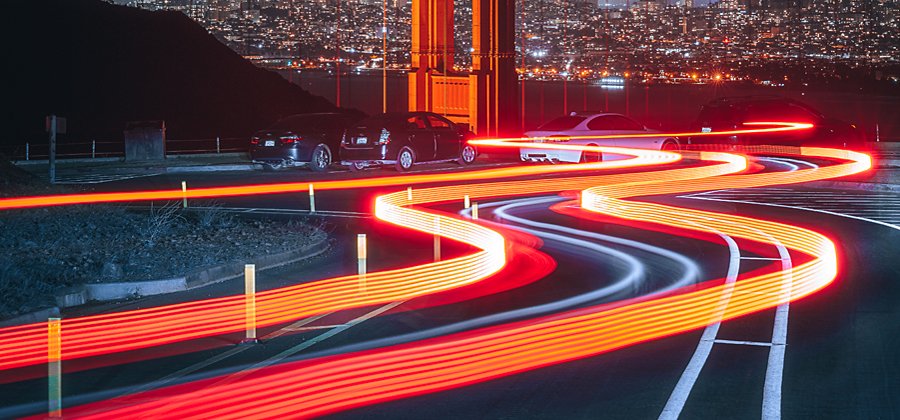
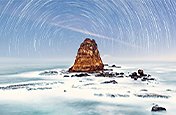
Image by Ryan Ditch
Explore how to shoot light trails.
Light trail photography is a type of long exposure photography that highlights the movement of light. By keeping the camera shutter open for a long period of time, you can collect more light and — in this case — show how that light moves across the frame.
“The intention is to capture something with light on it that, as it moves, will create a trail in your image,” says photographer Sean Salamon.
Light trail photography creates art from moving lights, like car headlights and taillights, headlamps, street lamps, street lights, and even bike lights. You can move a flashlight to create lines in the air, called light painting, but the most common depiction of light trail photography is on a roadway. Car light trail images capture the paths of illumination created by the headlights or taillights of a vehicle.
The key to road trail photography.
Longer exposure times capture the movement of light — the main technique for creating compelling and interesting light trail compositions.
“Light trails are an illusion and don’t exist in real life,” Salamon explains. “Light trail photography is an interesting and special type of photography because you’re able to depict something that isn’t actually real in any one instant. Most people expect photographs to accurately depict reality. Light trail photos are a clever way to get around that without feeling like you’re misrepresenting the truth.”
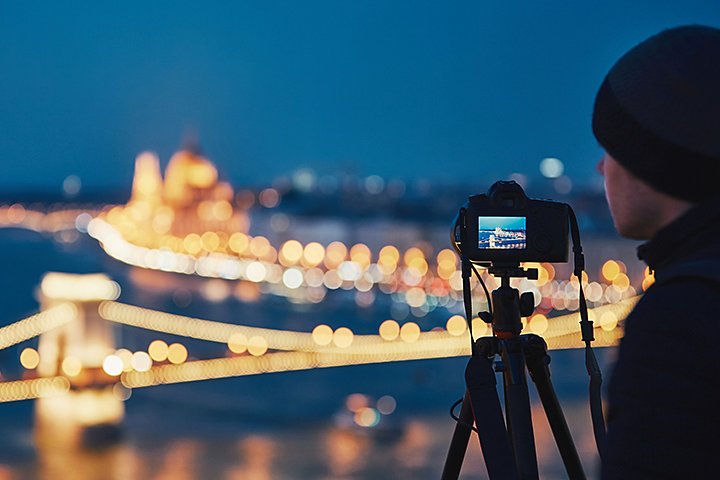
Image by Ryan Ditch
Camera setting basics to capture road and light trails.
Whether you shoot with a film or digital camera, knowing how to adjust the standard camera settings of ISO, aperture, and shutter speed are essential to capture light trail photography. Understand how each setting functions together before you plan your shoot.
ISO is a measure of the light sensitivity of the digital sensor on DSLR or mirrorless cameras. The higher the ISO, the more light a camera captures. Most standard DSLR cameras have ISO settings that range from ISO 100 to ISO 1600 while other cameras may have even higher ISO options. Try to keep your ISO as low as possible, using the long shutter speed to gather more light to compensate.
Shutter speed is the amount of time a camera’s shutter remains open to let light pass through the lens to the camera sensor. Shutter speeds range from thousandths of a second to many seconds or minutes. Light trail photography favors longer shutter speeds, between 5 and 60 seconds, so you can capture the full motion of light across the frame.
Aperture controls how much light your lens lets in the camera. On both film and digital cameras, the aperture is also called an f-stop and is labeled on cameras with measurements like f/8 or f/22. A favorable aperture setting for light trails is typically about an f/16.
Manual mode is ideal for light trail photography. The ability to change or manipulate the ISO, aperture, or shutter speed to accommodate shooting in your location is essential for photographing light trails.
Self-timer functions are available on most DSLR cameras. Shutter speed and aperture settings for light trail photography let light enter the camera for longer periods of time. Any bump or shake of the camera will cause blurry images. Use the self-timer function to avoid this, or use a shutter release — a device to remotely trigger the shutter.
Bulb mode is when you press down the shutter button for as long as you want to keep the shutter open. You can try this method of capturing light trails, especially when moving objects with light are consistently passing through your vantage point, but it may lead to your background blurring due to camera movement, underexposure, or overexposure.
Put camera settings together for the best light trail image.
When you better understand the relationship and interaction between ISO, shutter speed, and aperture (f-stops), you can play around with each function to get the best shot from your chosen vantage point.
Remember, the darker your environment, the more light you want to pick up. Shooting on a higher ISO with longer shutter speeds and wider aperture settings will let enough light pass through your lens to create a visible light trail. Start with ISO 800, a shutter speed of five seconds or longer, and an f/8 aperture. Continue to adjust or experiment with your settings to get your desired light trail shot.
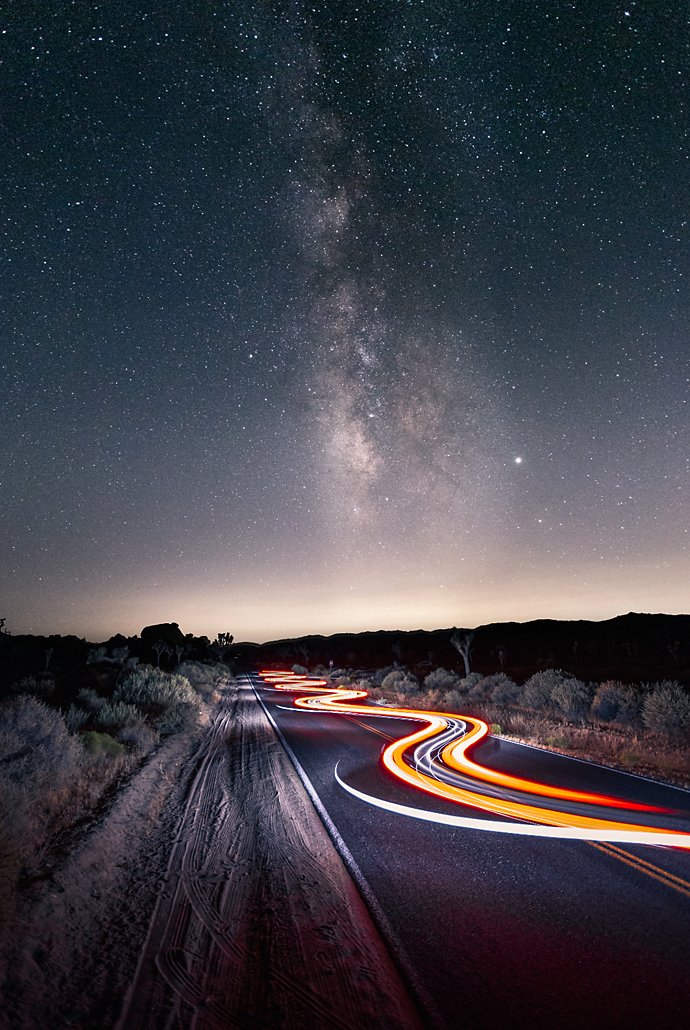
Images by Aaron Rashid
“My best recommendation for a beginner is to just be patient when it comes to light trails. Sometimes you have to really mess around with your settings, until you can get it dialed in exactly to the right exposure,” says photographer Aaron Rashid.
The time and place for road and light trail shoots.
Explore potential locations for your shoot.
Let creativity fuel the search for your ideal shooting location — find a spot that is interesting and compelling. Typical vantage points are above highway overpasses or freeways, a mountain pass, rooftops, or high floors of buildings. Consider your composition and framing as you search for the perfect angle.
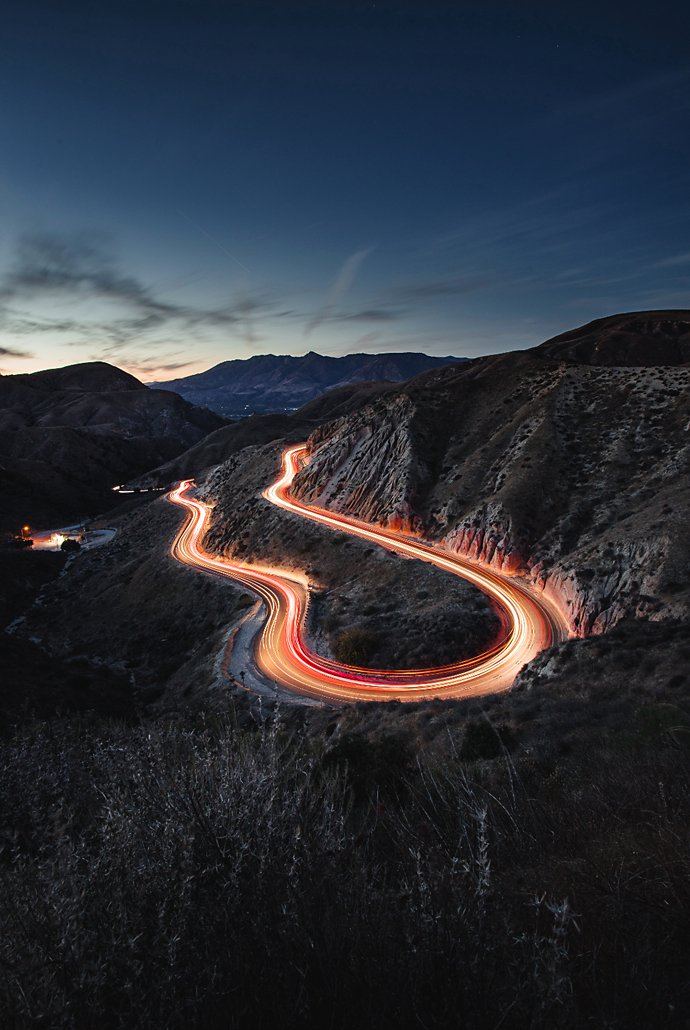
“My favorite is actually getting corners or curves involved,” says photographer Ryan Ditch. “Another fun thing to do safely is to create movement with a car, where it winds down the street or a dirt road.”
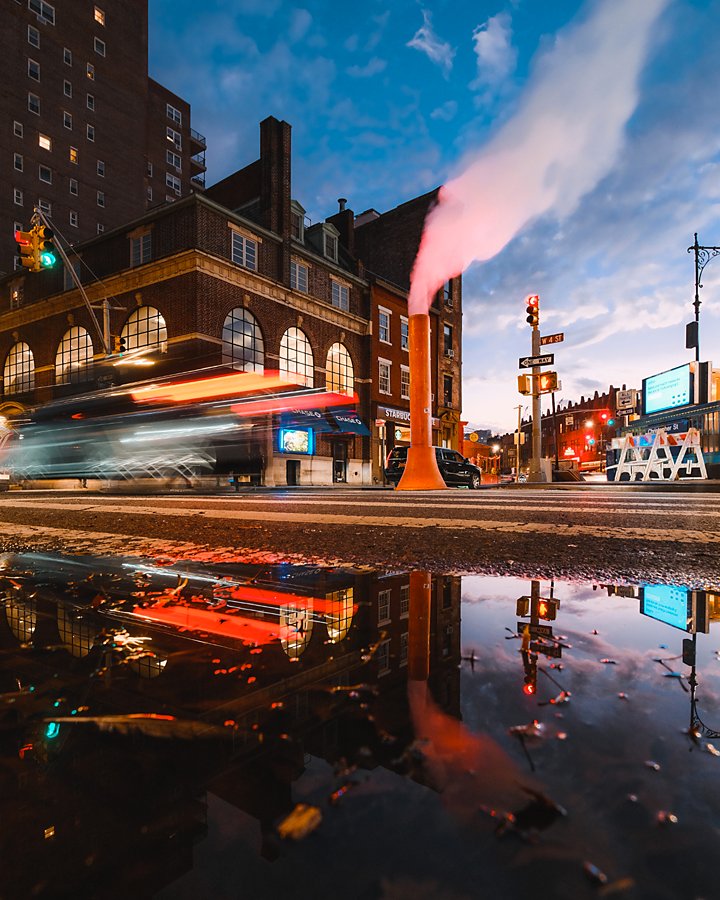
Image by Sean Salamon
Shoot the best light trail photos during blue hour.
An optimal time to shoot light trail photography is during blue hour. Blue hour bumps right up against the popular golden hour — the time at night right before sunset. Blue hour is the time between sunset and nightfall where shades of blue appear in the sky, as the sun is far enough below the horizon to cause blue shades of light to illuminate in the sky. Low-light sources are visible during blue hour, but it’s not so deep into the night that it shrouds your whole scene in darkness.
Pack the right gear for your shoot.
Be prepared for your light trail shoot by planning ahead of time for a low-light environment.
Camera
Bring your DSLR or mirrorless camera, or any digital SLR camera that is capable of shooting in manual mode and is able to adjust to manual settings for ISO, aperture, and shutter speed.
Tripod
Aside from your camera, a tripod is the number one piece of equipment you need to shoot light trail photography. To capture longer exposure photographs, a tripod helps reduce camera shake and provides stability for your shots. The more stabilized your camera is, the less likely it is that your images will turn out blurry.
L-Bracket
An L-bracket is a piece of metal that screws into the base or bottom of your camera and snaps onto a tripod. The L-bracket enables you to rotate your camera from landscape to portrait orientation and also helps reduce camera shake.
Wide-angle lens
Pack a wide-angle lens for the maximum amount of view from your vantage point. A wide-angle lens lets you capture more in the frame, so you don’t miss anything.
ND Filter (optional)
An ND filter, or neutral-density filter, is a metal-rimmed piece of glass that goes over a camera lens. The ND filters help reduce the intensity of light. In the case of shooting light trail photography, the ND filter might come in handy when you want to shoot exposures that may be overwhelmed by too much background lighting or other light pollutants.
Shutter remote (optional)
Shutter remotes function much like a TV remote by letting you control your camera’s shutter from a distance. Although it is optional, a shutter remote helps reduce camera shake and limit blurry images. It also gives you a chance to go beyond your camera frame to view your vantage point before settling on a shot.
Let the light lead the way.
After you snap a series of light trail photos, it’s time for post-production editing. You can intensify your road or light trail photos by tweaking the color saturation of your images, turn up the brightness with shadows and highlights, and much more in Adobe Photoshop Lightroom.
“Trust the process. Don’t be afraid to try new things and just play around with your settings,” says Rashid.
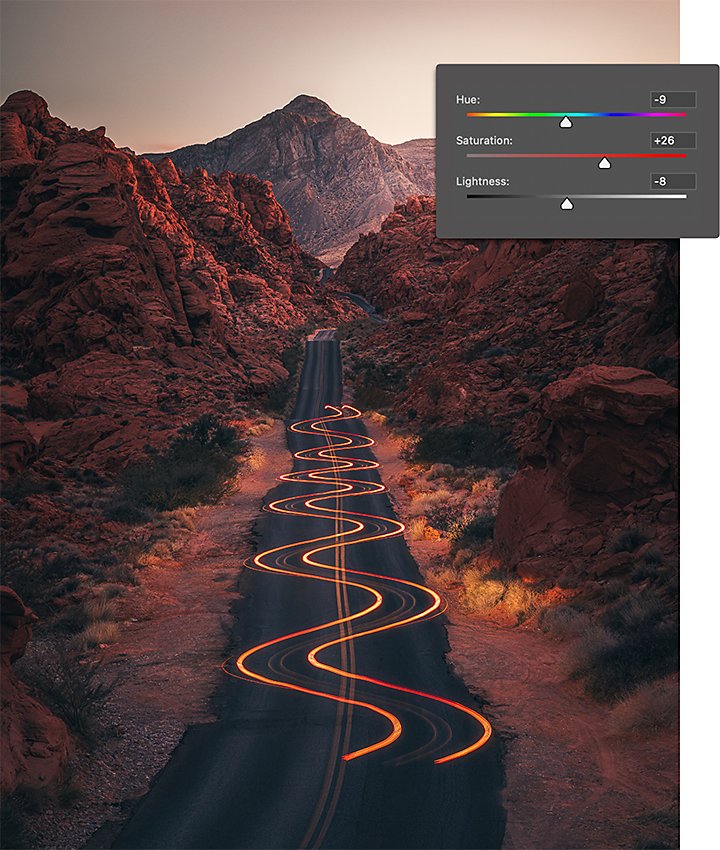
Image by Ryan Ditch
Contributors
Do more with Adobe Photoshop Lightroom.
Edit photos easily with Lightroom presets, Super Resolution, easily share photos from any device, and access your projects anywhere with cloud photo storage management.
You might also be interested in…
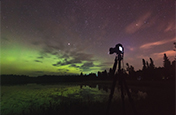
Night Photography.
Low light doesn’t have to equal low quality with these tips for successful nighttime photos.

Explore how to capture the nostalgic yet futuristic mystique of neon in street and portrait photos.
Learn to transform distant stars into glowing light trails, and more, with long exposure photography.
Discover the ins and outs of capturing stunning images of the night sky.