Photography
Photography for beginners.
If you’re shooting on your phone or trying out a DSLR, we’ll help you to develop your style with confidence.
JUMP TO SECTION
Understand the exposure triangle
Make the basics of photography a breeze.
Discover the world of beginner photography with helpful tips, tricks and articles on everything from the basics of camera equipment and settings to info on the most current terminology, creating photo art, portraiture, bokeh, blur and other techniques, pro editing pointers and so much more. Read on to get all the details.
Learn photography basics.
Whether you’re a total beginner or a passionate hobbyist, get the lowdown on photography basics. Discover how to use a camera, learn about different types of photography and explore some of the most effective techniques.
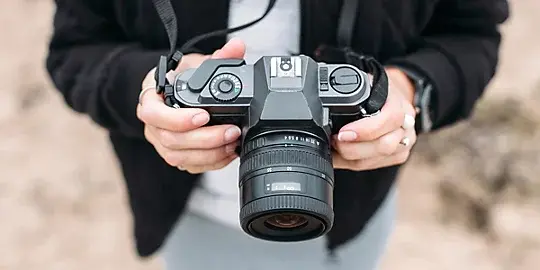
Adopt the language.
Take a peek at this cheat sheet and you’ll be able to discuss photography with everyone from hobbyists to professionals.
Know the rules of composition.
Take a peek at this cheat sheet and you’ll be able to discuss photography with everyone from hobbyists to professionals.

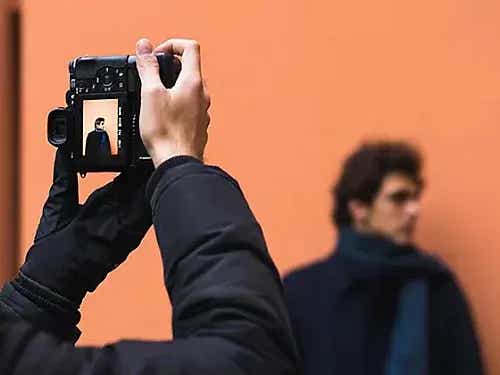
Get tips for taking better photos.
Perfectly capture your creative vision by learning how to frame your subject or scene.
Understand the exposure triangle.
Three camera settings form the exposure triangle: shutter speed, aperture and ISO. You’ll be on track to take a top-quality photo when you get them working together.
Shutter speed
Adjust shutter speed to get crisp images of fast-moving objects or capture stunning blur effects.
Aperture
Use your camera’s aperture settings to give images a realistic sense of depth.
ISO
Control the light your camera lets in to brighten or darken an image.
Photography basics: Equipment and settings.
Getting to know the basics of photography is the best way to get started. The first step is to learn about your camera, its main settings and key photography terms.
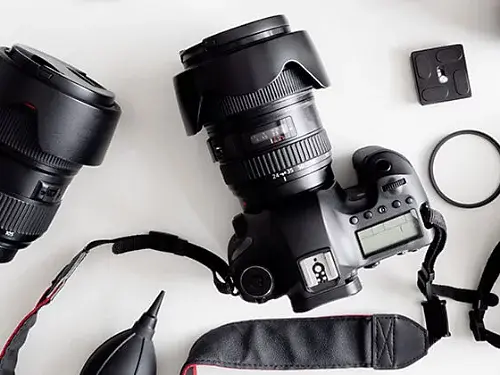
Get the right camera.
Most modern smartphones have high-quality cameras, but if you’re focusing on photography for beginners, a DSLR camera might be the perfect place to start. You can adapt it with detachable lenses to create different effects, plus DSLRs boast bigger sensors that let you create more detailed images.
Pick the right lens.
Whether shooting expansive landscapes or zooming in on the details, the right lens can help to get unique effects.
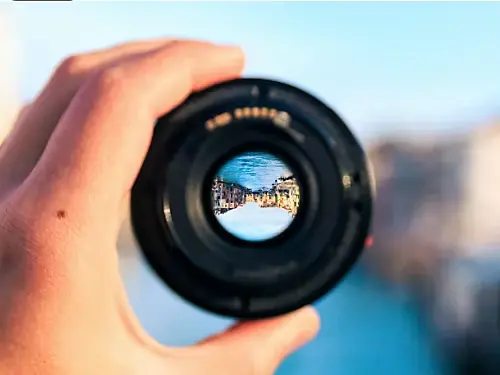
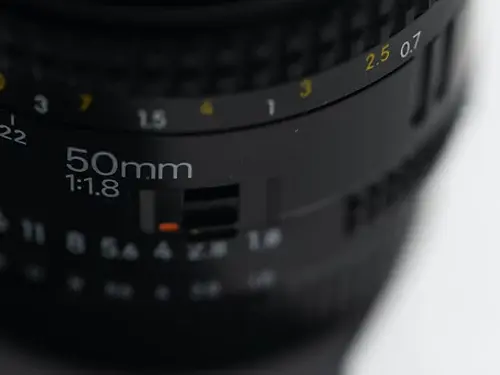
Experiment with focal length.
Having more lenses that offer various focal lengths means you’ll have more options and chances to experiment creatively. Once you master the use of different lenses and focal lengths, you’ll be able to make the most of both landscapes, portrait shots and close-ups. You’ll also better understand how to capture the details of a scene to really make it pop.
Perfect your photo art.
Now you’ve got the foundations of photography down, let’s get you practising and perfecting the craft. Check out these beginner-friendly guides and get going. Better yet, you can achieve all these looks on your smartphone.

Rule of thirds
Use the rule of thirds to get the right proportions and angles in your images.

Geometry
Embrace the shapes in your environment and make them shine in your shots.

Leading lines
Lead the eye through your image by perfectly positioning lines within the frame.
Learn photography techniques.
Learn from professional photographers schooled in various techniques and styles. Read on to explore top tips and advice so you nail every shot.
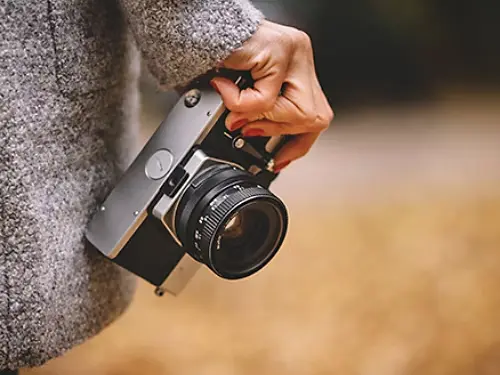
Shallow depth of field.
Master the art of focus with our tips on one of the best-known photography techniques.
Bokeh effect.
Blur backgrounds beautifully with this simple but mesmerising photography effect.


Golden hour.
Master the exposure triangle by focusing on the golden hour’s soft light.
Edit like a pro.
Capturing all the details you saw in the moment can be super tricky. Luckily, you can achieve a lot with some tactical edits. Follow these step-by-step tutorials and discover the art of quick-win editing.
Brighten images
When you’re not 100% happy with your photo’s lighting, simply adjust it to match your vision.
Enhance your photos
If you feel you’ve lost some texture in your image, use powerful editing tools to bring it back.
Blur an image
Experiment with different points of focus by introducing impactful blur effects.
Apply a double exposure effect
Experiment with double exposure using digital software to make your work stand out.
Create multiple focal points
Stack several photos together so more than one element sits in perfect focus.
Remove chromatic aberration
It can be a nuisance, but there are ways to use chromatic aberration creatively.
Photography for beginners: Get inspired.
Now you’ve got the foundations of photography down, let’s get you practising and perfecting the craft. Check out these beginner-friendly guides and get going. Better yet, you can achieve all these looks on your smartphone.
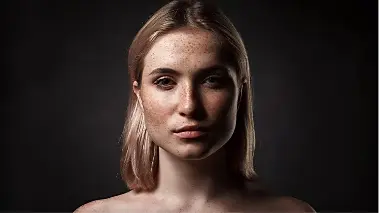
Portrait
Get the lighting right and perfect exposure techniques to create flattering images of subjects.
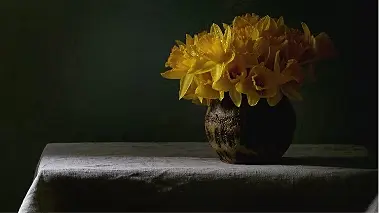
Still life
Whether you compose your scenes or simply snap what you see, you can achieve many moods with still life photography.
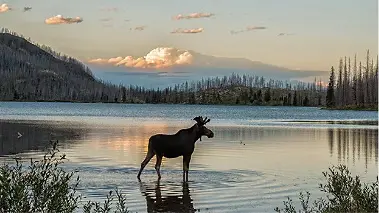
Nature
Immerse yourself in the wild and wait for the beauty to unfold. Take it all in with your camera.
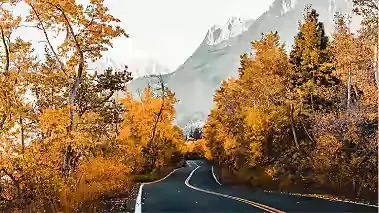
Landscape
Focus on static scenes such as landscapes and experiment with framing, lighting and perspective.

Food
Combine two loves in one - express your passion for food with photos that’ll bring everyone to the table.
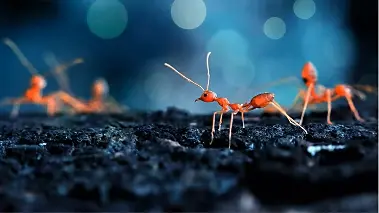
Macro
Go in for a close-up and find a fresh way to capture the glorious details of the smaller things in life.

Headshots
Produce perfectly styled, professional headshots and you could commercialise your photography talents.

Products
Get product photography right by learning how to style products, set up lighting and combine different exposures.
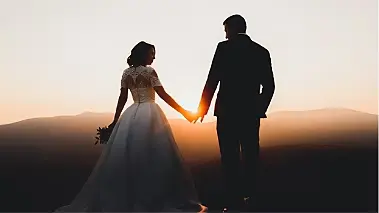
Weddings
Learn how wedding photography experts capture all those loving and joyful moments on the big day.
Photography Basics: Frequently Asked Questions (FAQ)
A beginner-friendly guide to the fundamentals of photography, composition, and practice.
These are the core settings and skills every beginner should master to take well-exposed, sharp, and visually appealing photos (note: this is a commonly taught set, not an official list):
- Aperture – The lens opening that controls how much light enters and how much of the scene is in focus (depth of field).
- Shutter speed – How long the camera sensor is exposed to light; it freezes or blurs motion.
- ISO – The sensor's sensitivity to light; higher ISO brightens images but adds noise.
- Exposure – Not a standalone setting but the result of aperture, shutter speed, and ISO working together. This combination is called the "exposure triangle," and learning to balance the three is what controls how bright or dark your image is.
- White balance – Ensures colours look natural under different lighting conditions.
- Focus – Keeping your subject sharp and clear.
- Composition – How you arrange elements within the frame to create impact.
In short: Master the exposure triangle first, then build on focus, white balance, and composition.
There's no single standard definition — the name is used in a few different ways, so it's worth knowing which one someone means:
- Creative approach (best-known version): Popularised by National Geographic photographer Paul Nicklen, this version is about how you spend your time on a shoot — roughly 20% on "safe" shots that are guaranteed to work, 60% on experimental images, and the final 20% on risky, creative "magic" shots that push boundaries.
- Composition / framing technique: Some use it to describe a framing technique that divides the image into foreground, middle ground, and background, with roughly 20%, 60%, and 20% of the frame.
- Business split: Others use it to divide a photographer's time between creative work, running the business, and learning.
Takeaway: If someone references the 20-60-20 rule, ask or confirm which version they mean — the Nicklen "safe / experimental / magic" interpretation is the most widely recognised.
You can learn photography fundamentals by combining study with consistent hands-on practice. Follow these steps:
- Understand the exposure triangle – Learn how aperture, shutter speed, and ISO work together.
- Practise with semi-manual modes – Start with Aperture Priority mode to see cause and effect, then move to full Manual.
- Study composition – Apply the rule of thirds, leading lines, and framing.
- Observe light – Notice how natural light changes throughout the day.
- Shoot often – Regular practice builds skill faster than theory alone.
- Learn basic editing – Use tools like Adobe Lightroom or Photoshop to refine your images.
- Get feedback – Join photography communities, take a course, or study photographers you admire.
Tip: The fastest way to improve is to shoot daily and review what works and what doesn't.
These widely used composition guidelines (sometimes informally called the "rules" of photography, though they aren't official) help create stronger, more balanced images:
- Rule of thirds – Place key subjects along the grid lines or their intersections.
- Leading lines – Use lines to guide the viewer's eye toward the subject.
- Framing – Use foreground elements to frame your subject naturally.
- Fill the frame – Move closer to eliminate distractions.
- Simplicity and negative space – Keep the composition clean and uncluttered.
- Balance – Distribute visual weight evenly across the frame.
- Symmetry and patterns – Use repetition for impact, or break it for interest.
- Point of view – Experiment with different angles and perspectives.
- Depth – Layer foreground, midground, and background elements.
- Mind the background – Avoid distracting objects or "mergers" behind your subject.
Remember: These are creative guidelines, not strict rules — learning when to break them is part of developing your style.
The best tools for standout photos.
Elevate photography for beginners to higher levels with the right tools. Compare Adobe Photoshop and {{lightroom}} to see which works best for you.
https://main--cc--adobecom.aem.live/cc-shared/fragments/creativecloud/photography/basics/icon-links