Introduction
Welcome back to part 2.
In the previous lesson, we created our model as well as all the base shapes for the clothing using the Pen Tool.
And now it's time for us to bring these outfits to life using some Illustrator effects and techniques.
Applying gradients to add depth and dimension
The first effect that I want to talk about is gradient.
You can apply a gradient to any shape by clicking the Gradient Tool over here in your Toolbar.
And in your Gradient panel, you then have the ability to select your colors and the kind of gradient you want to use.
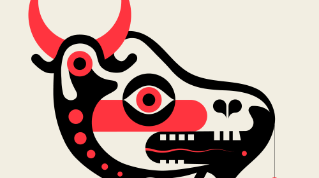
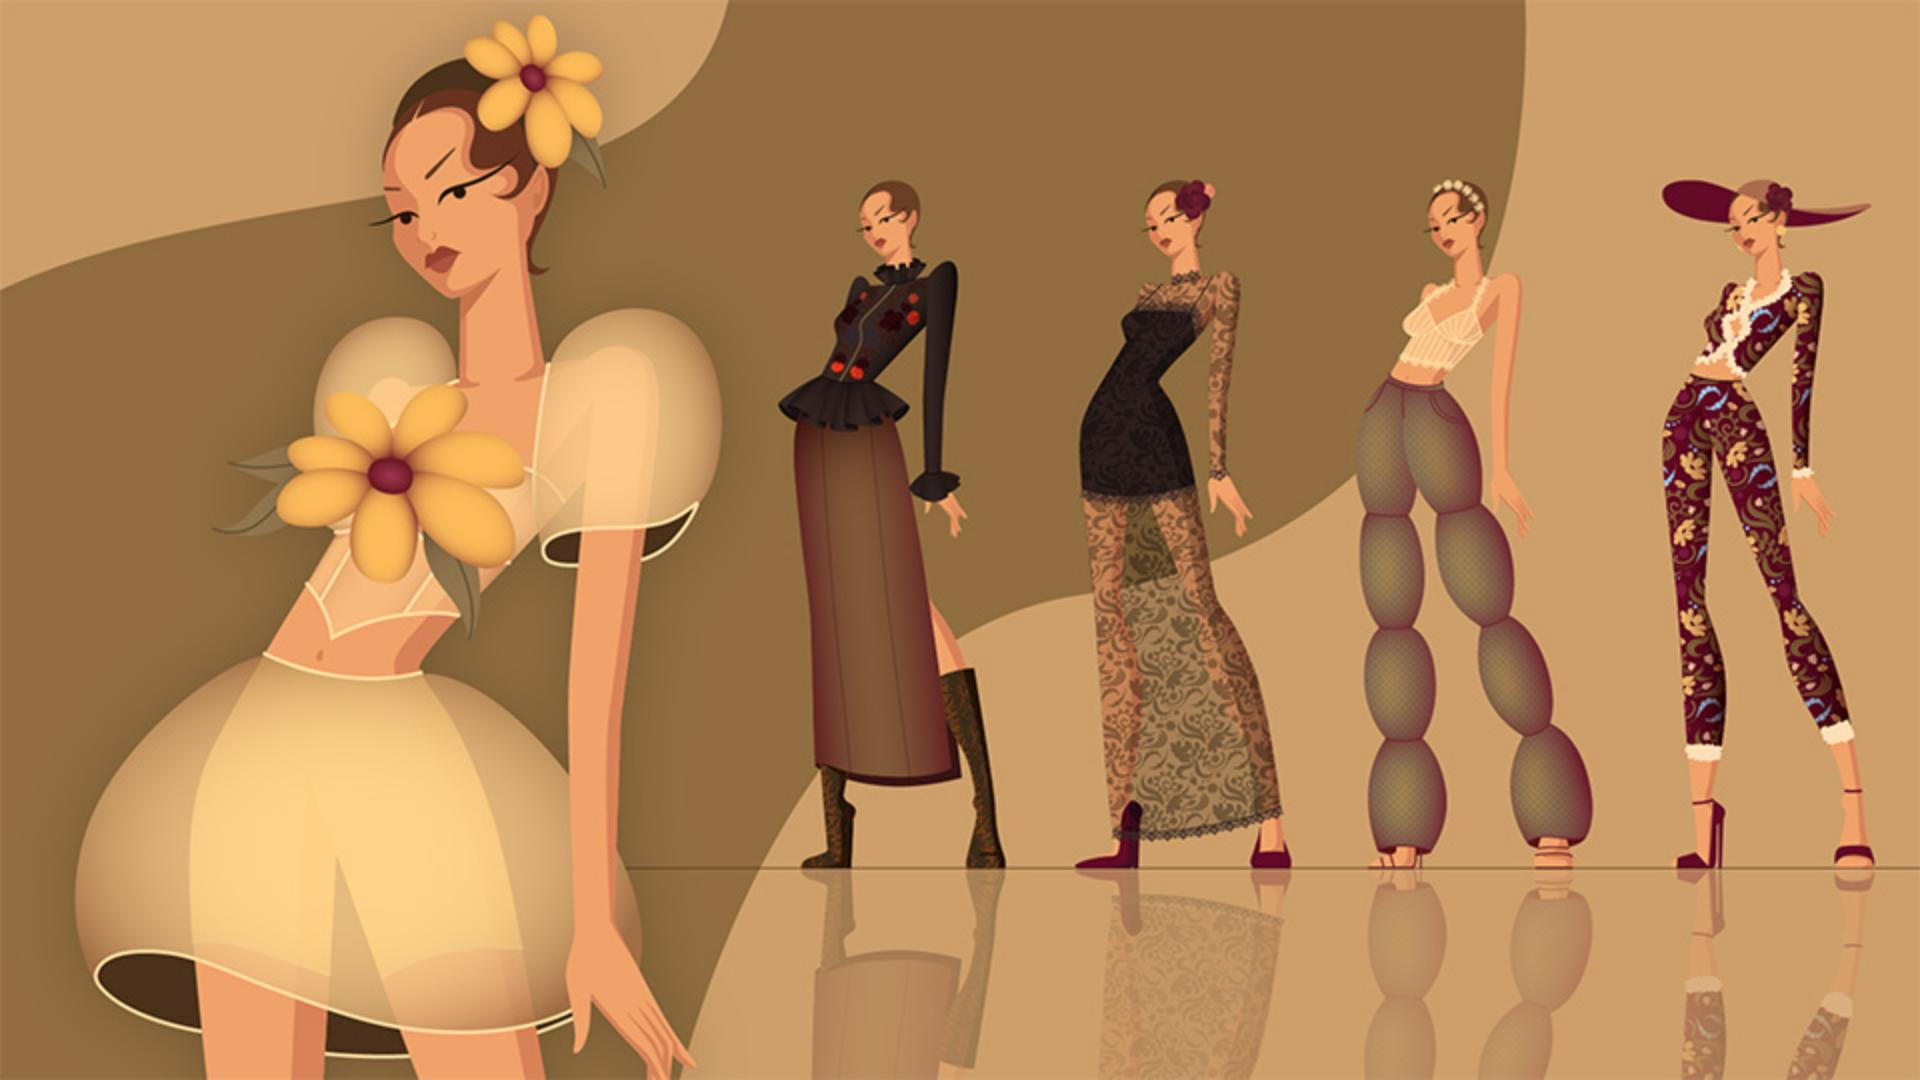
In this illustration specifically, radial gradients are going to be super helpful.
So, let's select the colors we want to use, and now you can easily change the shape of the gradient to be a little more oval, you can rotate tweak the strength and even the position of the whole gradient.
So here are what the rest of the shapes look like once I've applied those gradients.
The next effect is very simple but very important.
Decreasing the opacity of shapes
Using opacity and blending modes for fabric transparency
can start to suggest a bit of transparency in our fabrics.
And this is as easy as navigating to the Transparency panel and tweaking the Opacity here.
Let's also take a moment to talk about Blending modes.
Let's take this illustration, for example.
If I select this floral detail, I can toggle through these different Blending modes to test out what looks good.
Also, in a lot of cases, giving shadows a Multiply Blending mode is going to help them look a lot more effective.
The next technique I want to talk about is adding custom patterns.
Creating and applying custom patterns
So here are a few different elements I created earlier.
And to turn these into a pattern, all we need to do is select them all, navigate to Object, Pattern and select Make.
In here you have a bunch of settings to play with, including how we want the pattern to tile.
I'm going to select this option.
And now all we need to do is tweak the positioning and sizing of these elements to fill in the gaps and make sure we don't have any overlap.
And that's it.
Now you will see your custom pattern appear in your Swatches panel.
Now if we duplicate our base shape, we can go ahead and apply the custom pattern we just created.
Also, if we want to change the scale of our pattern, all we need to do is navigate to Object, Transform, Scale... and in here make sure you have Transform Objects deselected, and Transform Patterns selected.
And then simply tweak the Percentage.
We can also create custom brushes to use in our illustrations.
Designing and using custom brushes for details
So here is a lace detail I created earlier.
To turn this into a brush, select it, navigate to your Brushes panel, select the New Brush button and in here select Pattern Brush.
In here you can fine-tune your settings if needed, but essentially that's it.
Now you can go ahead and easily create a stroke and apply your new lace brush like so.
And that's it.
These are just a few of my favorite ways to bring fashion illustrations to life.
I'll see you over in the third and final tutorial where we are going to talk about packaging our work into a portfolio ready fashion lookbook.
I'll see you there.