Create the impossible by superimposing images.
By overlaying images, you can combine multiple snapshots into a single work of art. Explore different ways to superimpose images, and start your next project with the photo editing tools in Photoshop.

Find new ways to combine images in Adobe Photoshop.
“Essentially, when you superimpose an image, you combine two images to create something new,” says Photoshop expert Jesús Ramirez. Superimposing is a broad term, and describes a wide variety of effects that a designer or photographer can use to merge, composite, and edit images.
By superimposing elements onto an image, you can create an illusion or conceal something in the original image. So whether you’re layering an updated logo onto a product photo or you’re compositing images together to make a collage, overlaying images is an important photo editing technique to understand.
Make a double exposure.
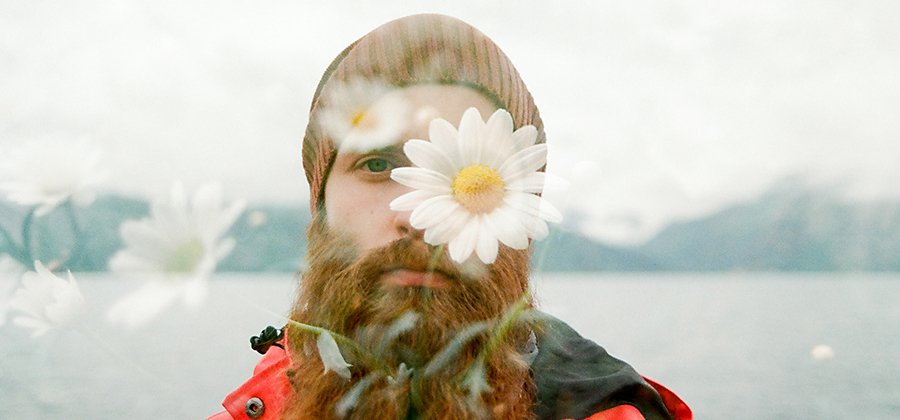
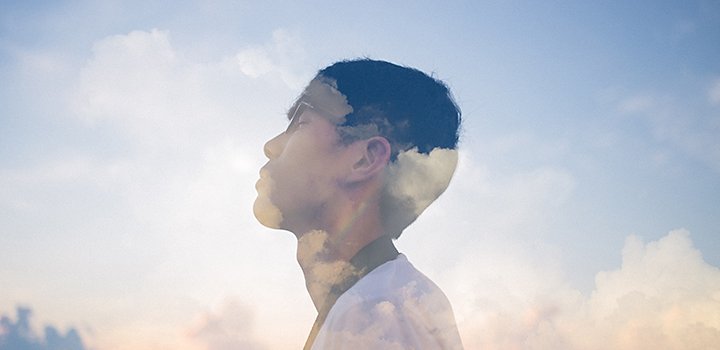
A unique way to overlay images is with a double exposure. A double exposure is a combination of two or more photos. Historically produced by creating two exposures on one piece of film, it’s easy to create double exposures digitally. In Photoshop, you can quickly adjust the opacity of each image and even apply exposure gradients to your second image. This gradient will subtly fade your image, giving it a soft, subtle edge.
“Another way to superimpose an image onto another is by combining them using a blending mode in Photoshop,” says Ramirez. These blending modes determine different ways that layers interact with each other. A layer’s blend mode is set to Normal by default, meaning the layers don’t interact or blend with each other. By changing these modes and experimenting with layer masks, you can merge the images together and create a new look.
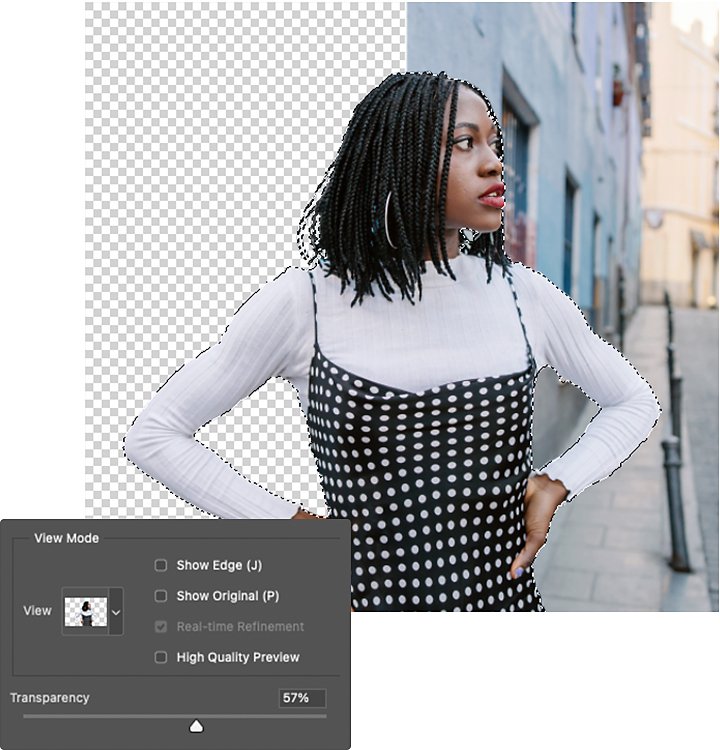
Another way to combine images is to cut and paste sections of photos together. With the Lasso tool or Magic Wand tool, you can quickly make selections and cut out objects from their backgrounds. From there, you can easily copy and paste them onto other images. When you’re done pasting an object, resize and scale it to fit the scene, or apply effects to help it blend into the background.

How to superimpose images.
Follow this tutorial to replace the background of an image and make it appear to exist somewhere else.
1. Organize your images in Photoshop.
Open the two images you want to work with in Photoshop, and organize the layers so the image you want on top is stacked above the background image. The order of layers matters when it comes to compositing and superimposing images.
2. Remove the background.
Click Remove Background to automatically remove the background of the top image and generate a new Layer Mask. This hides pixels without deleting them. “In Photoshop, you want to work nondestructively — in case you make a mistake, you can come back and restore the image,” says Ramirez.

3. Adjust the mask.
Once Photoshop removes the background, you can tweak and adjust the image to make it look more realistic. Start by editing the edges of the Layer Mask using the Brush tool. By painting on the layer mask with black, white, or different opacities of either, you can create subtle gradients between two images that gently blend them together.
4. Add blur to the background.
In typical photos, objects in the background will be slightly out of focus, because the depth of field is shallow and the camera is focusing on the person or subject in the foreground. Recreate this depth of field and give your image a more cohesive look by adding dimension with Gaussian Blurs. To add blur, select the background layer, then go to Filter › Blur › Gaussian Blur. From there, you can adjust the intensity of the blur to create a difference in depth.
5. Turn it into a Smart Object.
“A Smart Object is a container that holds one or more layers. This allows you to apply nondestructive adjustments, distortions, filters, and transformations. In other words, you can always come back and make changes,” says Ramirez. By making your layers into a smart object, you can treat your combined layers as one image.
6. Make the final adjustments.
By treating your multiple layers as one image, you can now adjust the contrast, temperature, and saturation uniformly, giving the final image an even more cohesive appearance. From there, just export it as a PNG or JPG to easily post online or add to your portfolio.

Let your imagination guide you.
You can use superimposed images to change the view from your bedroom window, to edit something funny into a historical photo, or to create evocative and thoughtful pieces of art. And with photo editors like Photoshop, you can create on your iPhone, iPad, or computer — whenever inspiration strikes. If you need a little help getting started, explore inspiration on Behance to see what your peers are up to.
Contributor
Do more with Adobe Photoshop Lightroom.
Edit photos easily with Lightroom presets, Super Resolution, easily share photos from any device, and access your projects anywhere with cloud photo storage management.
You might also be interested in…
Craft surreal images using digital photomontage.
Discover the intriguing history of photomontage and get tips for creating stunning digital collages.
Combine images to create exciting visuals.
See how you can combine images in photoshop to create layouts and composite images.
How to do face swaps in your photo editing.
How to put one face on another to fix photos, make memes, and give people a new look.
Learn when to use Gaussian blur filters and gain a better understanding of how they work.


