Posterise your photos to create artistic effects.
Increase the drama in photos by decreasing the number of colours. With Adobe Photoshop, you can do it in a few clicks.
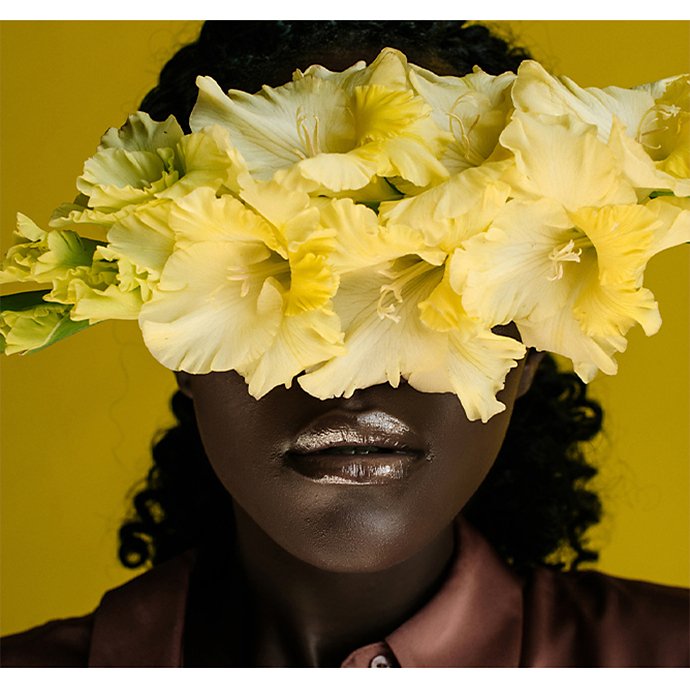
What is posterisation?
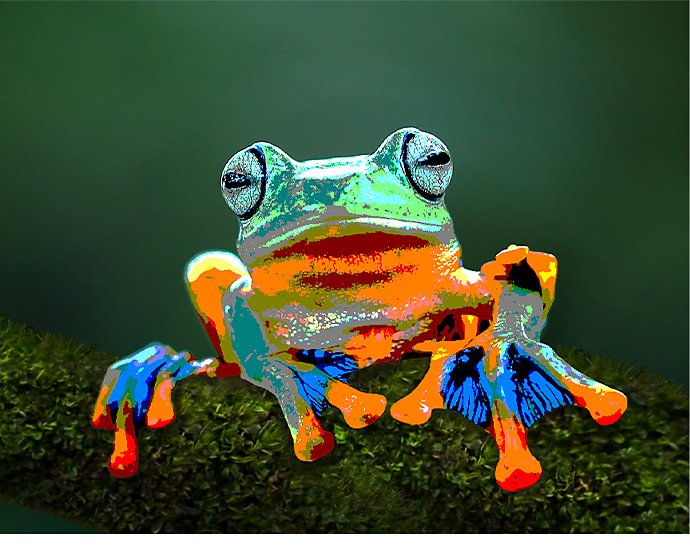
The term posterisation comes from the process artists once used to turn photos into printed posters. To make mass production possible, they had to reduce the colour variation so they could use fewer colours of ink during printing. By changing subtle gradients of many colours into more obvious sections of just a few colours, posterisation results in a more painted or airbrushed look.
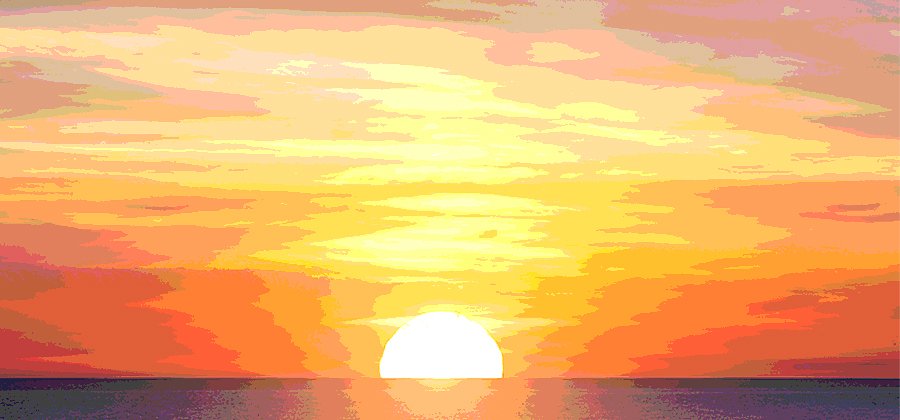
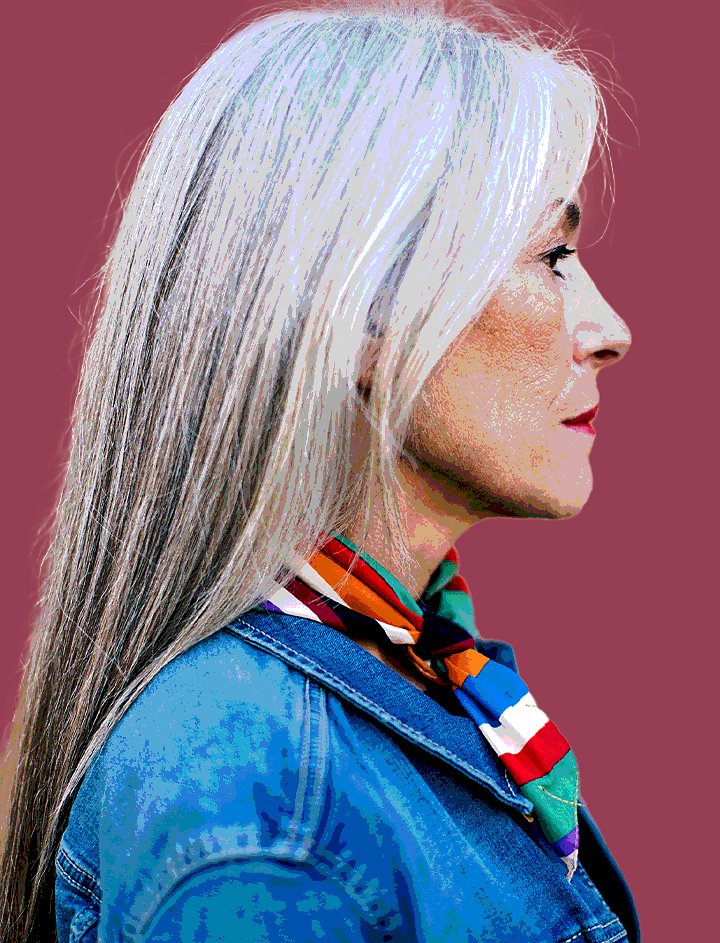
Try out a new creative approach to photos by posterising your holiday card or next social media post. Posterise a portrait to make your subject look heroic or see what happens when you posterise a sunset photo before you share it with your followers.
How to posterise your images in Photoshop.
Whether your original image is a PNG or JPEG, full colour or black and white, just follow these steps:
1. Upload the file.
Select the image you want to posterise in Photoshop.
2. Turn your photo into a smart object.
Create a Smart Filter. Select Filter from the top menu and click Convert for Smart Filters. You can add, remove, adjust or hide Smart Filters, so any edits you make are non-destructive. (This way you can always go back to the original photo and start again.)
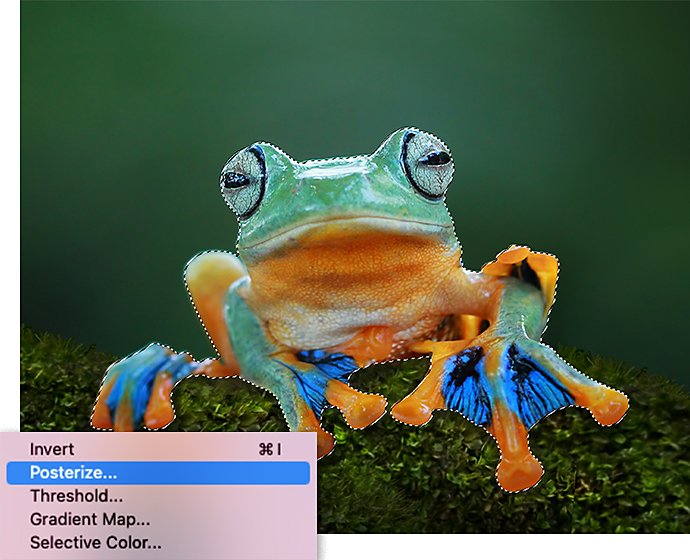
3. Posterise.
In the top menu, select Image › Adjustments › Posterise.
4. Select the level of posterisation.
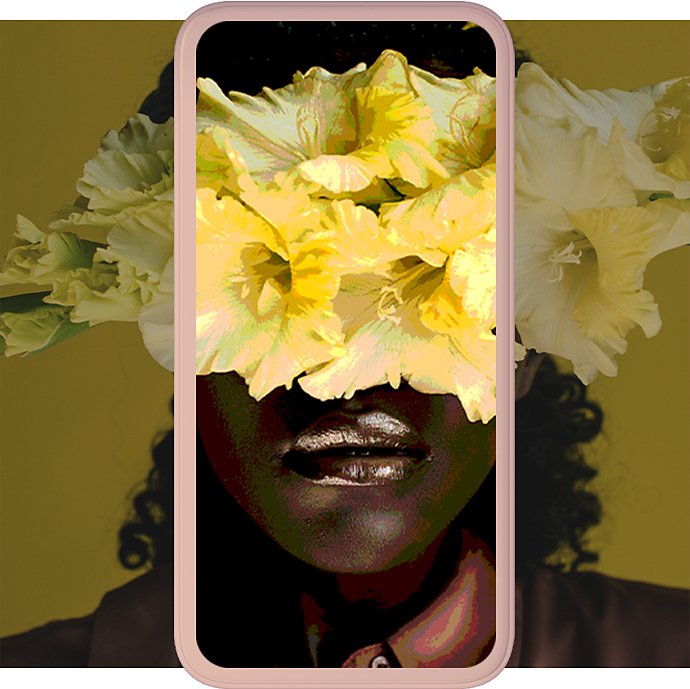
A slider window will pop up, where you can select a number between 1 and 255. This describes the number of colours that will appear in each of the colour channels. Move the slider to the left to decrease the number of colours and achieve the posterisation effect. The human eye tends not to register changes in the numbers above 35, so try selecting a number between 1 and 35.
How to add selective posterisation effects.
If you don’t want to apply posterisation across your whole image, you can create a mask and apply the filter selectively.
1. Create a mask.
Click the Smart Filters in the Layers panel.
2. Set the brush to black.
Make sure the black square is in front of the white.
3. Paint.
Paint the area you’d like to keep free from the effect.
Another way to selectively posterise is to use the Select Subject tool. Just follow these steps after you’ve created the Smart Filter:
1. Select your subject.
From the top menu, click Select › Subject.
2. Invert the selection.
Click Select › Inverse to apply it to the background.
3. Posterise.
In the top menu, select Image › Adjustments › Posterise.
Explore other photo editing tools.
After you’ve posterised your photo, check out some of the other editing options available to you.
Make basic edits.
In Photoshop, you can quickly change the image size or aspect ratio or crop your photo to get just the size you need for printing or sharing on social media. You can also correct small spots or stains with the Healing Brush tool.
Go from posterised to poster.
Put your posterised photo on an actual poster with templates for InDesign, Illustrator or Photoshop.
Try different artistic effects.
Transform your photos in Photoshop with a huge selection of other smart filters. Create coloured pencil or stained glass effects or just blur the background. Watch tutorials to learn more and have fun browsing the gallery and applying filters.
Whatever style and mood you want to achieve, you can find a way to realise it in Photoshop. Keep experimenting and see what you can make.
Do more with Adobe Photoshop.
Create beautiful images with Photoshop brushes, Content-Aware Fill, Photo effects, Neural Filter, Sky replacement and the many tools photographers rely on.
Explore the Photoshop family of apps.
You might also be interested in…
How to make motion blur photography.
Learn how to capture movement and add creative flair to your shot with motion blur.

Add drama to a high-contrast image by infusing it with colour.

Get your glow on with this simple technique.

Learn to create surreal images by compositing two photographs.