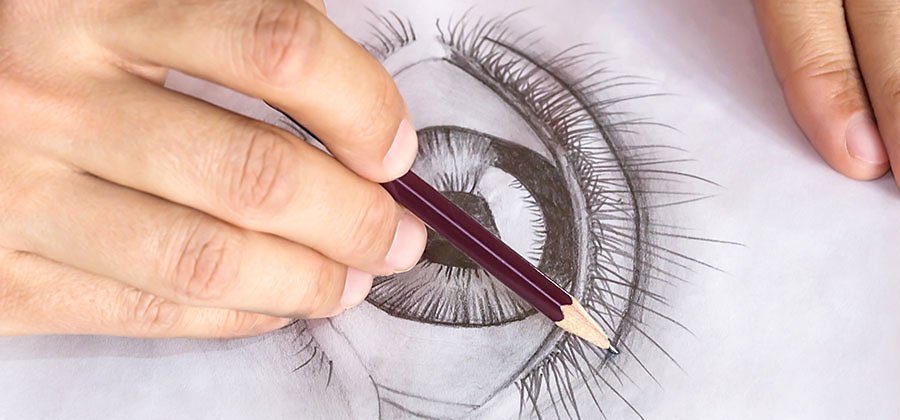
How to draw eyes in a few simple steps.
Overcome the common mistakes of sketching this complex facial feature and learn methods for depicting realistic eyes of any style.
Illustrating emotive and captivating eyes.
Eyes are unique in that they make up a small portion of the human face yet convey a large majority of human emotion. For this reason, eyes can make or break the mood of a portrait drawing. “They seem to be a small part, but really they say everything about what somebody is thinking or doing,” says caricaturist Greg Bigoni. “Are they tired? Are they excited? Are they having a good or bad day? Are they skeptical? Are they having the time of their life?”
Discovering the underlying anatomy of the eyeball can help you bring life and feeling into your drawings, from the corners of the eye to the pupils. Drawing digitally with layers makes finding the most compelling eyes for your character easier, as well. Whether your aim is more cartoon-like anime eyes or photorealism, explore these various ways to step up your eye-drawing game.
Key facts about the geometry of the eye.
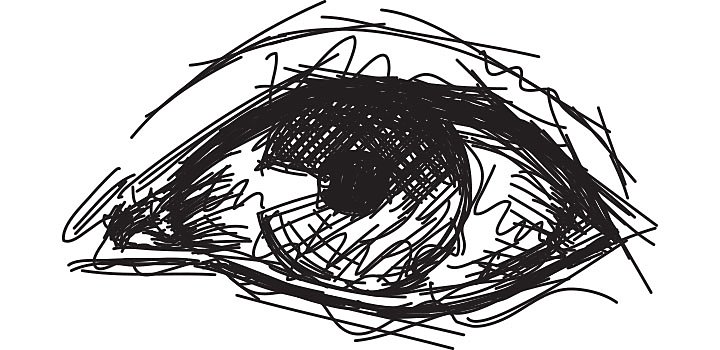
Start by getting a handle on the underlying shape behind the visible eye. “You’re not drawing what you see, you’re drawing behind the object,” says illustrator and drawing instructor Lucas Elliott. “You’re not just drawing the eye itself, but you’re drawing the actual ocular orb and then everything on top of it: the eyelid, the eyelashes, the eyebrows.”
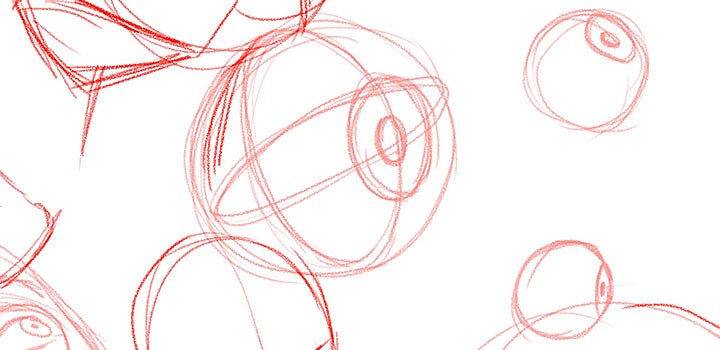
Image by Jonathan Case
The eyeball is a sphere.
To perfect the look of an eye, visualize the sphere of the eyeball. This will help you understand how each aspect of the eye is connected spatially, regardless of what is actually visible once you add other elements of a character’s face. The skin surrounding the eye, the eyelid, the eyelashes, the tear ducts, and more — it all wraps around the ocular orb. What we typically think of as the eye shape is actually the shape of the upper and lower eyelid and how they cover the eye socket.
The pupil is not on the surface of the eye.
The iris is the colored circular area of the eye and takes up a large portion of the part of the eyeball visible between the eyelids. While it is commonly believed to, the pupil does not sit right on the surface of the eyeball, but is actually recessed into the iris, under the surface of the translucent cornea. This is important to remember when drawing eyes from the side. Placing the pupil underneath the outer line of the eyeball will increase the realism in your drawing.
A step-by-step guide to drawing realistic eyes.
Following a drawing tutorial for eyes is only part of the process to improve eye drawing. Effective eye illustration requires both personal practice and a thorough education about the eye. These steps will help you start to explore how to draw basic, realistic eyes, but that’s just the beginning.
Set up the geometry of the human face.
“If you want to get good at eyes, you have to get good at all the parts that surround the eye,” says illustrator and comic artist Jonathan Case. Start by outlining the whole head and then adding lines to guide you in drawing the face. Divide the head into three equal parts: the first section starting at the hairline and going to the eyeline, the next going from the eyeline to the bottom of the nose, and the last going from the bottom of the nose to the chin. Typically, the eyes are spaced one eye-width apart, on either side of the bridge of the nose.
Draw the sphere of each eyeball.
Even though the entire eyeball won’t show in your final drawing, draw the entirety of the circle to help clarify the orientation of the eye. When working digitally in an application like Adobe Fresco, it’s easy to add additional layers later or to lessen the opacity of your sketch lines. If working on paper, be sure to have your eraser handy.
Add the iris and pupil.
If you’re working digitally in Fresco or Adobe Photoshop, start a new layer and lessen the opacity of the one containing your sketch lines. Then add each part of the eye. Position the iris in the middle of the eyeball (if your character is looking straight ahead) — followed by the pupils, perfectly centered within each iris.
Add the eyelids, eyelashes, and eyebrows.
Now draw the soft features which transform ocular orbs into attractive human eyes. Use curved lines to show where the eyelids reveal the shape of the eye. Leave space for the tear duct in the inner corner and add any additional lines to show the folds of the eyelid. From most perspectives, the lashes on the upper eyelid will appear to be coming right from the edge of the eyelid. However, the lower lashes should start a few millimeters below where the lower lid meets the eyeball, to indicate the thickness of the skin.
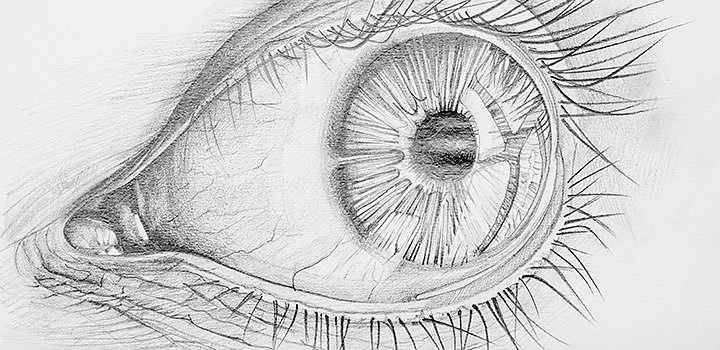
Drawing the eye from the side.
Drawing the eye from the side is a great way to practice the positioning of the pupil, eyelid, eyelashes, and eyebrows. Remember that the eyelid goes over the top of the eyeball, so the curved line of the eyeball will be offset from the line of the eyelid. And again, place the pupil a few millimeters below the rounded edge of the cornea, since it rests between the outer line of the eye and the edge of the iris.
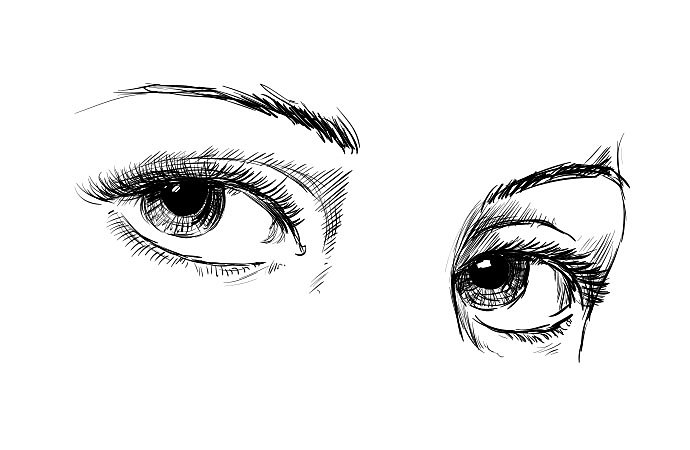
Practicing different angles and emotions.
Once you have the basic structure figured out, try drawing eyes from different angles. As your character turns their head or looks up or down, the shape of the eye will change as the perspective shifts. For example, if a character is looking down, their eyes won’t appear as round as if they are looking straight ahead. Think about your character’s mood and behavior as well. Their eyes may be reacting to something else in the drawing, telling a deeper story.
The eyes are important to get right. Practice drawing them again and again, and don’t be afraid to stop and start over. “I do a lot of erasing of eyes,” says Bigoni.

Play with mood in the eyes.
There are several ways to alter the eyes in a drawing — from more realistic portraits to caricatures to manga-style comics — in order to convey the right mood. Try adjusting the position of eyelids, the dilation of pupils, or the direction a character is looking. Showing more or less of the white of the eye can convey emotion — ask yourself what different effects might display. “Are the eyes wide open? Are they partially closed? Are there circles under the eyes? Are they tired or weary? Are they drunk?” asks Bigoni. “If a character is downbeat, they may not be looking at anyone or anything else in the drawing. If they’re upbeat and enjoying themselves, they might be gazing upward.”
Try tracing over a photo of an eye.
“I recommend taking pictures of your own eyes and using the photo as a digital layer to trace over,” recommends Elliott. “This can help you find the lines that represent where the curve of the eye is and how the shape of the eyebrow connects to the head.”
Get started drawing eyes digitally in Adobe Fresco.
With digital programs like Adobe Fresco, once you get the eye shape down it’s easy to select and move the eyes in your drawing to get the size and position how you want it. “Working digitally allows you more creative freedom to add new layers and to draw the same eye over and over and over again,” says Elliott. See how you can create your first illustration in Adobe Fresco. Once you’re set up with the tools you need to make beautiful sketches of eyes and faces, explore how you can easily transform different elements of your drawings.
Remember, behind any illustration that seems like natural talent or even magic, there’s a lot of hard work and practice. “It’s cool when you see it done and realize drawing eyes isn’t an innate gift from the gods,” Elliott explains. “It’s all about breaking down the pieces to understand depth and form.” The more eyes you draw, the more confident you’ll get in their anatomy, and the more you’ll be able to experiment with different styles.
Contributors
You might also be interested in…

Try your hand at pencil sketching.
Pencil drawing is an essential first step for most artists. See how this skill can improve your art.

Take your skills to the next level with drawing exercises and advice from professional illustrators.

Explore the art of sequential storytelling and learn how to hone your skills to work in this exciting medium.

How to draw a caricature.
Learn to pinpoint the unique features of one person and make them pop in a fun drawing.