A guide to high-contrast photography.
Explore the relationship between dark shadows and light tones in your shots. Take advantage of natural light and negative space to create powerful, striking photos.
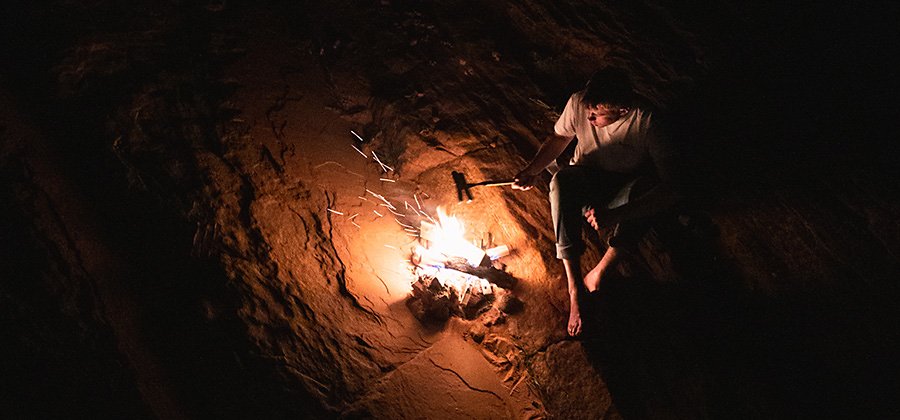
Image by Andrew Kearns
What is high-contrast photography?
High-contrast photography showcases tonal contrast, or how dark and light elements in an image interact to draw the eye. Like in feng shui, high-contrast shots need all the elements to be in balance and harmony.
“It’s the dramatic yet delicate dance between rich, velvety blacks and pure, clean whites, and every tone in between,” says photographer Trevor Traynor.
The range of tones in any image can create a sense of visual unity and intrigue in your work. “There’s high contrast, or contrast in general, in almost all aspects of photography. Maybe it’s a big place with a small person, maybe it’s in complementary colors,” says photographer Andrew Kearns.
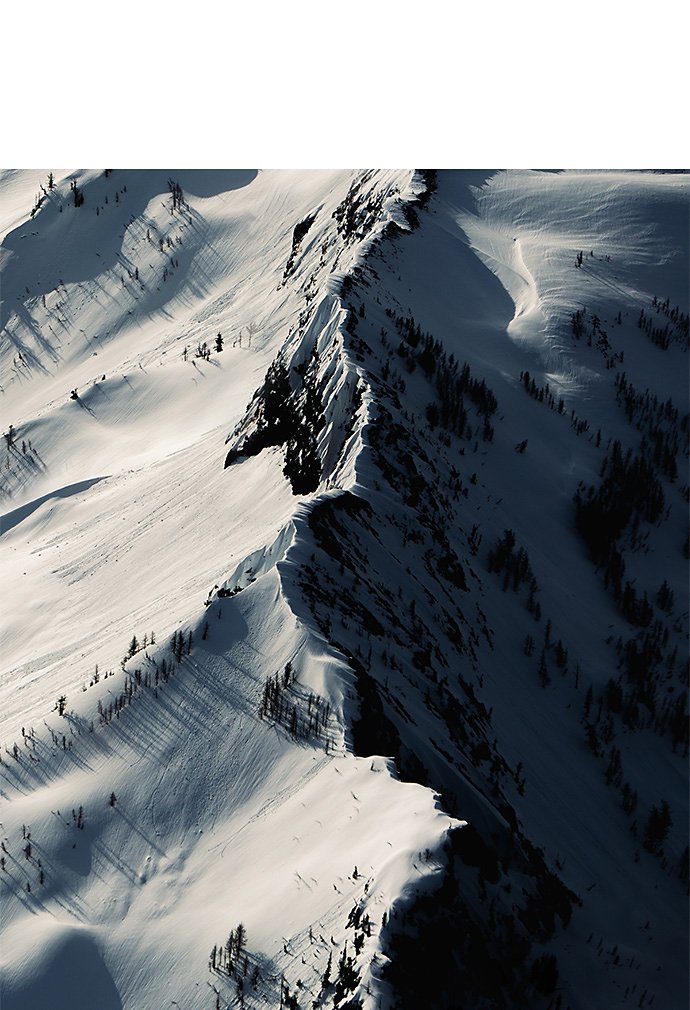
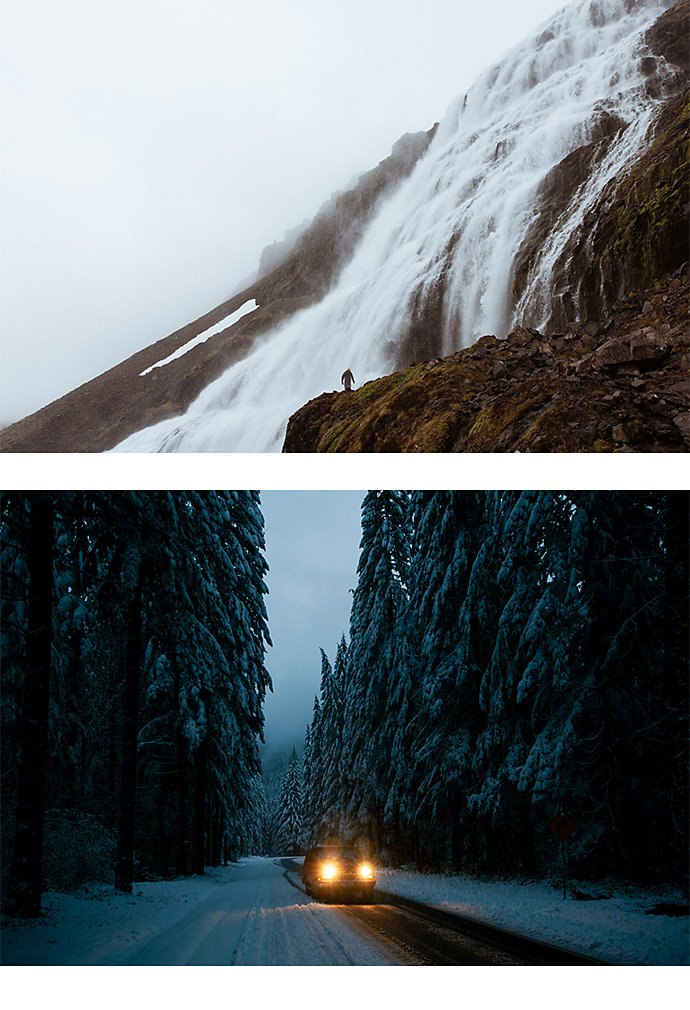
Images by Andrew Kearns
High-contrast photos are similar to black-and-white photography in that both heavily rely on a balance of bright light and darkness to achieve their effect. The main difference is that high-contrast images are not limited to grayscale. They can also include bright, iridescent colors and rich, dark shadows that create compelling color contrast in your shots.
The three types of contrast.
Experiment with different types of contrast in your next photoshoot to evoke a range of emotions and grab attention.
The most widely used type, tonal contrast positions light tones and darker tones next to each other. Not just limited to black-and-white photos, tonal contrast can also work well in color photographs to highlight the subject while keeping the composition of the image simple. A good example of tonal contrast is a silhouette.
This form of contrast uses the color wheel and color theory to find colors that contrast with each other. These are easy to spot since they are on the opposite sides of the wheel. Called complementary colors, they fall into one of two groups: warm or cool. Combine one from each group to create color contrasts that will turn other photographers green with envy.
More abstract than the other types of contrast, conceptual contrast relies on ideas instead of visuals to add contrast to your photos. It tells a story and adds depth while also raising questions, which allows for more engagement and interaction. For example, you could pair a budding flower with graffiti in a street photograph.
What’s the difference between low-contrast and high-contrast photos?
Tonal contrast refers to the brightness of the elements within an image. If your photo consists of extremely bright and dark areas, then it’s considered high contrast. When it has a wide range of tones that go from pure white to pure black, it’s medium contrast. No pure whites or blacks and a range of middle tones means it’s low contrast. Keep this in mind so you use the right amount of lighting for the style of photograph you’re taking.
High-contrast images feel fresh and dramatic, stirring up strong emotions. The differences in light and dark can also guide the audience’s attention right where you want it. “It’s a very easy way to section out your photograph,” says Kearns.
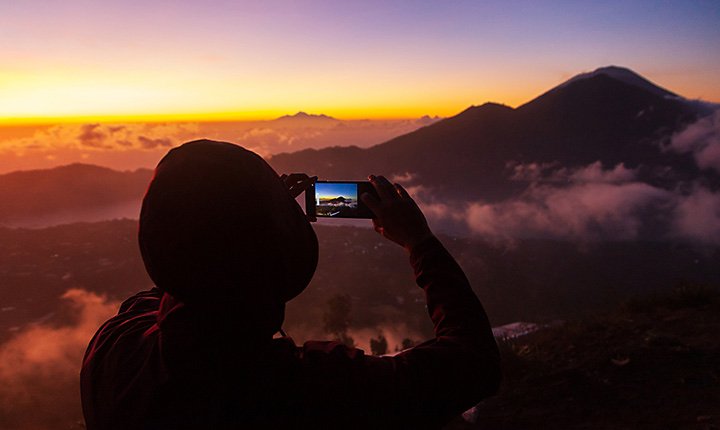
High-contrast photography 101.
Seek out the right locations and lighting.
The lighting in different locations (or lack thereof) will help you achieve higher contrast in your shots. Outdoors you’ll have more natural light sources, but less control over that light. In the studio, you’ll have more control, but that requires you to work to create contrast instead of finding it.
“If you’re shooting in an environment inside or outside, you’re sculpting the light,” says Traynor. “It can be found or created.”
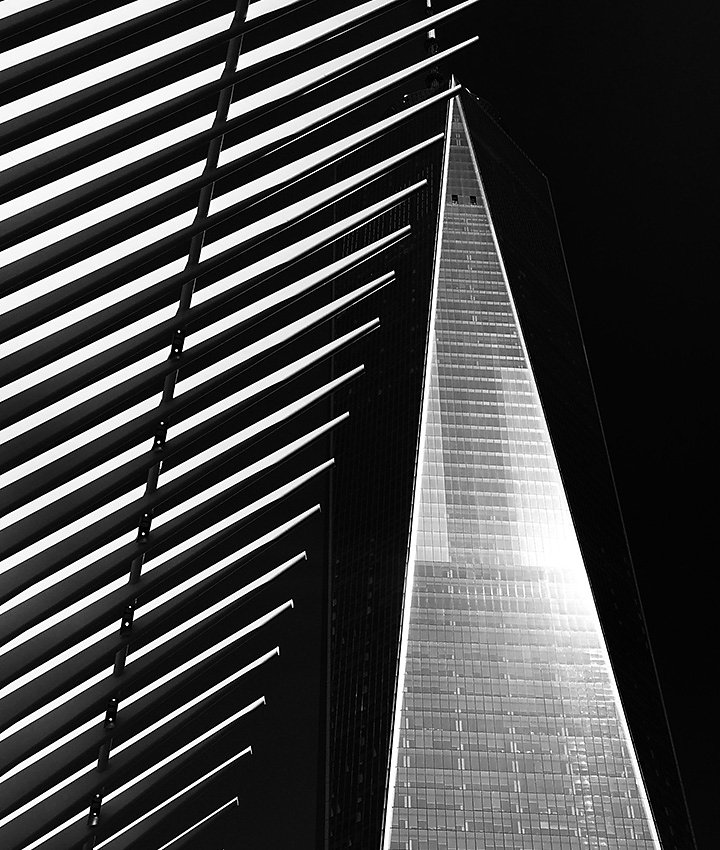
Image by Trevor Traynor
For outside shots, go when harsh light is prevalent, particularly bright, sunny days. This lighting casts stronger shadow, and thus adds more contrast. See how shaded areas play with direct sunlight and find places where those levels of lighting come together. Scout locations that may also help your conceptual contrast needs, like a lush, green forest that frames a single dead tree.
For indoor shots, you can create the contrast you’re looking for with lighting equipment and the right positioning. Trying lighting a subject just from one side. Use a single light source directly above or below your subject.
Before you begin shooting, visualize where the contrast will appear in your picture. You can adjust once you start shooting, but an idea, visual concept, or goal you’re aiming for will help you get more out of your shots.
In the studio, you’ll have a controlled set that allows you to manipulate your subjects or props without the worry of external interference. Maximize the contrast in your image by arranging them beforehand in a way that highlights and strengthens their unique connection.
While direct sunlight produces higher contrast, experiment with light as it changes throughout the day. As the sun moves across the sky, see how shifting shadows change the type of contrast you can capture. Leverage the range of tones they add to your shots during your photo session.
Take multiple shots of the same scene or subject with different exposure levels to see variations with low, medium, and high contrast. Adjust ISO to raise the light sensitivity of shots to amplify contrast. Shooting in manual mode will help you more intimately learn your camera settings and how to produce better high-contrast results. “Once you dial in your settings, you have complete control over the light to get those high-contrast looks straight in-camera,” says Kearns.
Shooting slightly underexposed can help you in the editing booth. Doing so will help retain the quality of the dark backgrounds and bright spots of your original when it’s time for post-processing. “If I see something with beautiful hard light shining through, I might bring down the exposure to pop up the contrast, which brings that dramatic view I’m seeing to life,” says Traynor.
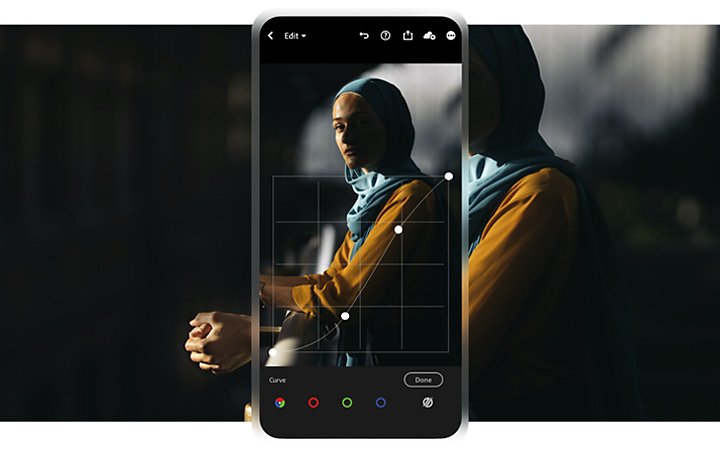
Perfect contrast with the power of photo editing.
Pull your images into Adobe Photoshop Lightroom to make them shine. Use Light adjustment sliders to tweak exposure and contrast, as well as highlights, shadows, and the blacks and whites of an image — all settings that will help you fine-tune contrast. Use color sliders to adjust the vibrance and saturation. And, once you find settings you like for certain types of high-contrast shots, save them as a Lightroom preset to use those exact edits on future shots.
When you’re finished, share your pics to social media to compare and contrast your high-contrast images with other photographers.
Contributors
Do more with Adobe Photoshop Lightroom.
Edit photos easily with Lightroom presets, Super Resolution, easily share photos from any device, and access your projects anywhere with cloud photo storage management.
You might also be interested in…
Crafting narratives with street photography.
Embrace this form of candid storytelling and start capturing snapshots of everyday life.
Creating great portrait photography.
Take a step closer to perfect portraits with tips and advice from professional photographers.
Celebrate the full spectrum with color photography.
Enhance your color photography with an understanding of its history and color editing techniques.
The basics of photography composition.
Composition is all-important for photographers. Learn more with these tips from the pros.
