Add layers to a composition
This sample file is an Adobe Stock asset you can use to practice what you learn in this tutorial. If you want to use the sample file beyond this tutorial, you can purchase a license on Adobe Stock. Check out the ReadMe file in the folder for the terms that apply to your use of this sample file.
What you learned: Different ways to add layers to a composition
Use different methods to add different kinds of layers to a composition
Video files can be added through the Footage panel.
Imported files can be dragged from the Project panel directly into the Composition panel and visually positioned within the scene.
Shape layers can be added directly from the Tools panel by double-clicking a shape creation tool (in this case, the Rectangle tool).
Deselect all layers
Click in the empty area at the bottom of the timeline to deselect all layers.
Press the spacebar to preview the animation and to stop playback
Once all layers are deselected, press the spacebar to preview the animation.
Press the spacebar again to stop playback when you want to stop the preview.
Position the current-time indicator on the frame where you want to insert the next video clip.
Add only a certain section of a video clip to the Composition panel
Double-click the video clip ending in #7791 to load the clip into the Footage panel.
Press the spacebar to preview the video clip in the Preview panel, and press it again to stop playback.
Position the current-time indicator in the Footage panel where you would like the clip to begin once it’s added to the composition.
Click the Set In-point button in the Footage panel to trim the start of the video clip.
Click the Overlay-Edit button in the Footage panel to add the video clip to the timeline.
When video clips are added using the Footage panel
The first frame of the video clip in the Footage panel will be placed in the timeline where the current-time indicator is positioned.
You can drag imported files to a composition directly from the Project panel
Drag the Waves.ai file from the Project panel into the Composition panel and position it directly over the title text.
Press S to open the Scale property, and set the scale to 700.
To keep vector graphics sharp, the Continuously Rasterize switch must be enabled on that layer
Enable the Continuously Rasterize switch on the Waves.ai file in the timeline to keep the graphics nice and sharp.
You can stylize and distort layers using effects
With the Waves.ai layer selected in the timeline, go to Effects > Distort > CC Flo Motion to apply the effect.
In the Effect Controls panel for CC Flo Motion, scrub the value for Amount 2 to a setting of 41.
Drag the crosshairs in the Composition panel to reposition the distortion caused by Knot 2.
Add shape layers to a composition directly from the toolbar
Click and hold the Create Shape tools and make sure the Rectangle tool is selected.
Set the color for the fill and stroke by adjusting the Shape tool options to the right of the toolbar.
Double-click the Rectangle tool to automatically add a Rectangle shape layer to the timeline. The shape layer will be the size of the composition and positioned in the center of the composition.
Reposition the shape layer below the Waves.ai file in the timeline.
Set the blend mode for the shape layer to Soft Light to blend it into the video layers below.
Tip: You can also add layers to a composition by going to Layers > Add New and choosing the kind of layer you want to add.
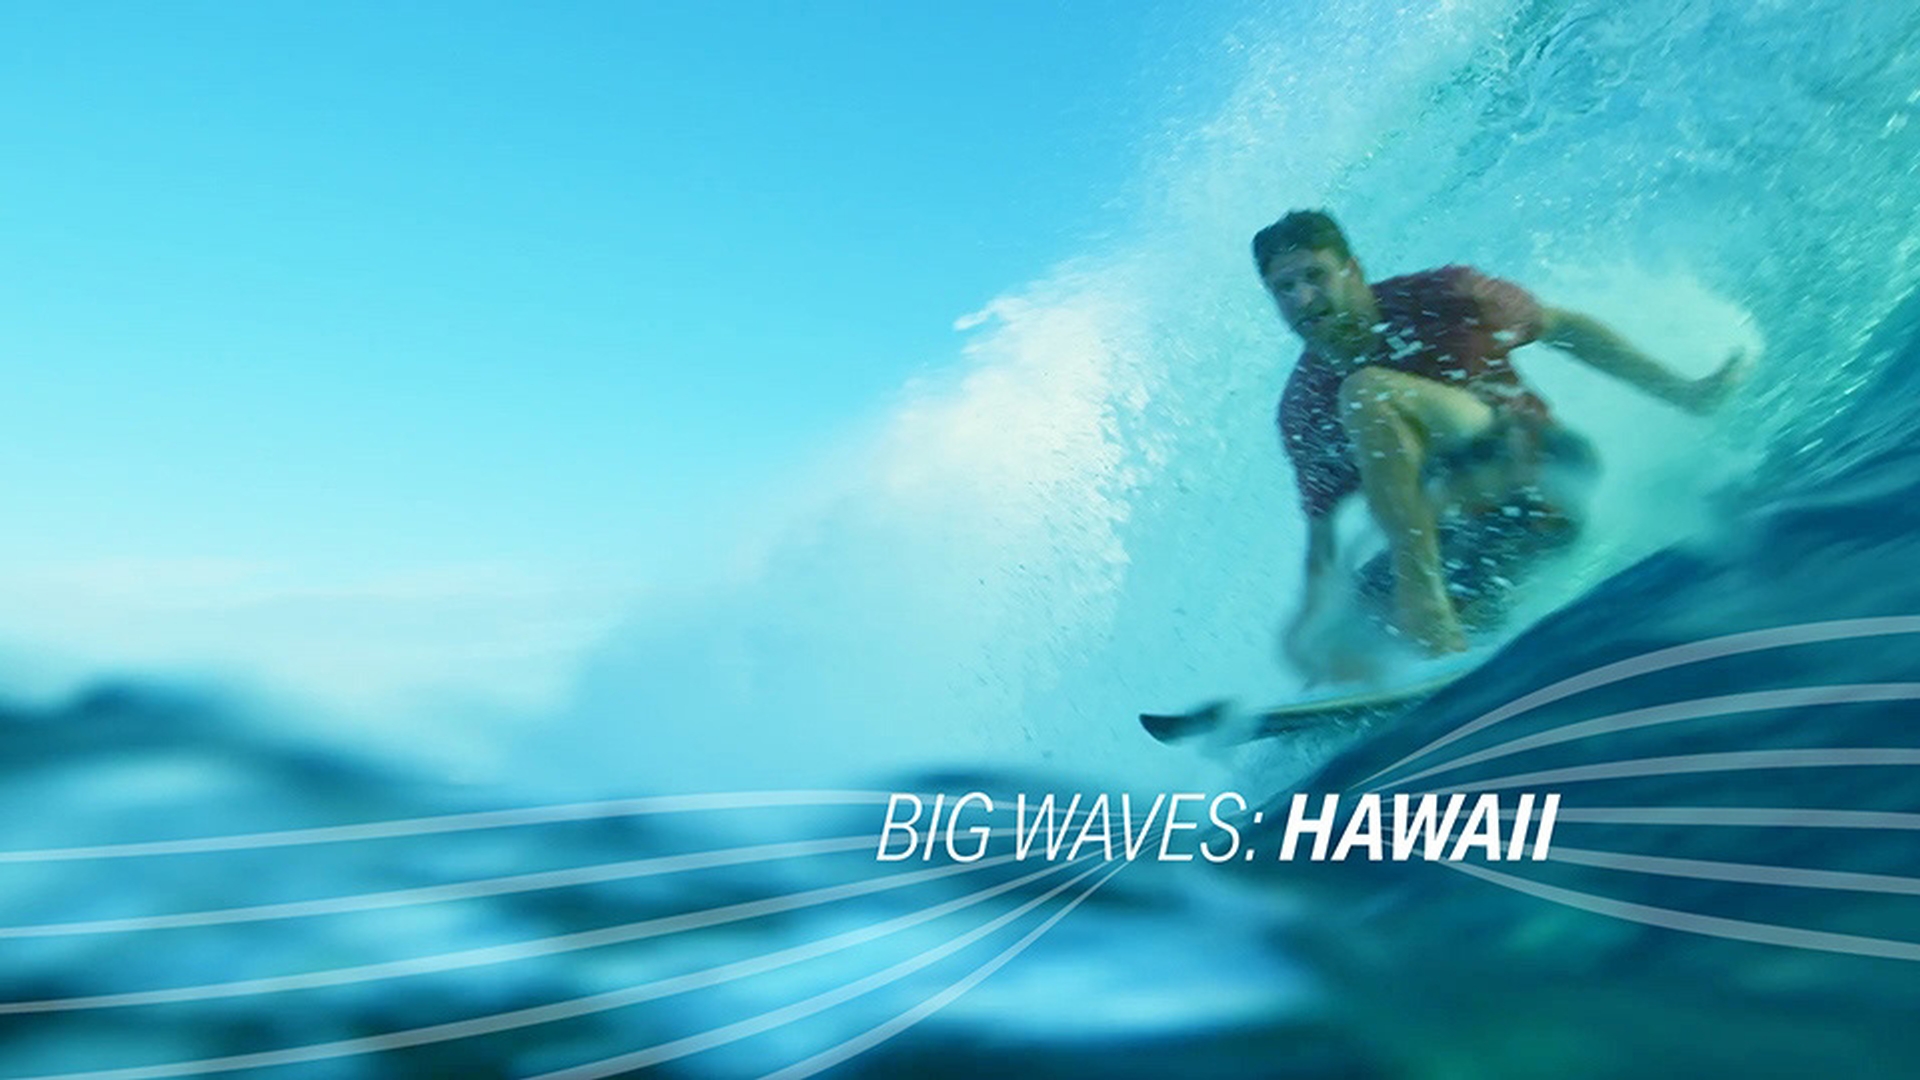
Adobe Stock Contributor
Presenter