Draw with vector and pattern brushes in your animations
Save the brush assets to your Creative Cloud Library. You need to be signed into your Creative Cloud account to save the library.
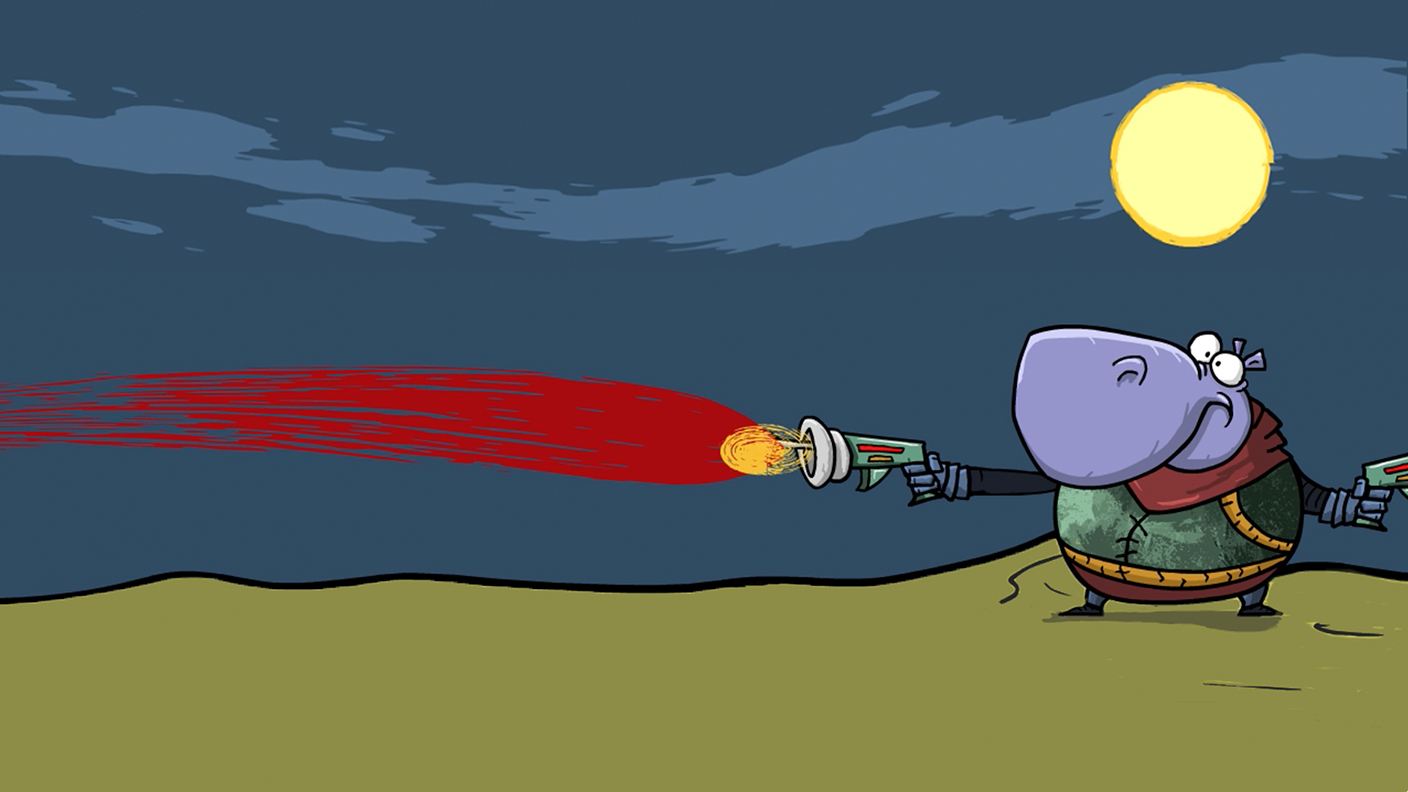
Draw animated laser blasts with vector art brushes
Because brushes in Animate are vector-based art, you can resize, move, color, and animate your brush strokes.
Introduction
Exploring the paint brush tool and brush library
Creating tapered strokes and basic paint brush effects
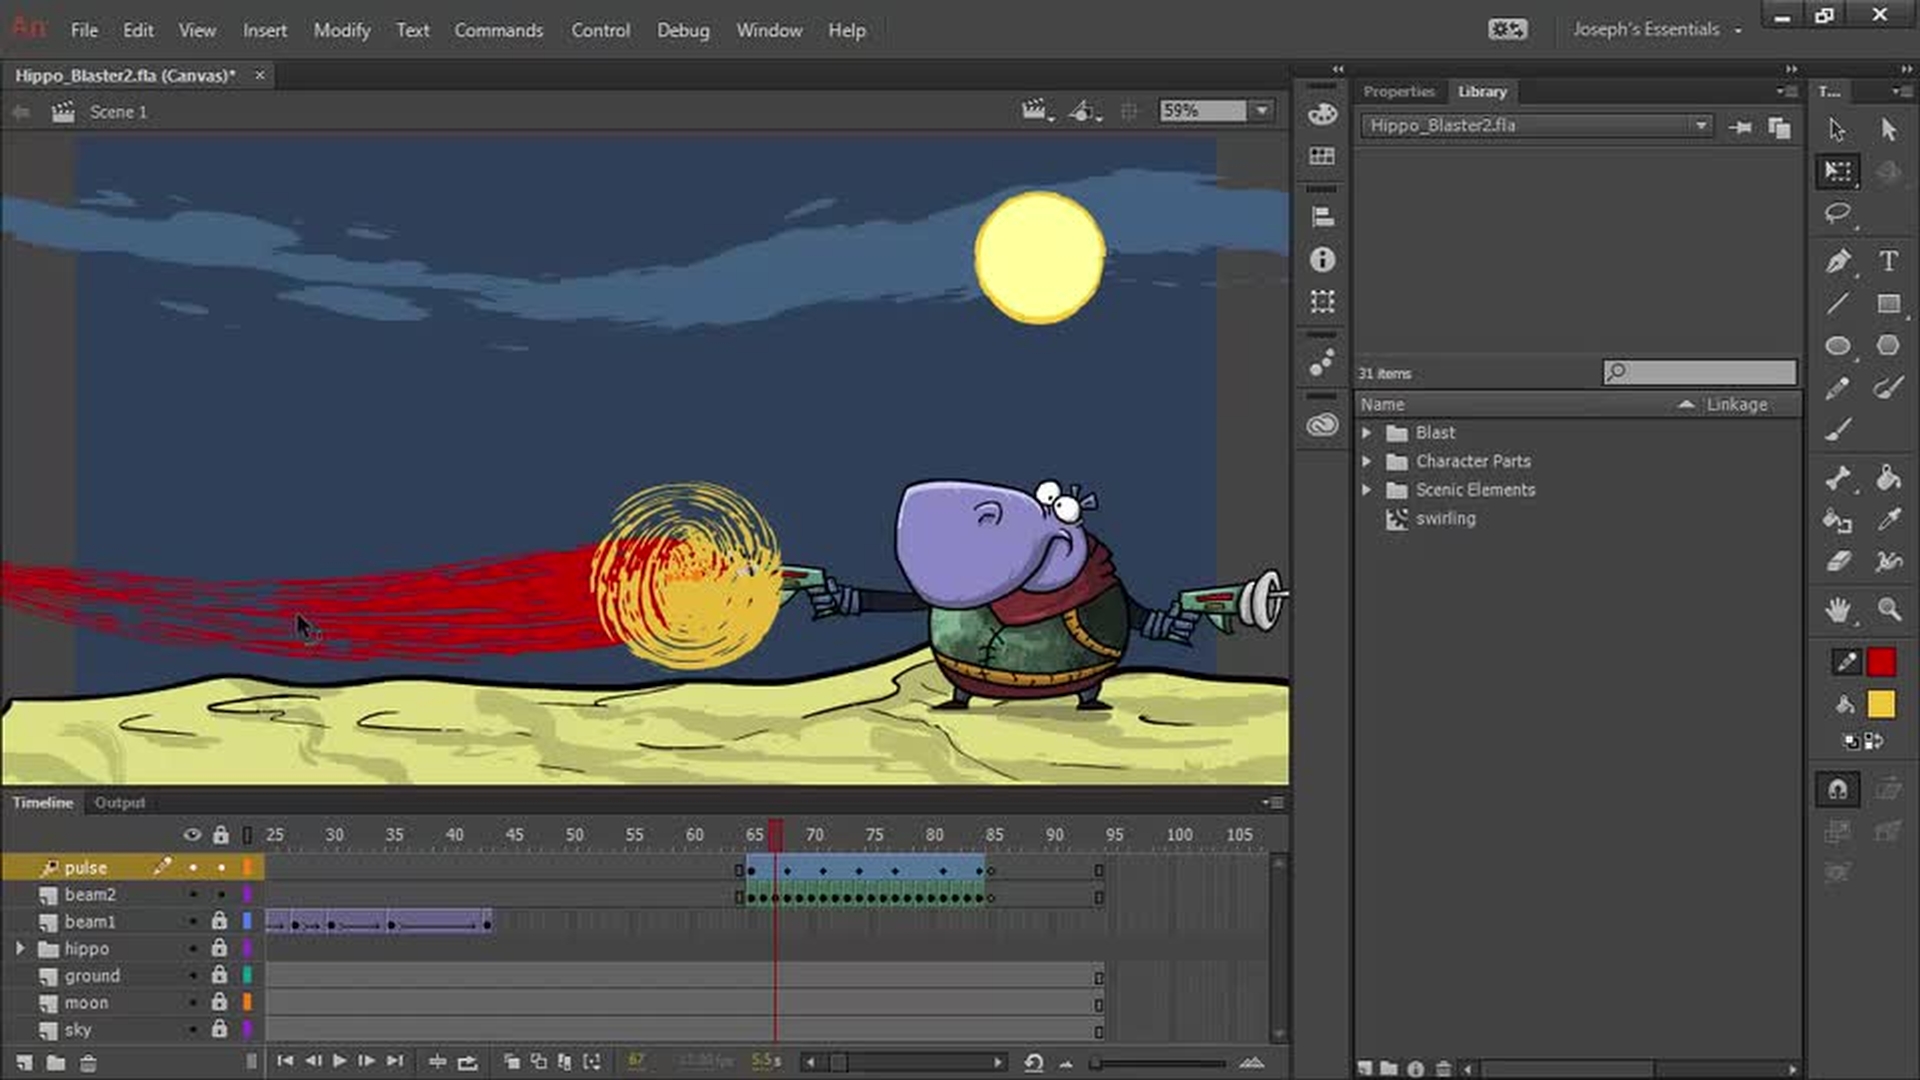
Using vector art brushes for animated effects
Animating brush strokes frame by frame
Refining, looping, and previewing the final animation
Smooth brush path (1:12); Create vector brush (2:15); Keyframes (2:30); Capture brushes (2:43); Draw the second blast (3:15); Animate in the keyframes (3:54); Pulse as movie clip symbol (4:54)
Create custom brushes
Edit an Art Brush created in Animate. Then, convert the Art Brush into a Pattern Brush.
Introduction
Using custom vector art brushes from CC Libraries
Adjusting paint brush settings for organic strokes
Editing an art brush inside Animate CC
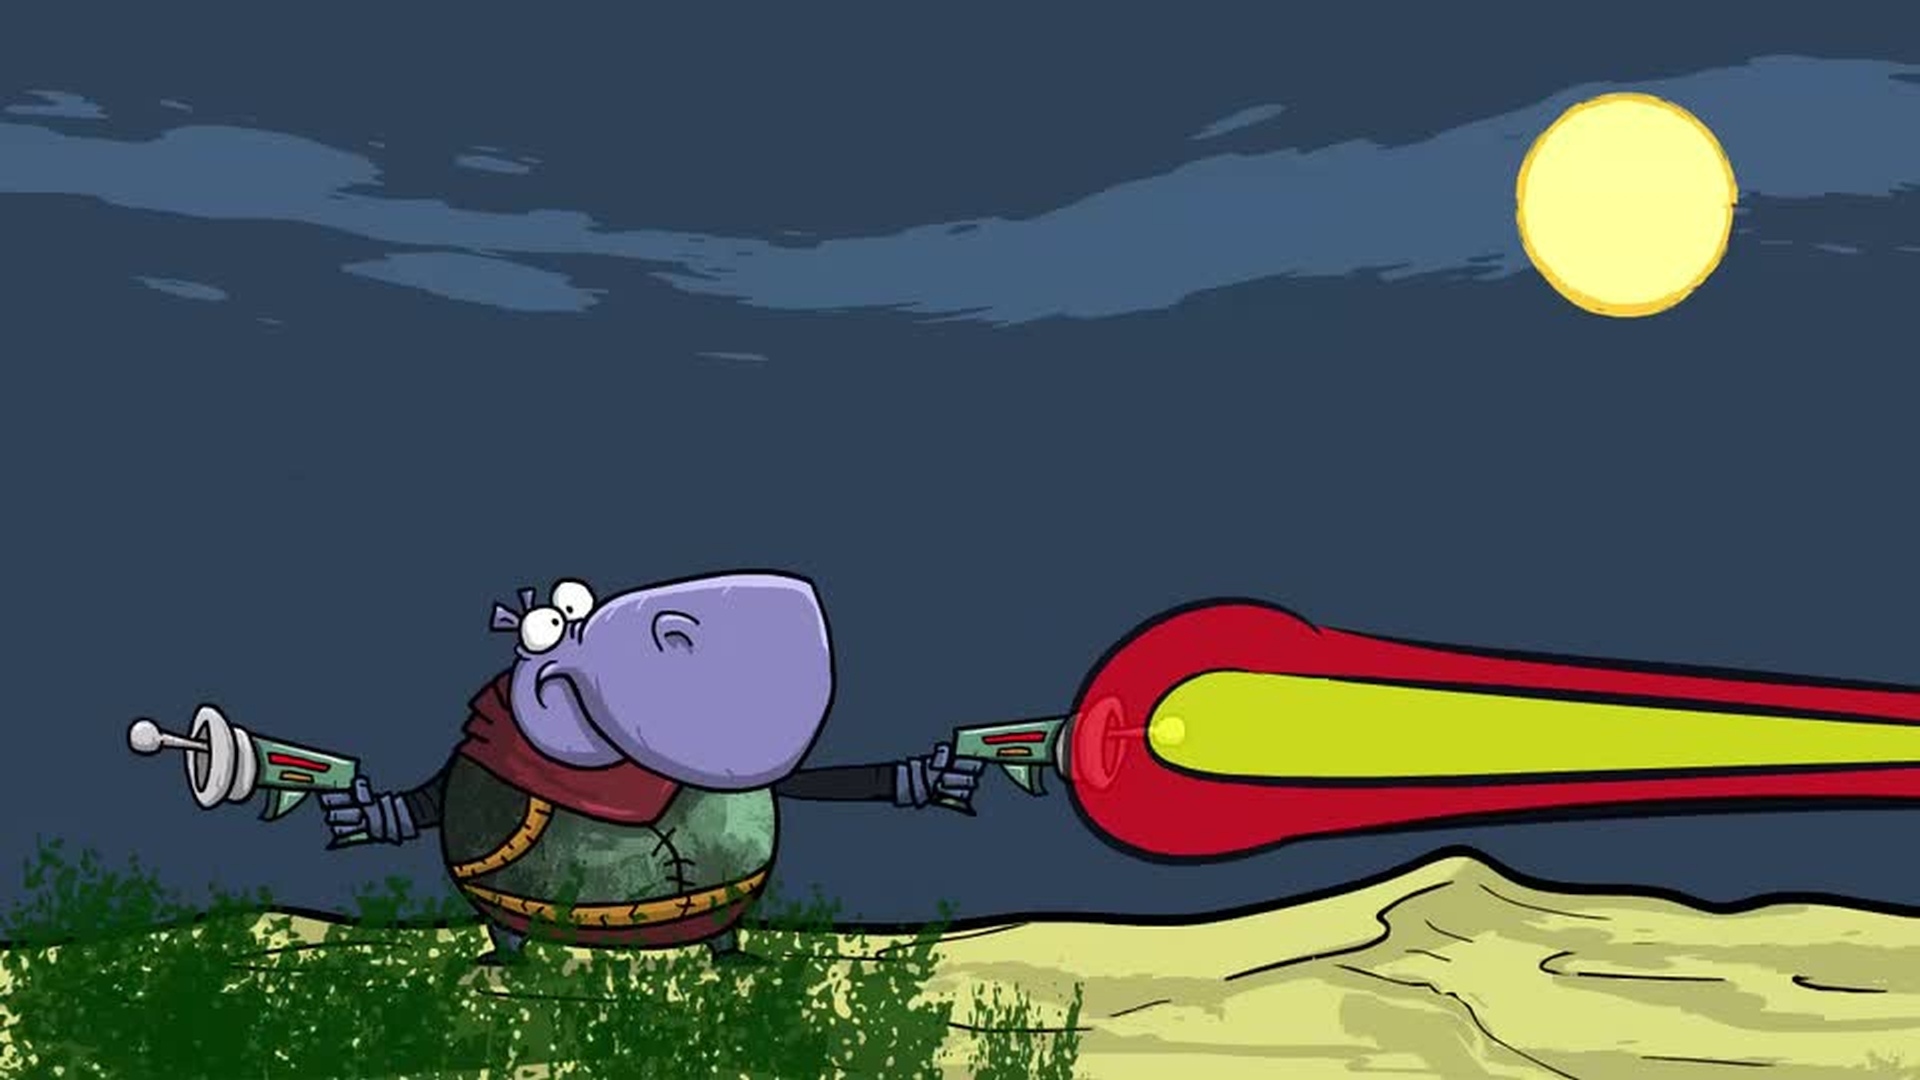
Converting an art brush into a pattern brush
Applying pattern brushes and previewing the result
Capture grass brush (0:34); Add brush to style window (0:52); Draw and modify grass (1:40); Edit an Art Brush (2:20); Convert an Art Brush to a Pattern Brush (3:15); Pattern Brush settings (3:33); Draw with Pattern Brushes (5:20)
Share your work
Share your animation on social media by tagging it with #MadeWithAnimate