In Illustrator CC, editing the appearance of artwork can lead to some really amazing creativity.
In this video, you'll explore a few different methods for selecting and editing the appearance of this logo.
So, let's start by changing the color of different parts of the logo.
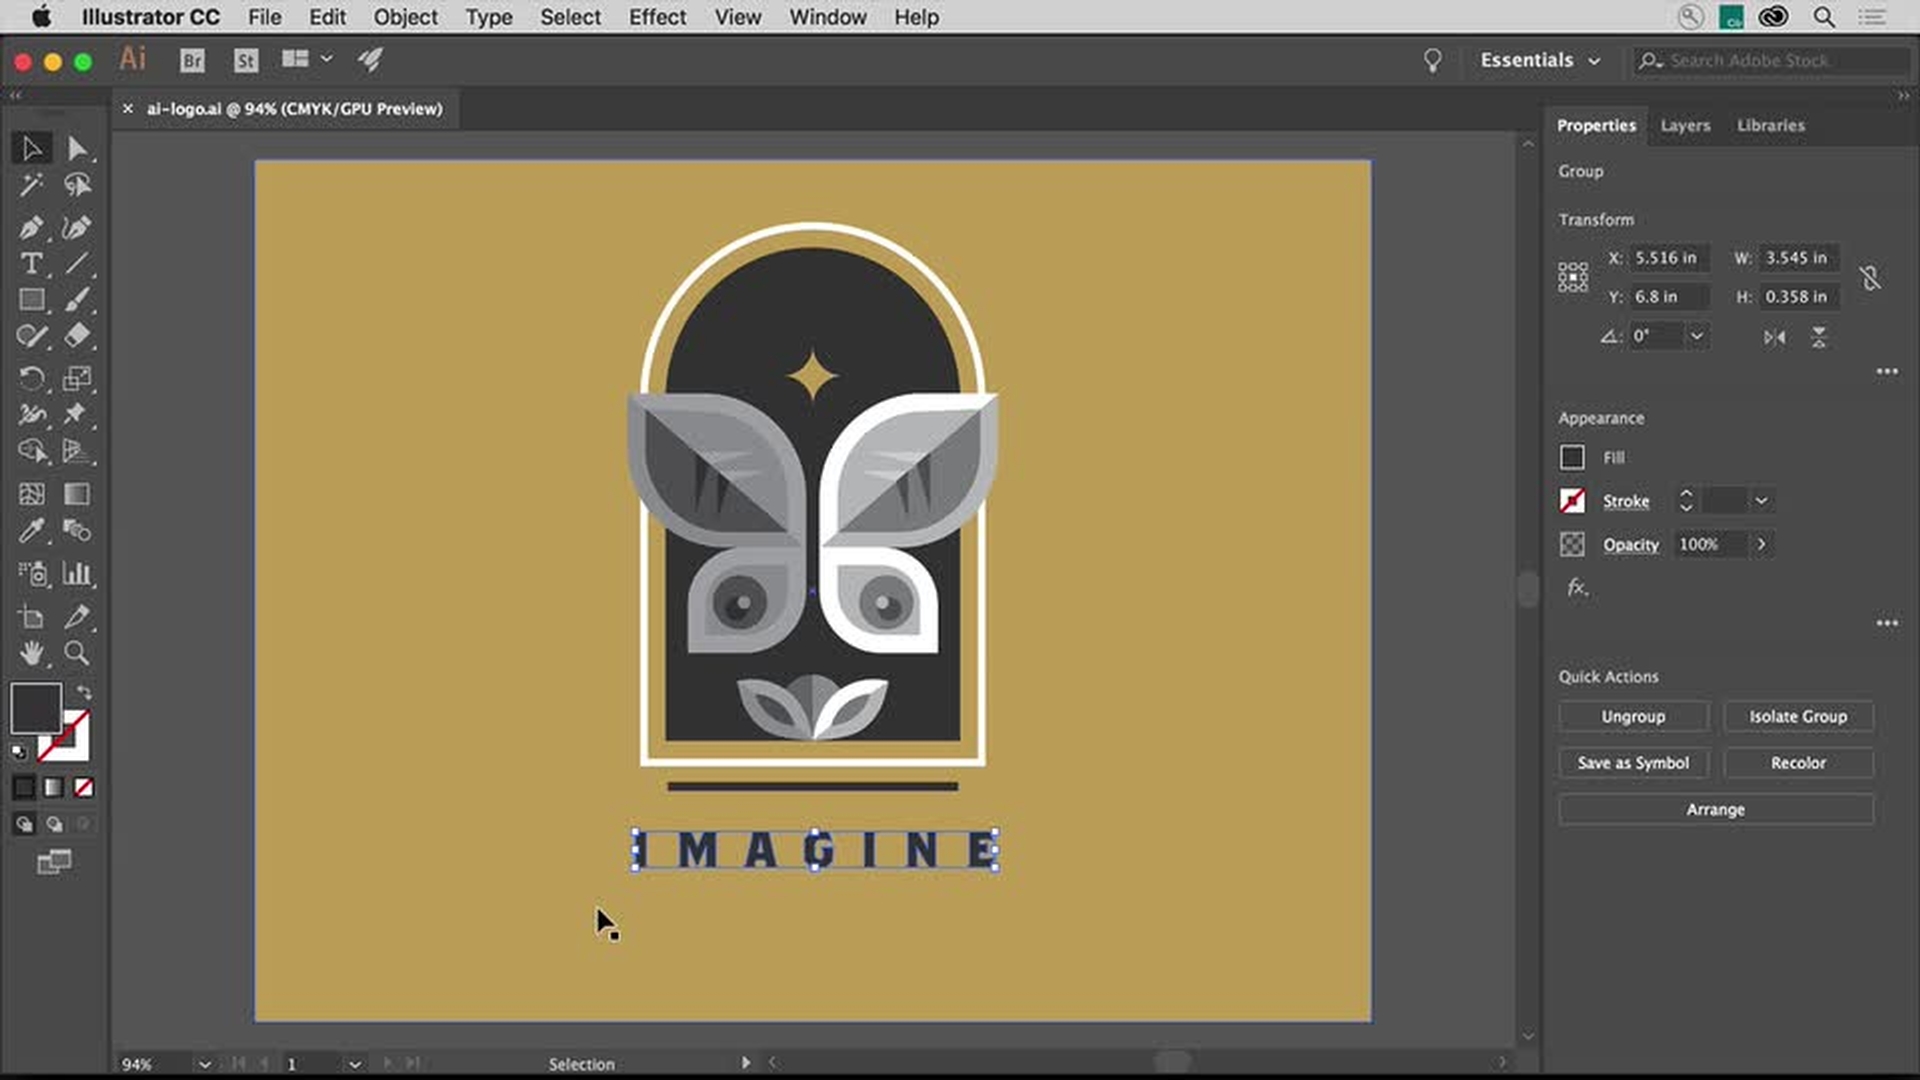
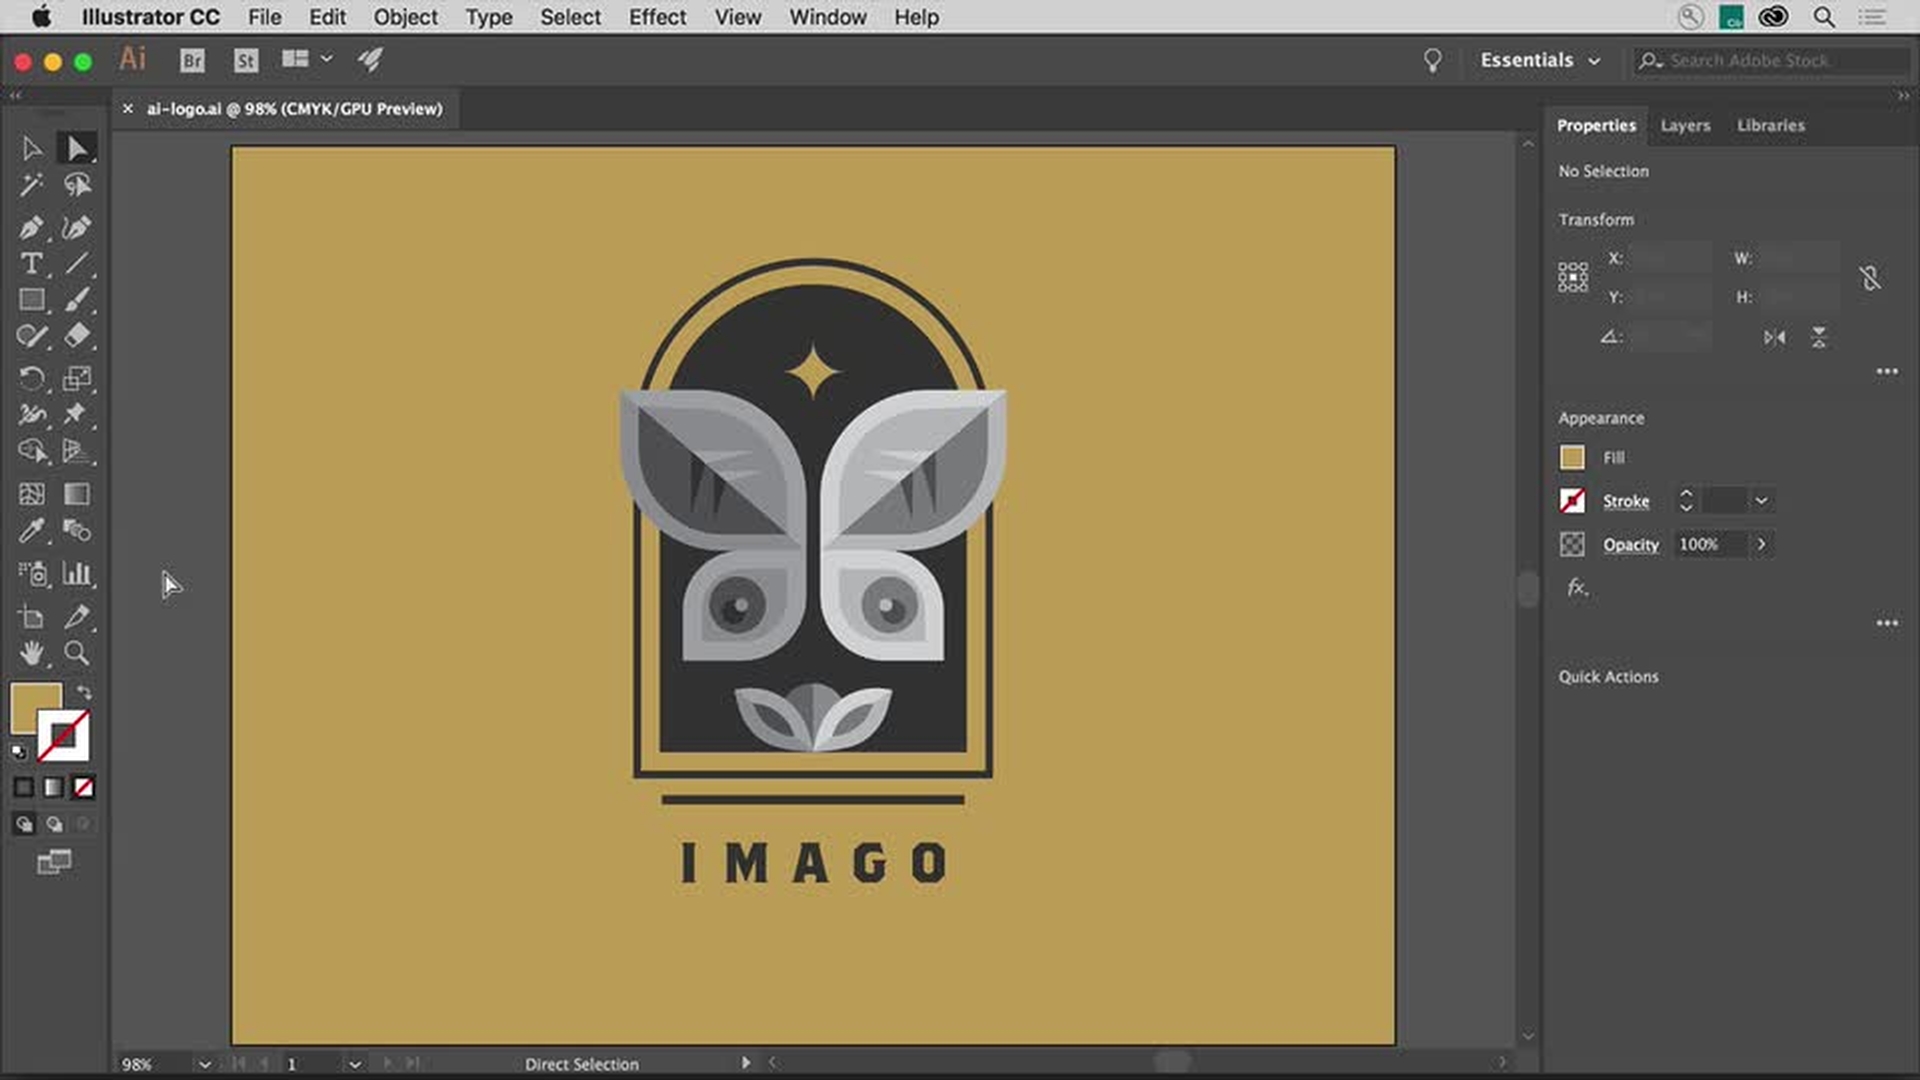
Select the Selection tool and click this white shape in the logo.
You need to change the color of all the white shapes to the same gray color, all those you see here.
But notice that it's part of a group of objects.
If you open the Layers panel on the right and click the Locate Object button, you can actually see that it's a series of nested groups.
In other words, these are groups that are grouped together.
You can select the shape you want in the Layers panel, if you can find it in the layer stock, but sometimes that proves difficult.
Or you can try another method.
Press Command + on Mac OS or Control + on Windows once or twice to zoom in.
Then press A to select the Direct Selection tool.
Click away from the logo artwork, so you deselect it.
Then click in the fill of the white shape, not on the edge, to select that object without selecting the group.
To switch back to the Selection tool, you can press the letter V and the shape should be selected.
Because this object was in a group, you could have also double clicked several times to edit the shape.
Unfortunately, double clicking would actually dim all the other artwork, so you couldn't select it.
Now, to select all the artwork with a white fill, in this case, so you can change the fill of all of them, you can select artwork based on appearance properties.
Choose Select, Same, and you can see a series of options for selecting artwork, that share appearance properties, like Stroke, Fill and there's a whole bunch of them in here.
Choose Fill Color to select all the artwork with the same white fill color.
Now with all the artwork selected, click the Fill color in the Properties panel over here, make sure you can see the Properties panel, and make sure that the swatches are showing.
You can see that the white color swatch is applied.
A gray color needs to be applied.
So, you'll actually create and save a gray color you make as a swatch.
To make a new color, click the New Swatch button here.
In the Swatch Options dialog box, you can change the name if you want.
I'll change it to Light gray.
Make sure that Global swatch is selected, and it should be by default, that way in the future, if you edit the swatch, all the artwork with the swatch applied, no matter if it's selected or not, will update.
With CMYK chosen for the Color Mode, change the black or K to 18.
Deselect this option, Add to my library since we don't need to add this color to a Creative Cloud Library right now.
Then click OK to create the color and apply it to all of the selected artwork.
Now if you spend some time making a selection and you think you may need to select the same artwork again later, you can actually save a selection.
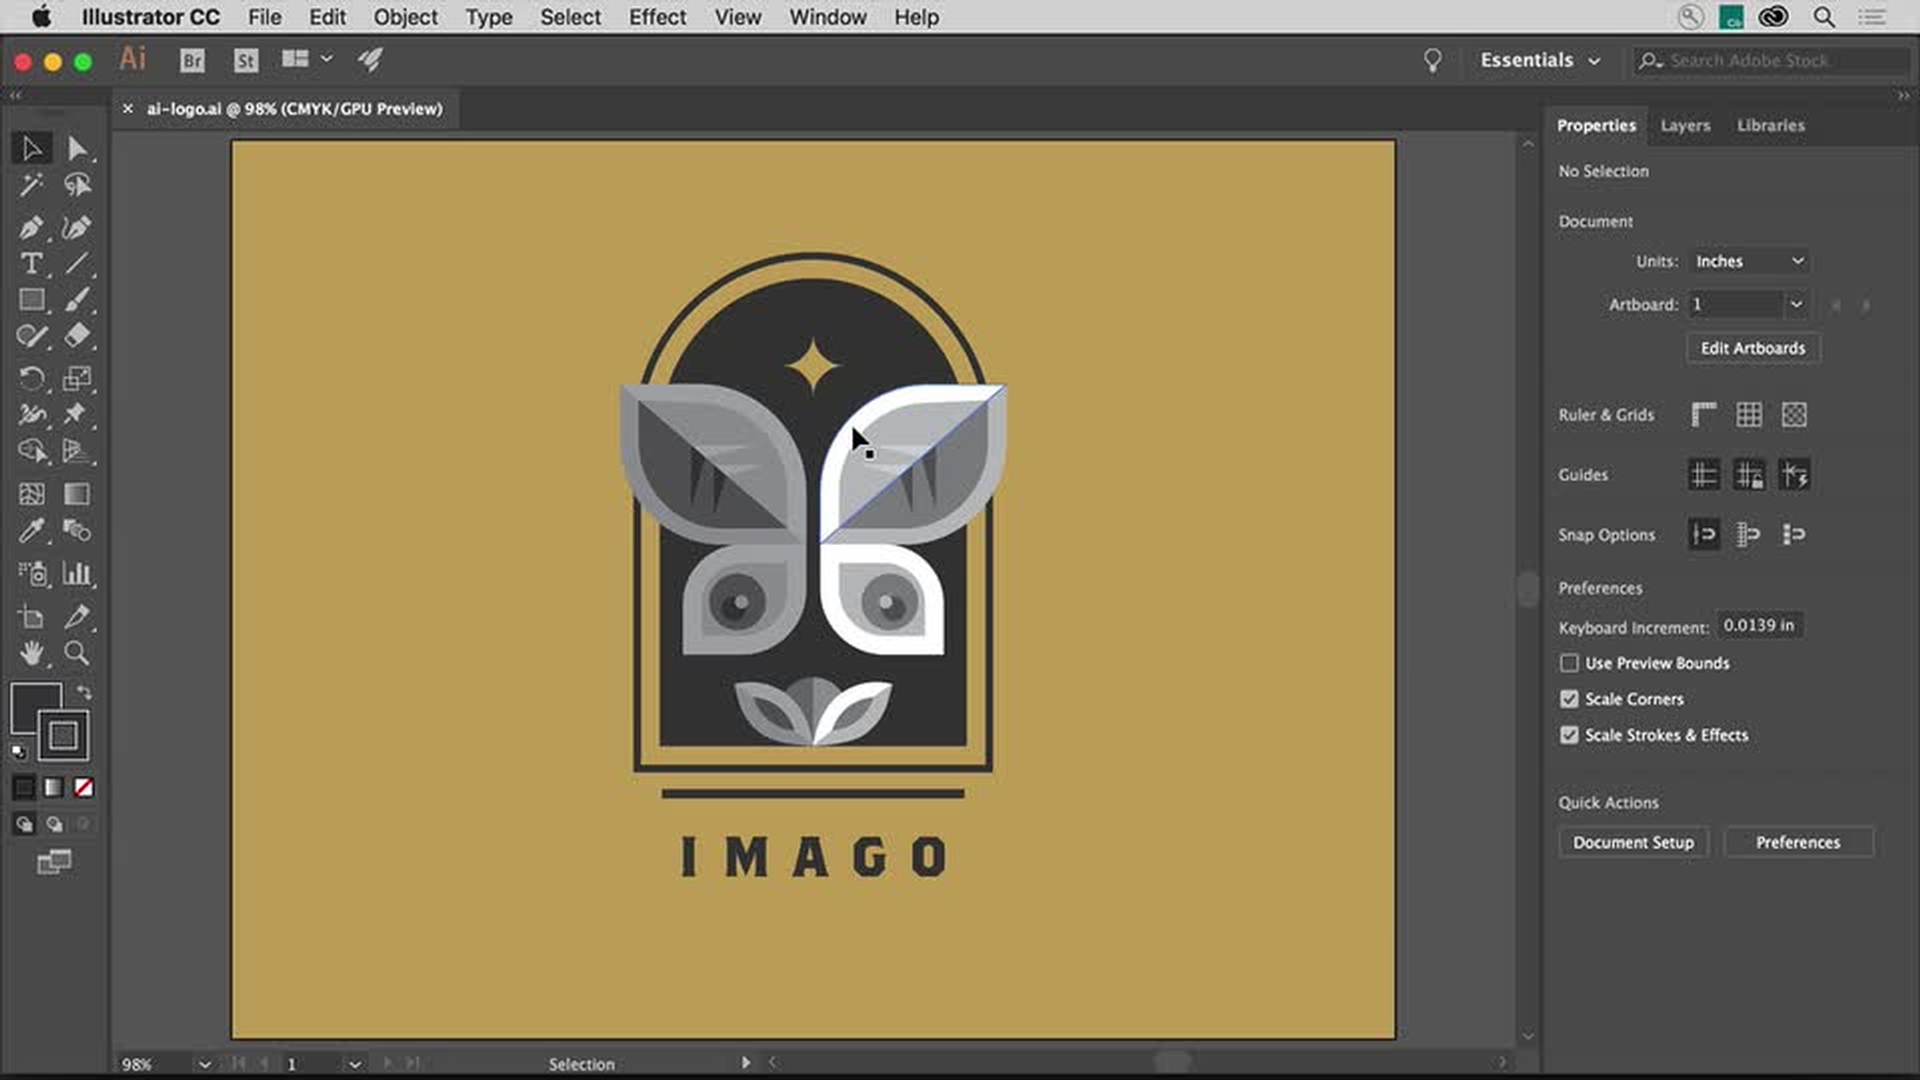
So, let's make and save a selection from these eyes.
Press V to make sure the Selection tool is selected.
Then select the group here.
Zoom in just a little bit closer by pressing Command + on Mac, or Control + on Windows a few times.
To select the Direct Selection tool, press the letter A, then click away from the artwork to deselect it.
I actually had you select the artwork because when you zoom in using Command + on Mac, or Control + on Windows, it zooms into the selected artwork.
Now, click in the center of one of these smaller shapes first to select it.
You'll actually see the word Center show up.
Make sure you don't click the stroke, otherwise it won't select all of the anchor points.
Press the Shift key and click in the center of this other smaller shape over here to add it to the selection.
With the Shift key held down, continue clicking in the other eye shapes to select them as well.
When you're finished, you can release the Shift key.
Now with these shapes selected, choose Select, Save Selection...
Give the selection a name that makes sense to you, maybe something you can remember easily.
I'll name this selection Eyes.
Then click OK.
Saving a selection allows you to select and save objects or select anchor points and save those as well as a selection.
Now, let's try it out.
So, choose Select, Deselect, then we're going to reselect those eyes.
So, choose Select, Eyes and the eyes are selected again.
To make a simple change, press the Up-arrow key a few times to move those shapes up.
So, you can see the entire logo again, choose View, Fit Artboard in Window.
Making and saving selections in Illustrator CC can be a bit of an art form, but with a few essential techniques, you can save a ton of time and work that much faster in Illustrator CC.