Combine images in creative ways

1 Combine images
Learn techniques for adding images to a composite, blending images together using layer masks, and changing the shape of an image by transforming a smart object.
Introduction
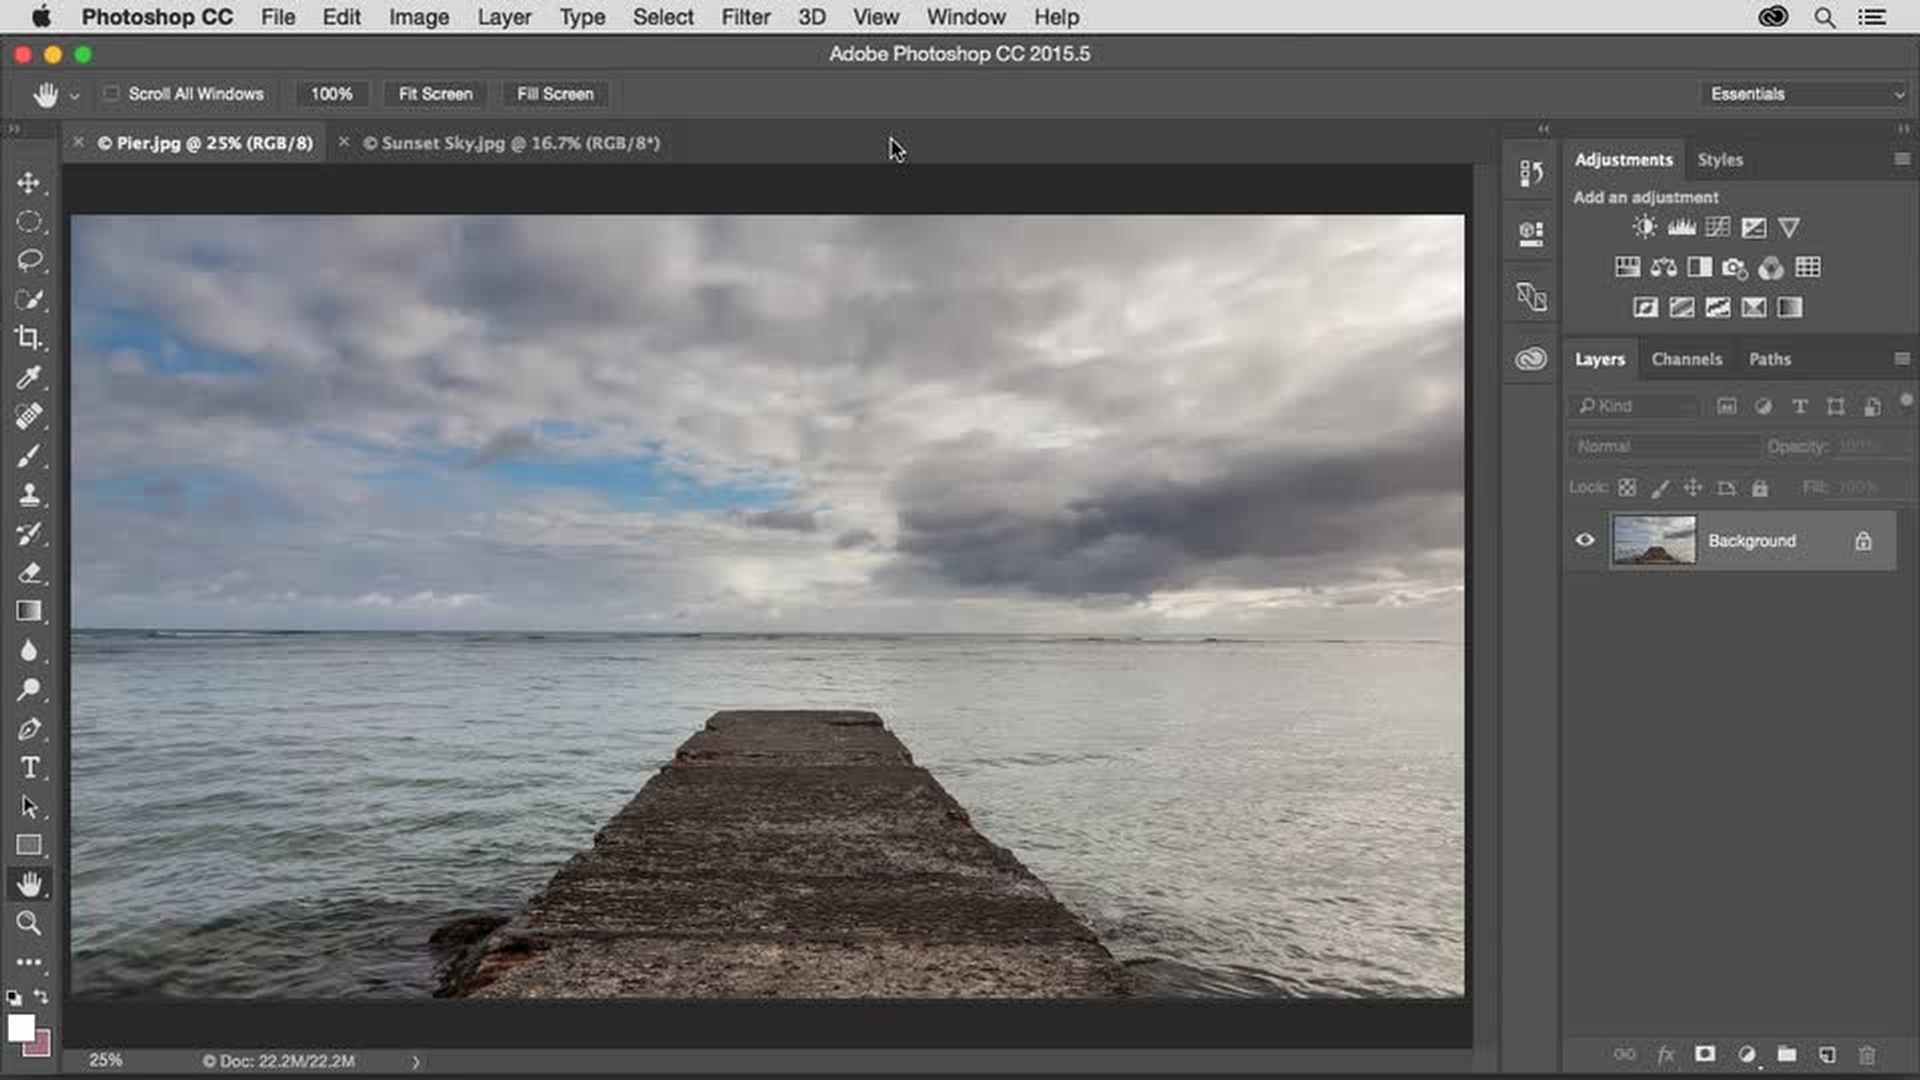
Adding a new image to start a composite
Blending the sky using a layer mask and gradient
Placing a smart object and setting blend modes
Transforming and distorting elements to match perspective
Refining edges with layer masks and finishing the composite
Add an image (0:17); Add layer mask (1:22); Place Embedded Smart Object (2:45); Apply Overlay Blend Mode (3:20)
2 Add a central element
Add a central element to your composite using a layer mask with selections and the Brush tool.
Introduction
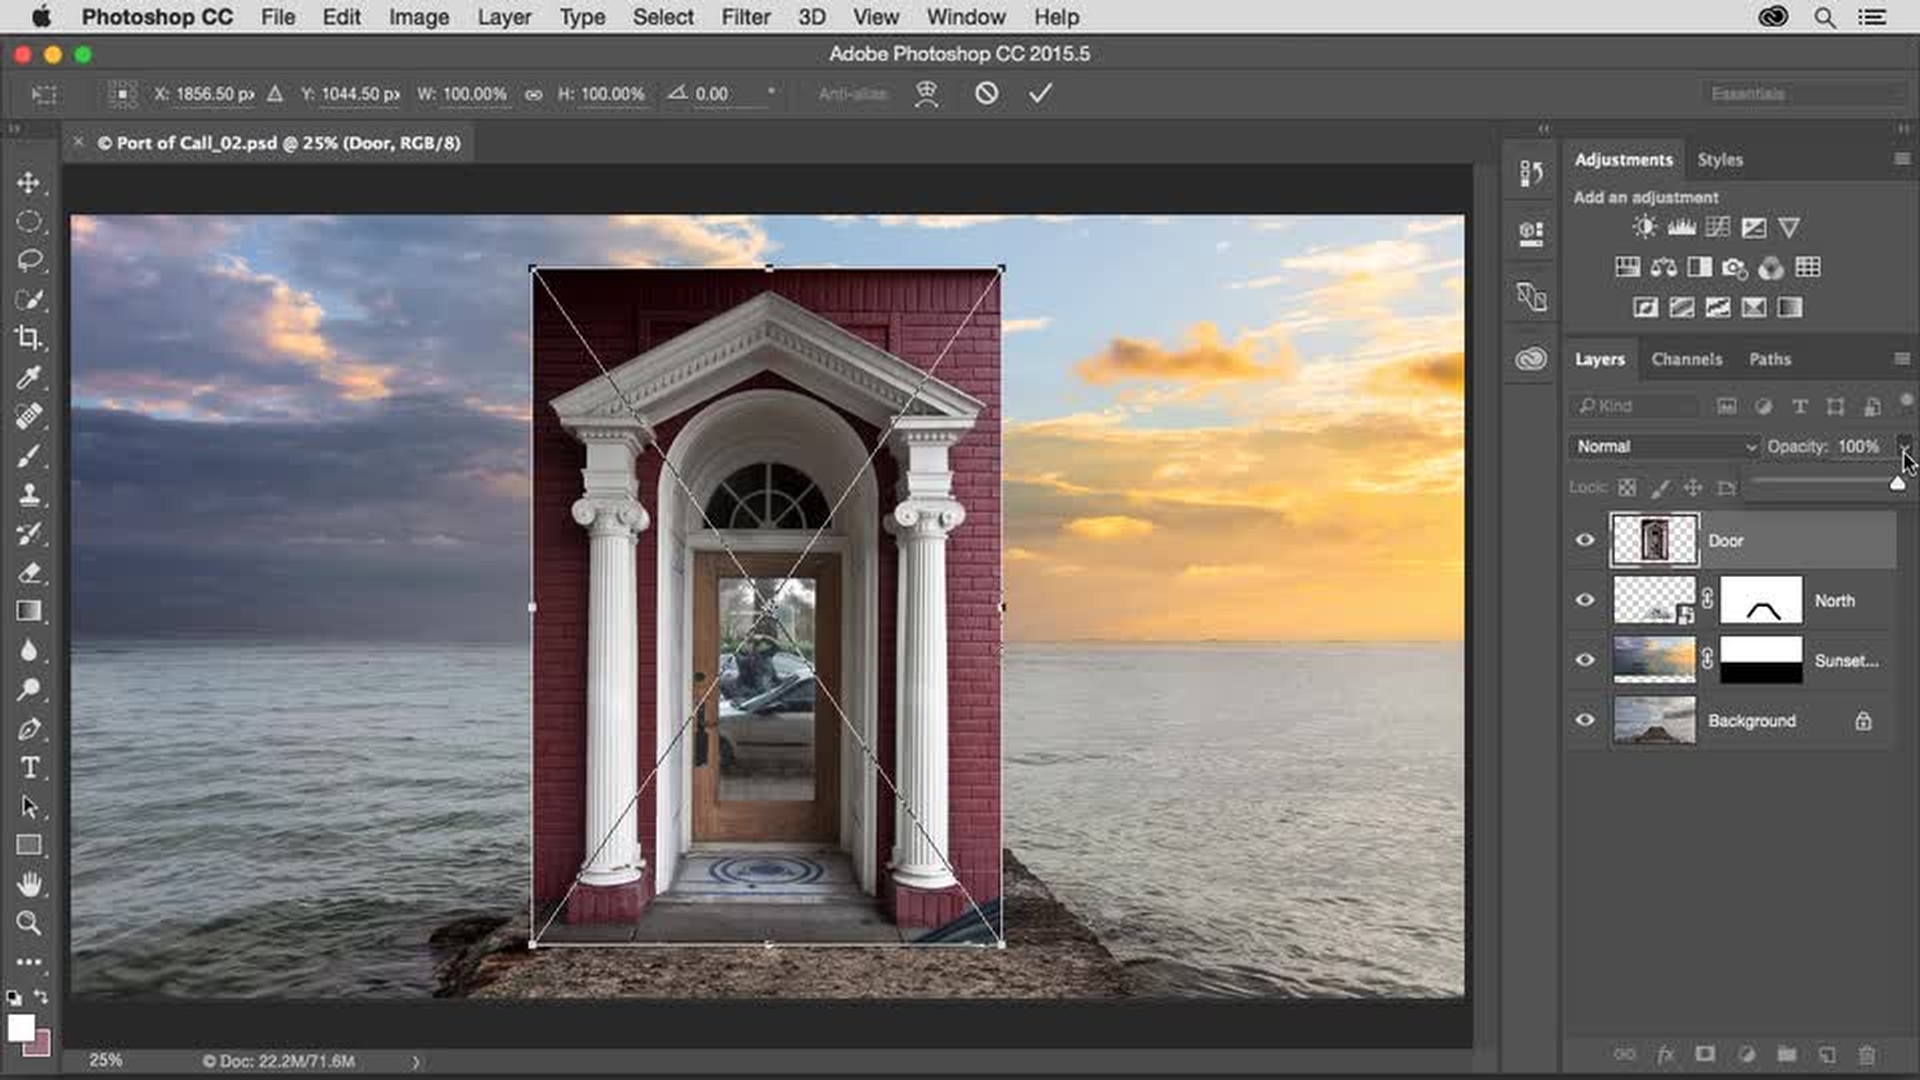
Placing and positioning the door element
Selecting brick areas with the Quick Selection tool
Creating a layer mask to hide selected areas
Hiding the door using marquee selections
Masking the lower door with the Brush tool
Place another image (0:08); Select and mask (00:48)
3 Add dreamlike elements to the composite
Add some clouds to the composite for a surreal effect, and paint on a layer mask to shape the clouds. Then learn how to use the Blend If sliders to blend a photo of a sailboat into the scene.
Introduction
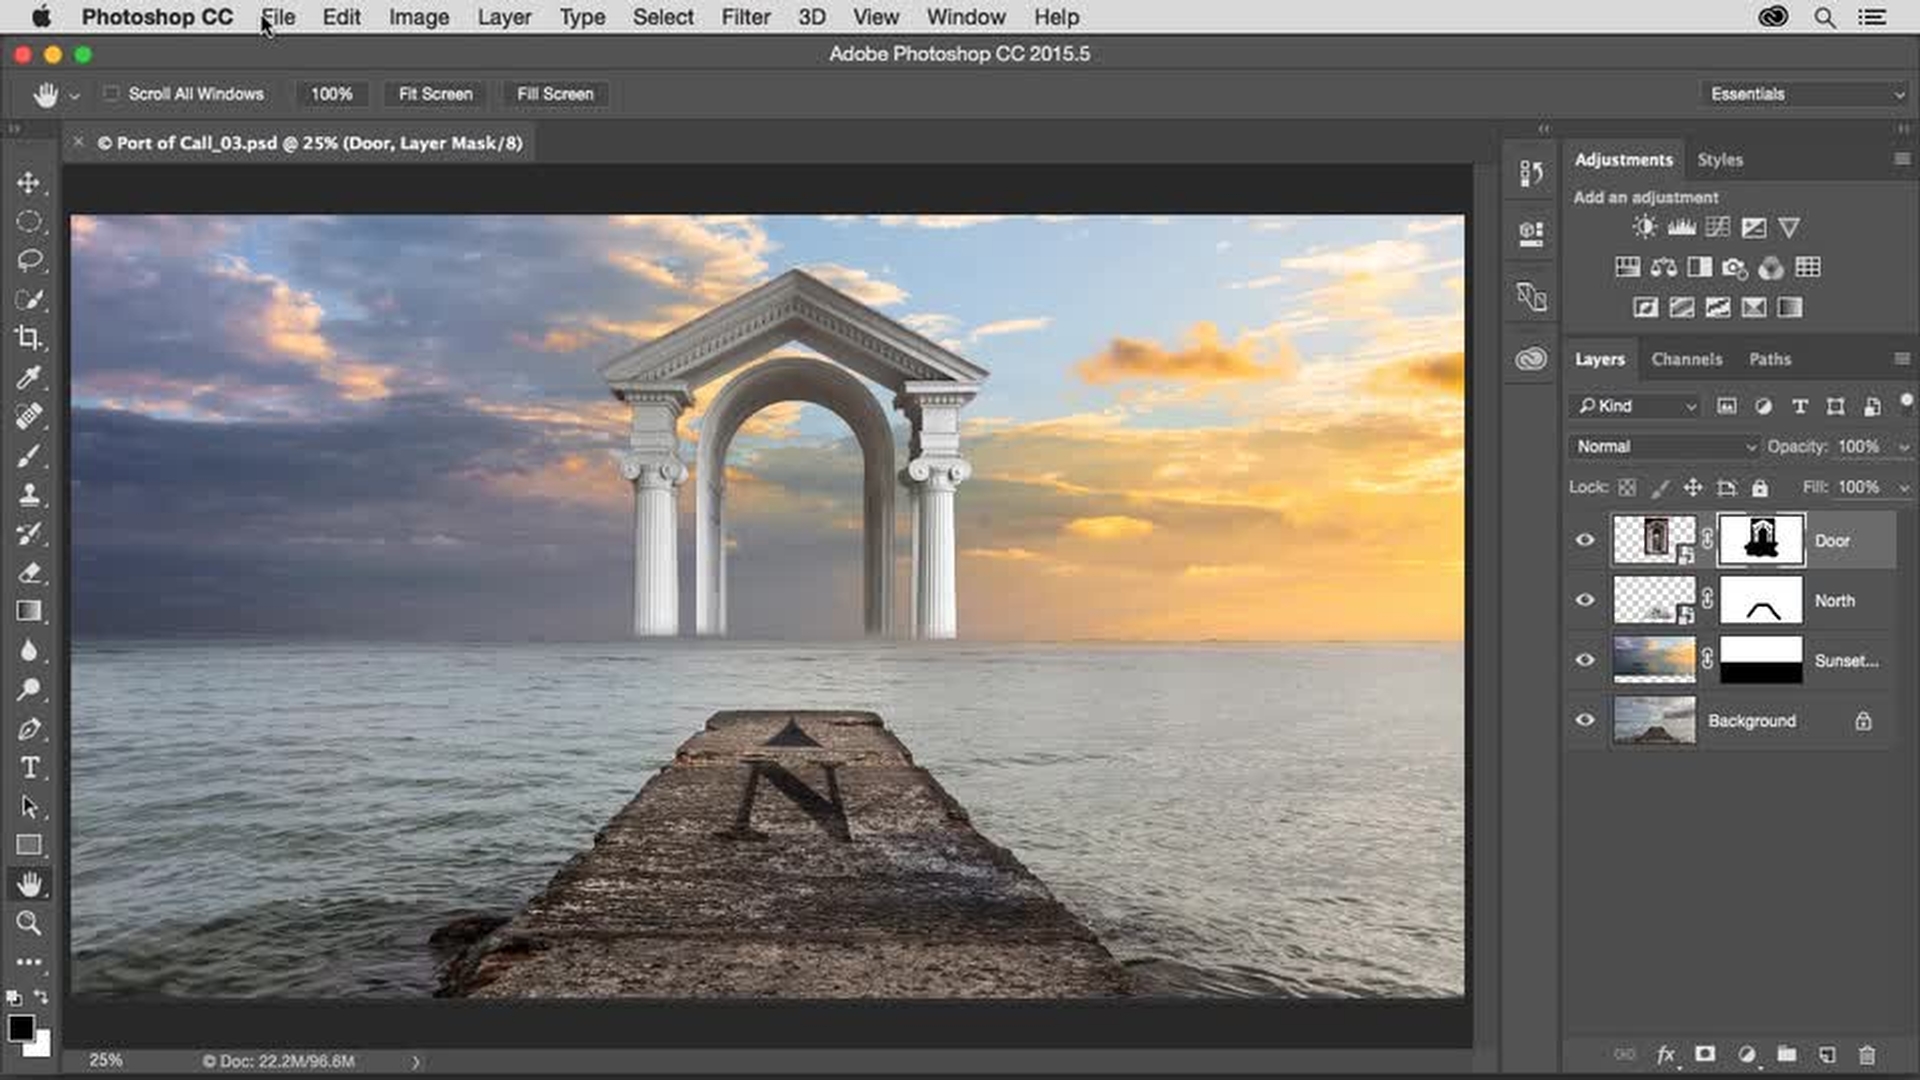
Adding clouds with layer masks
Revealing and refining clouds using brush masking
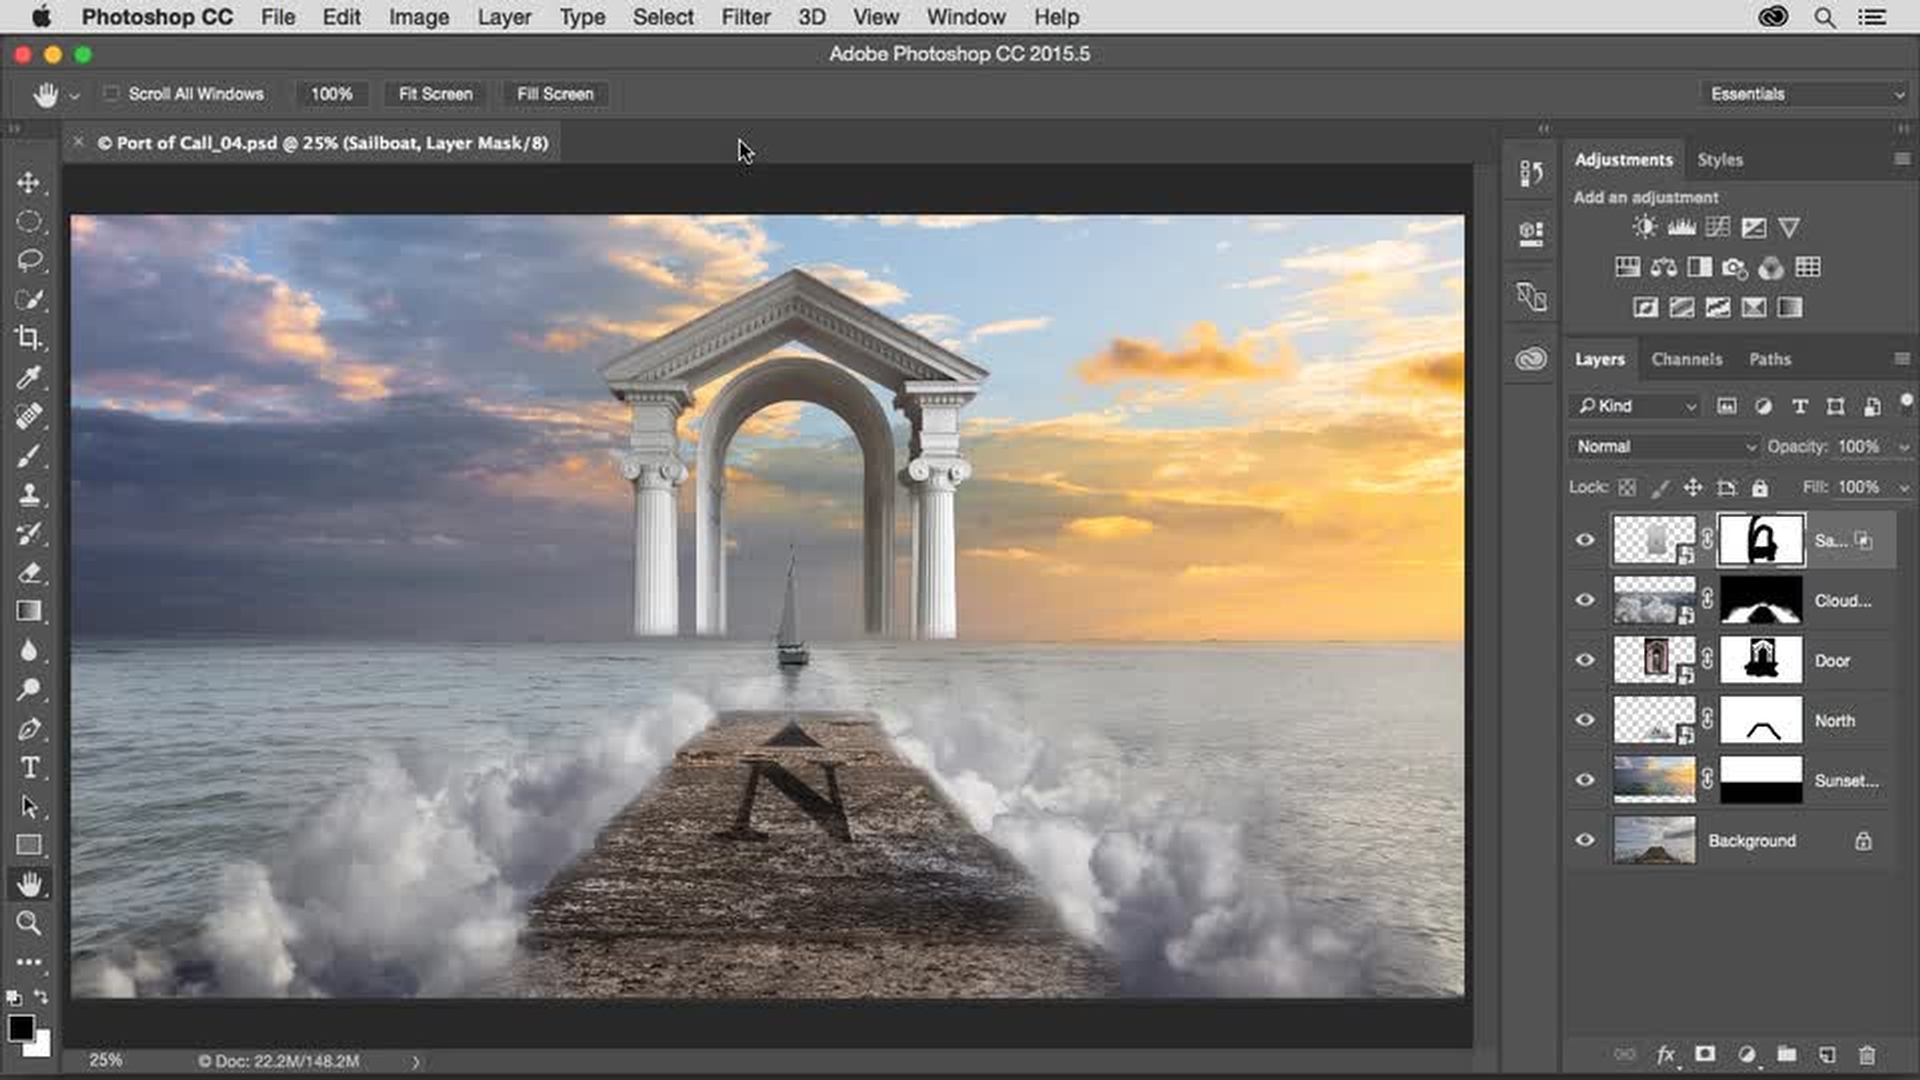
Adding the sailboat as a new element
Blending the sailboat using Blend If sliders
Final masking, positioning, and scene refinement
Add layers to create depth (0:17); Change layer order (2:05); Apply Multiply Blend Mode (3:35); Resize layer (3:54)
4 Add depth to the scene
Increase perspective in the scene with additional layers that suggest foreground and background elements. Paint on a layer mask to interlace clouds with other objects. Then use a layer Blend Mode to knock out a white background on a layer.
Introduction
Adding background clouds to increase scene depth
Isolating clouds using Blend If sliders
Refining cloud depth with layer masks and brushes
Adding birds and blending them into the sky
Scaling and positioning elements to enhance depth
Add more images (0:20); Use Blend If sliders to hide content (2:53)
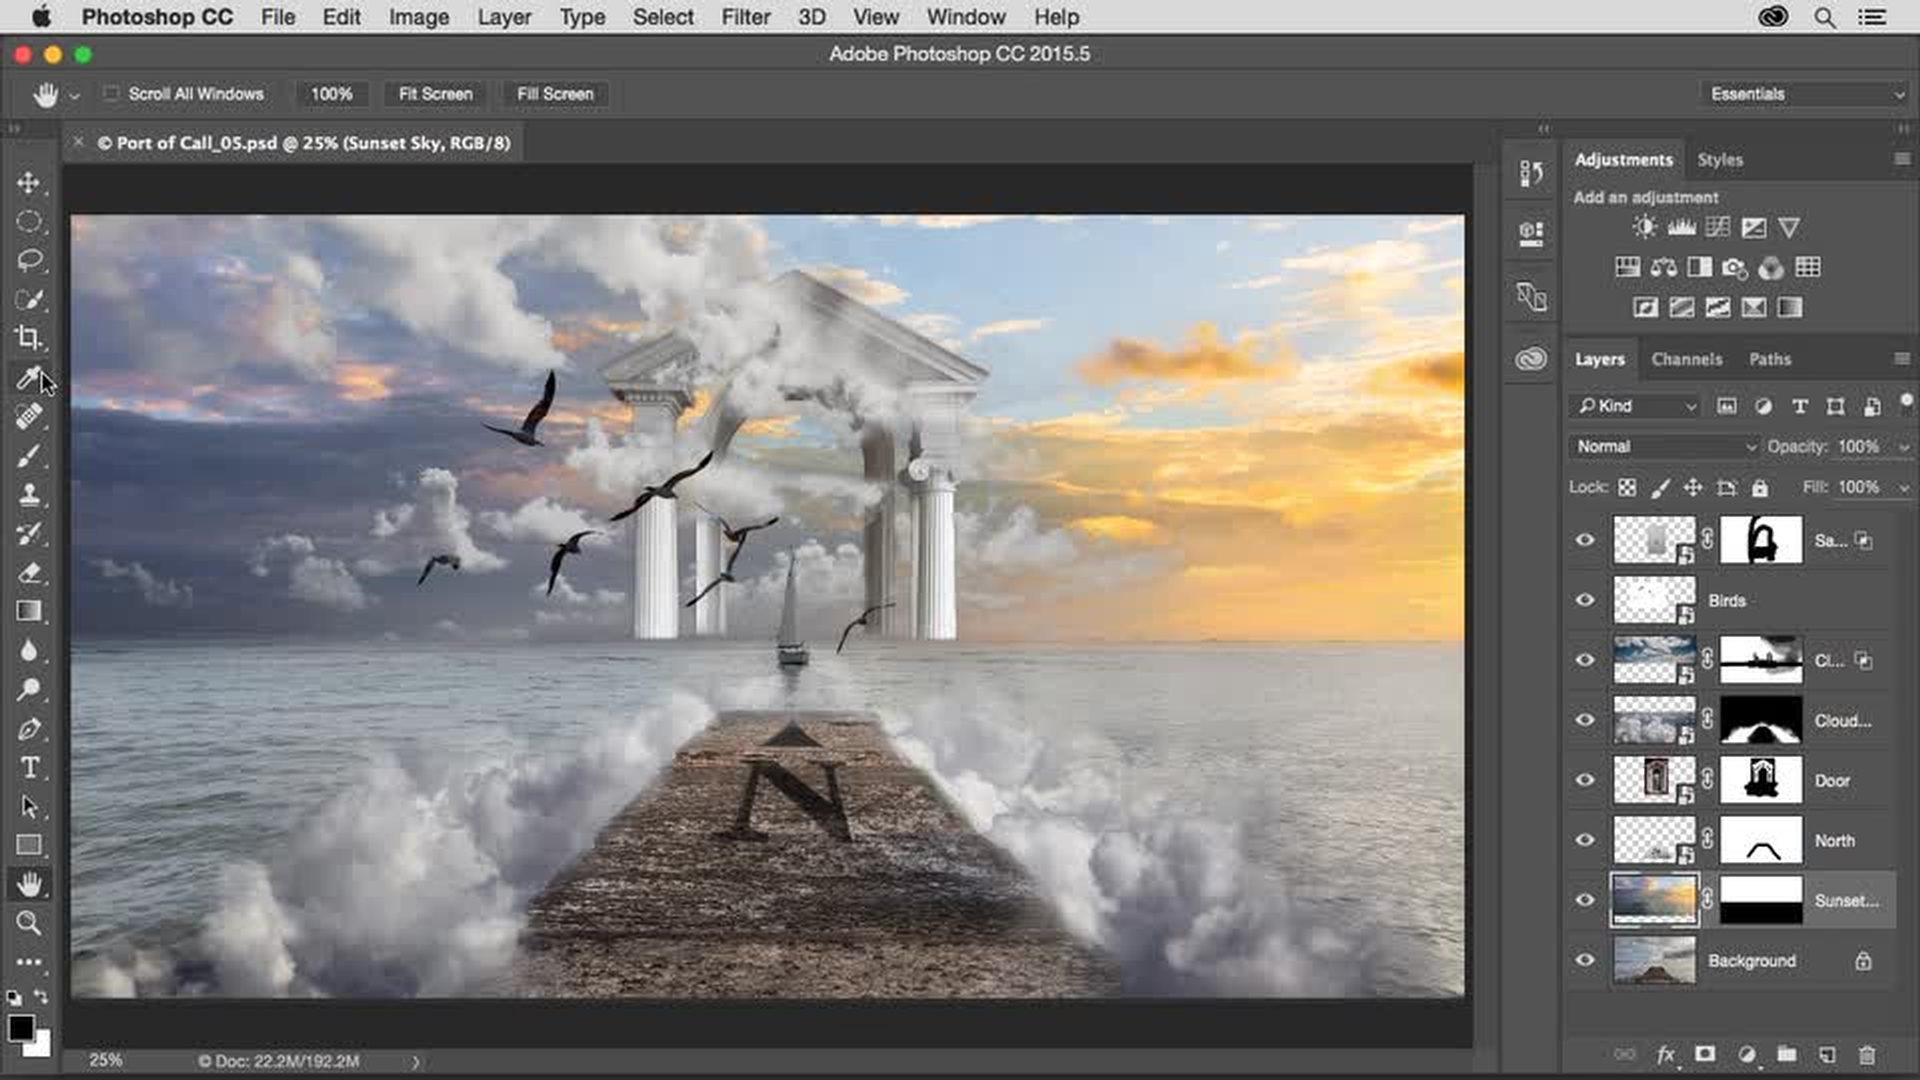
5 Add color to the image
Color is an important element in composite. Learn techniques for using fill layers, layer Blending Modes, and clipping masks to control color. Finally, polish your fantasy composite by adjusting lighting and contrast with Curves.
Introduction
Sampling sunset colors and matching cloud tones
Applying color fill layers with clipping masks
Creating a multi‑color gradient from sunset hues
Blending and masking the gradient for balance
Enhancing contrast with curves adjustment
Add Solid Color Fill layer (0:38); Apply Color Blend Mode (1:02); Add Clipping Mask (1:20); Add Gradient Fill layer (2:01); Apply Soft Light Blend Mode (3:55); Apply Curves adjustment layer (4:32)
Everyone can Add Layers - Combine photos to create an amazing new image.