Start using Lightroom Classic with Photoshop

Supercharge your photography by using Photoshop with Lightroom Classic
Lightroom Classic and Photoshop are the perfect combo for anyone who loves photography. Lightroom Classic is where you'll organize, share, and adjust your photos so they look their best. Photoshop is where you'll add further edits to your photos–like combining photos, removing flaws, moving objects, applying Photoshop filters, adding text, and more.
Learn how and when to pass your photos from Lightroom Classic to Photoshop to take advantage of Photoshop's editing superpowers in addition to adjustments you make in Lightroom Classic. Then save your photos from Photoshop back to Lightroom Classic to keep track of all your photos in one place.
Introduction
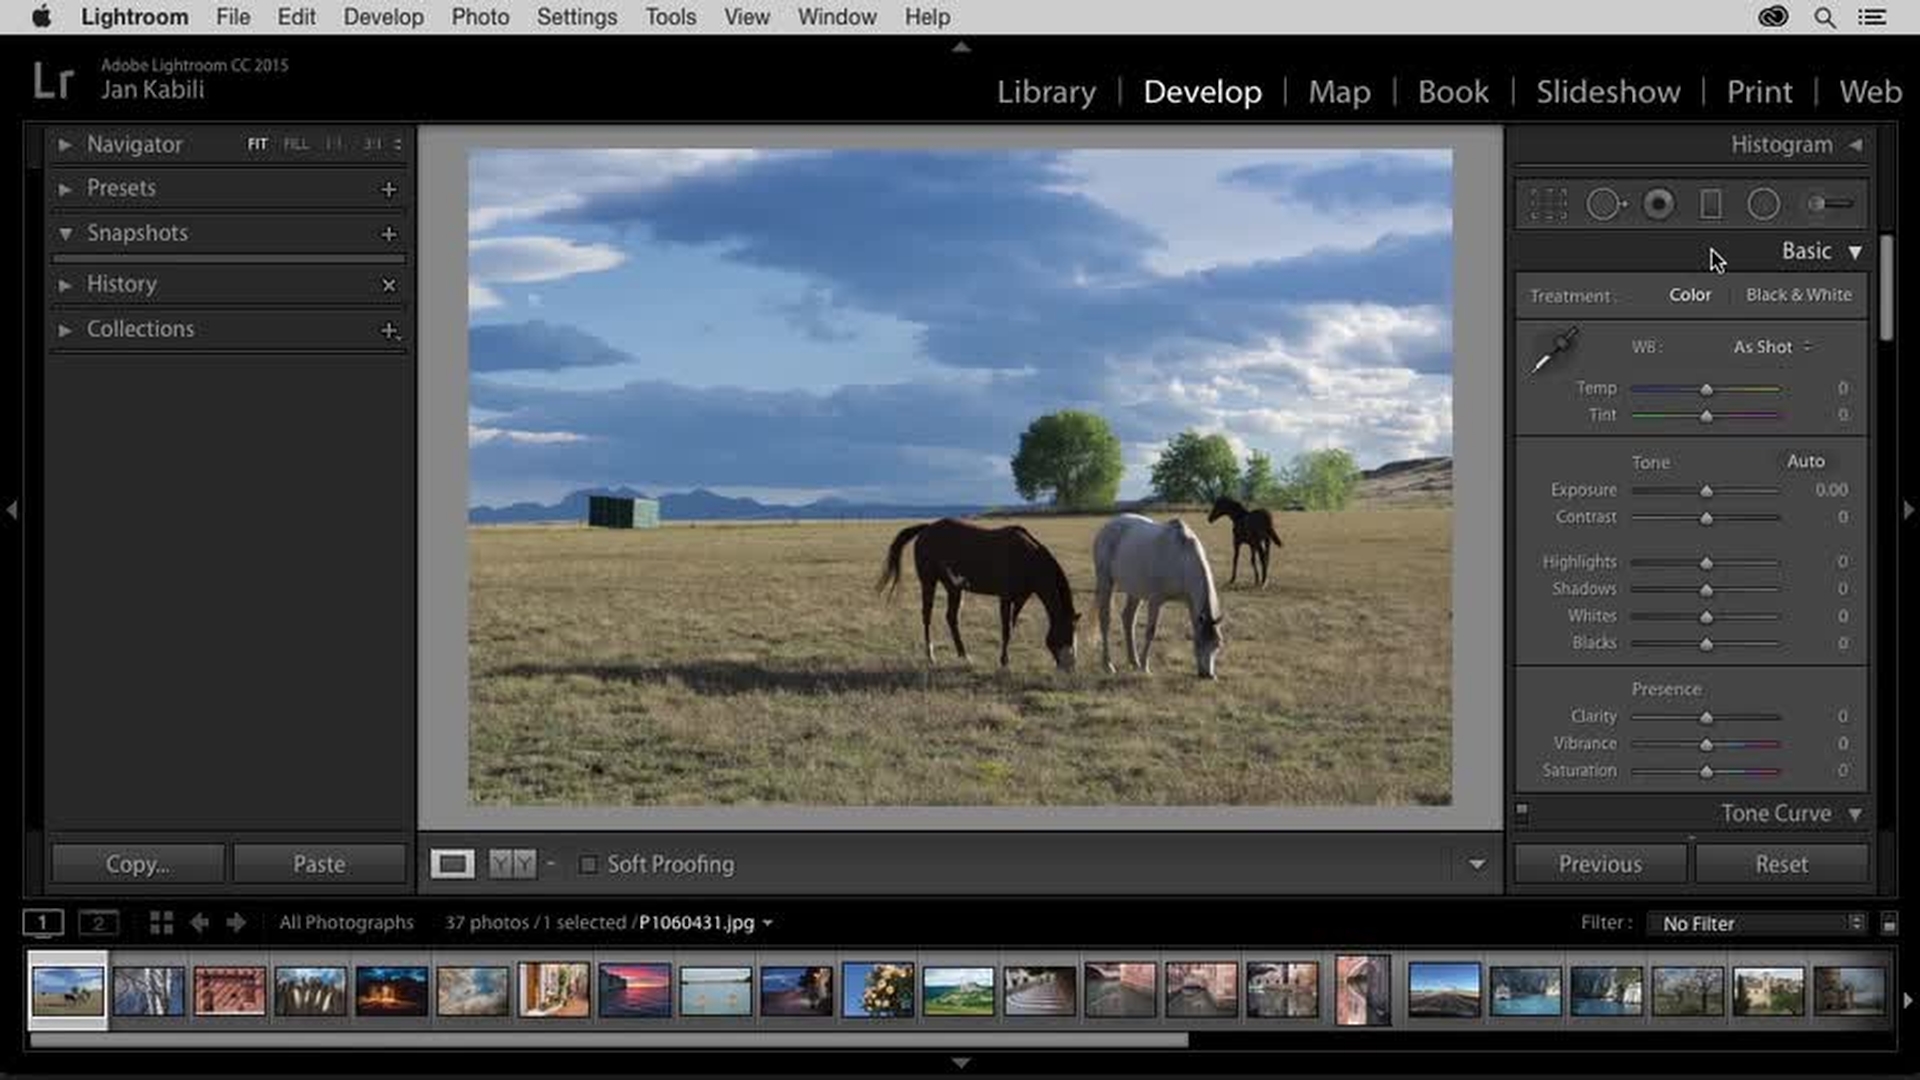
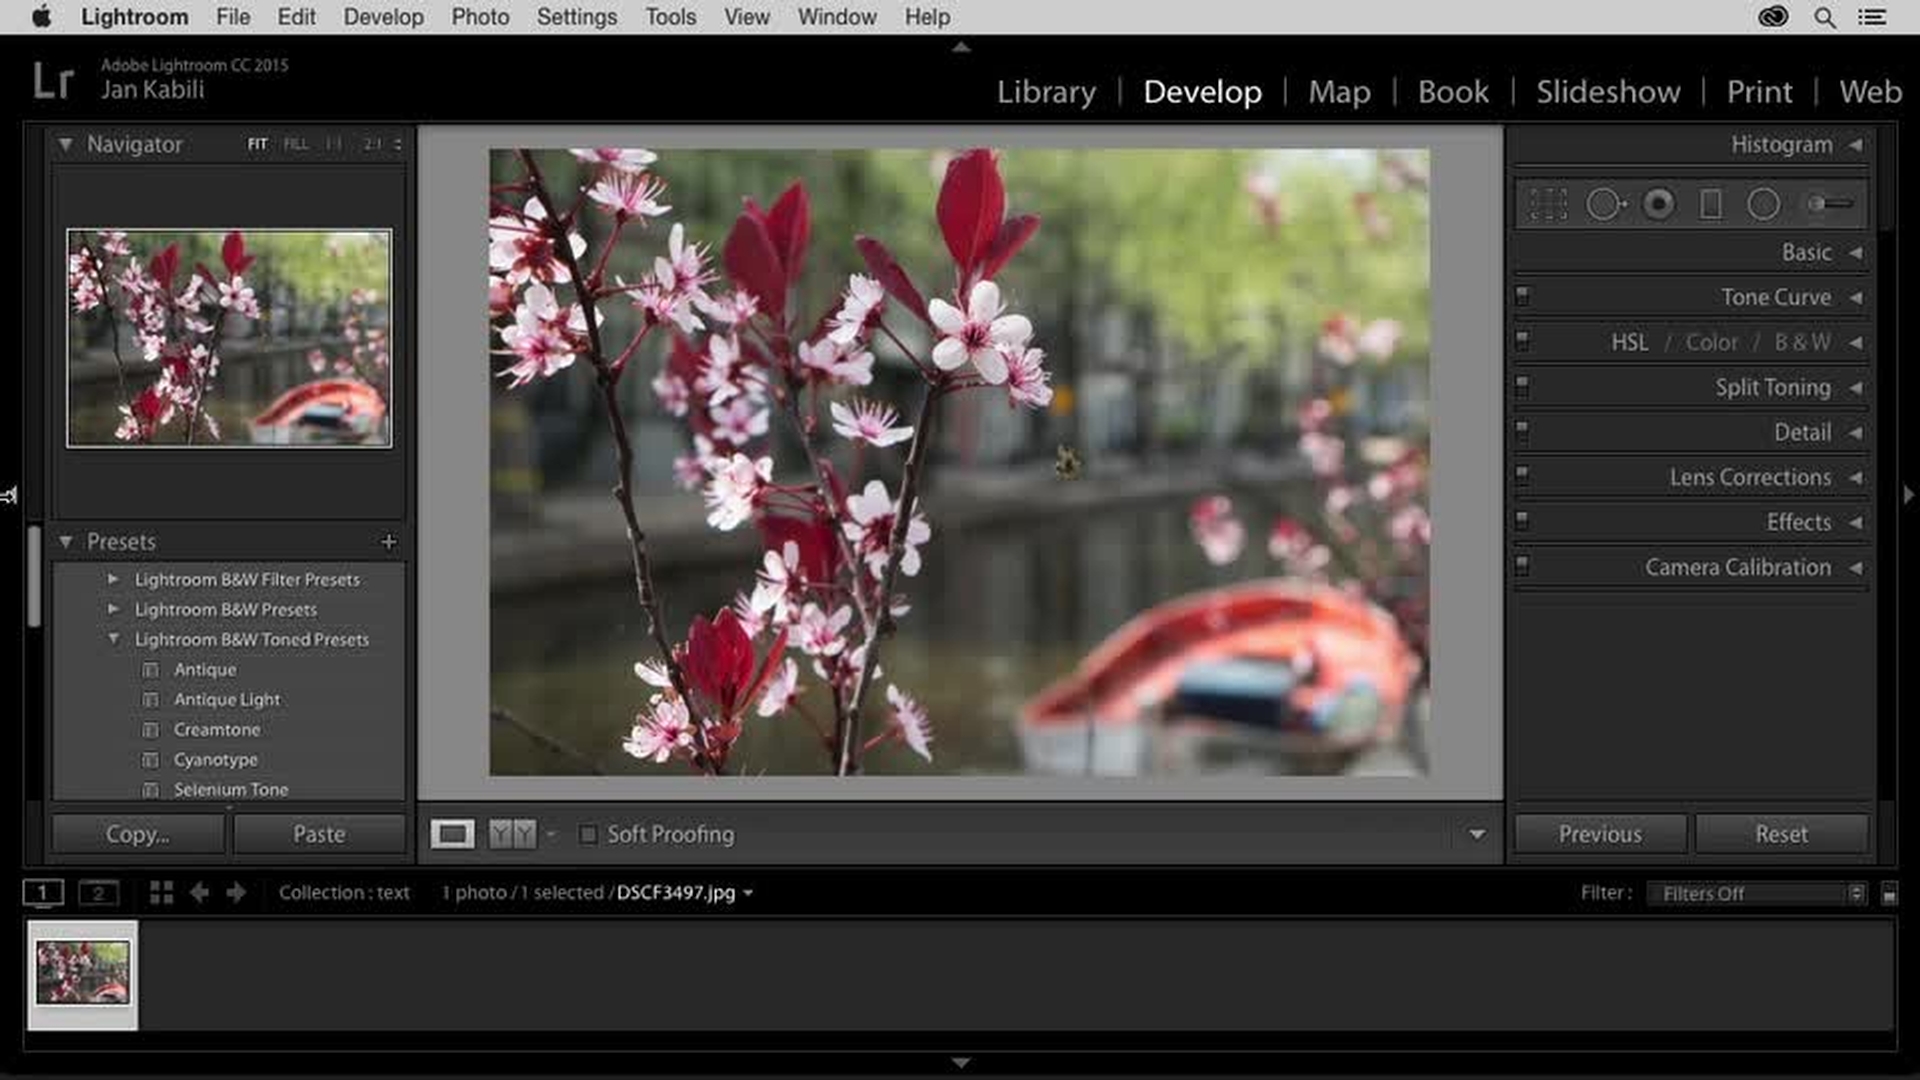
Making initial edits in Lightroom
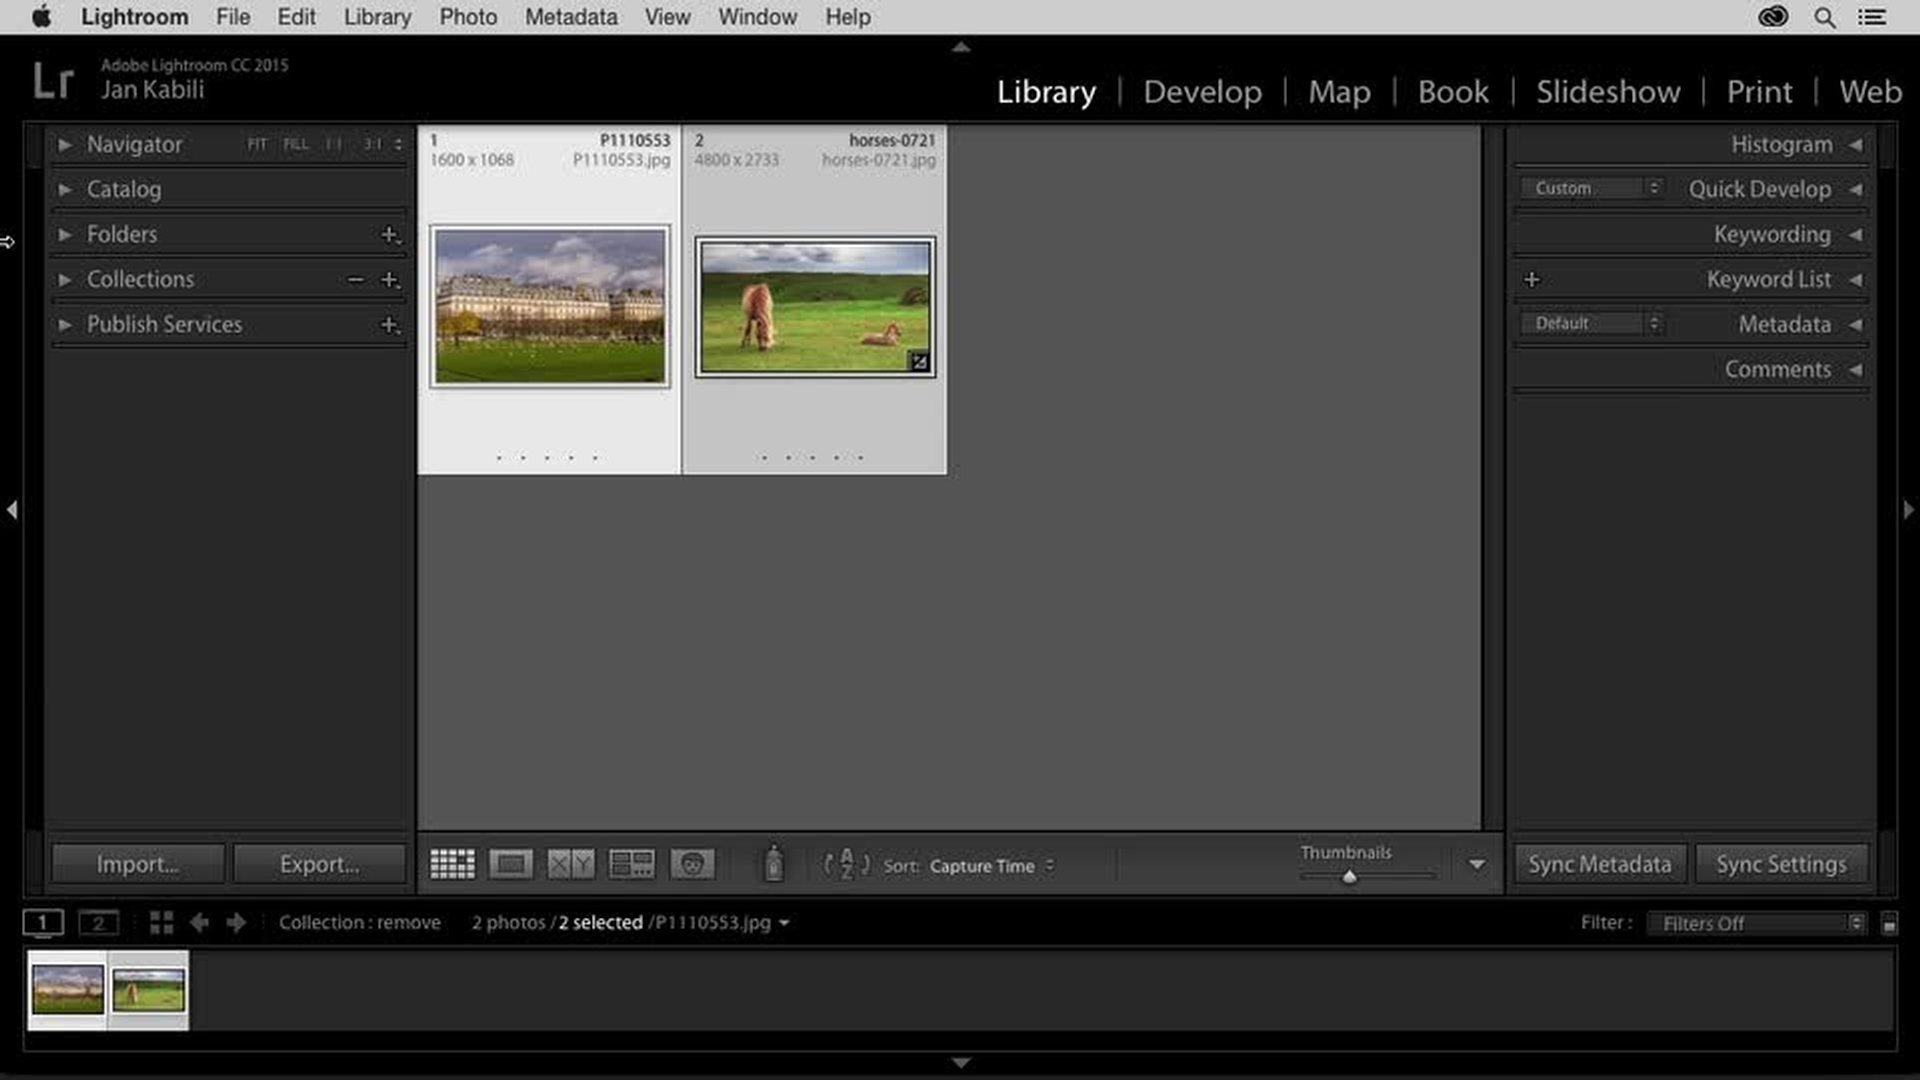
Sending a photo from Lightroom to Photoshop
Removing objects with content-aware fill
Saving Photoshop edits back to Lightroom
Remove and move objects in your photos with Photoshop
How often have you shot a great photo, only to realize that there's something or someone you didn't mean to capture in your photo? Fortunately, Photoshop has you covered. Learn to bring your photos from Lightroom Classic to Photoshop to take advantage of Photoshop's powerful tools for moving and removing content in your photos.
Introduction
Sending photos from Lightroom to Photoshop
Removing unwanted objects with content-aware tools
Saving Photoshop edits back to Lightroom
Moving objects using the content-aware move tool
Combine images in Photoshop
Make something more of a photograph by combining it with other images in Photoshop. Whether you're making a blended composite that looks like it came straight from your camera, creating a photo collage, or adding texture on top of a photo, you'll need to know how to transfer your photos from Lightroom Classic to Photoshop to combine multiple photos into one.
Introduction
Preparing photos in Lightroom for compositing
Opening multiple photos as layers in Photoshop
Reordering layers and resizing elements
Blending images using layer blend modes
Saving the composite back to Lightroom
Apply filters to a photo in Photoshop
Photoshop offers many filters for adding creative and special effects, including art filters, a gallery of blur filters, and special effects filters like Liquify. The Liquify filter is useful not only for creative effects, but also to fine-tune features in a portrait.
Filters aren't the only way to get creative in Photoshop. When you're feeling creative, try taking a photo from Lightroom Classic to Photoshop to add layer styles, colorize, warp, convert to 3D, and more.
Introduction
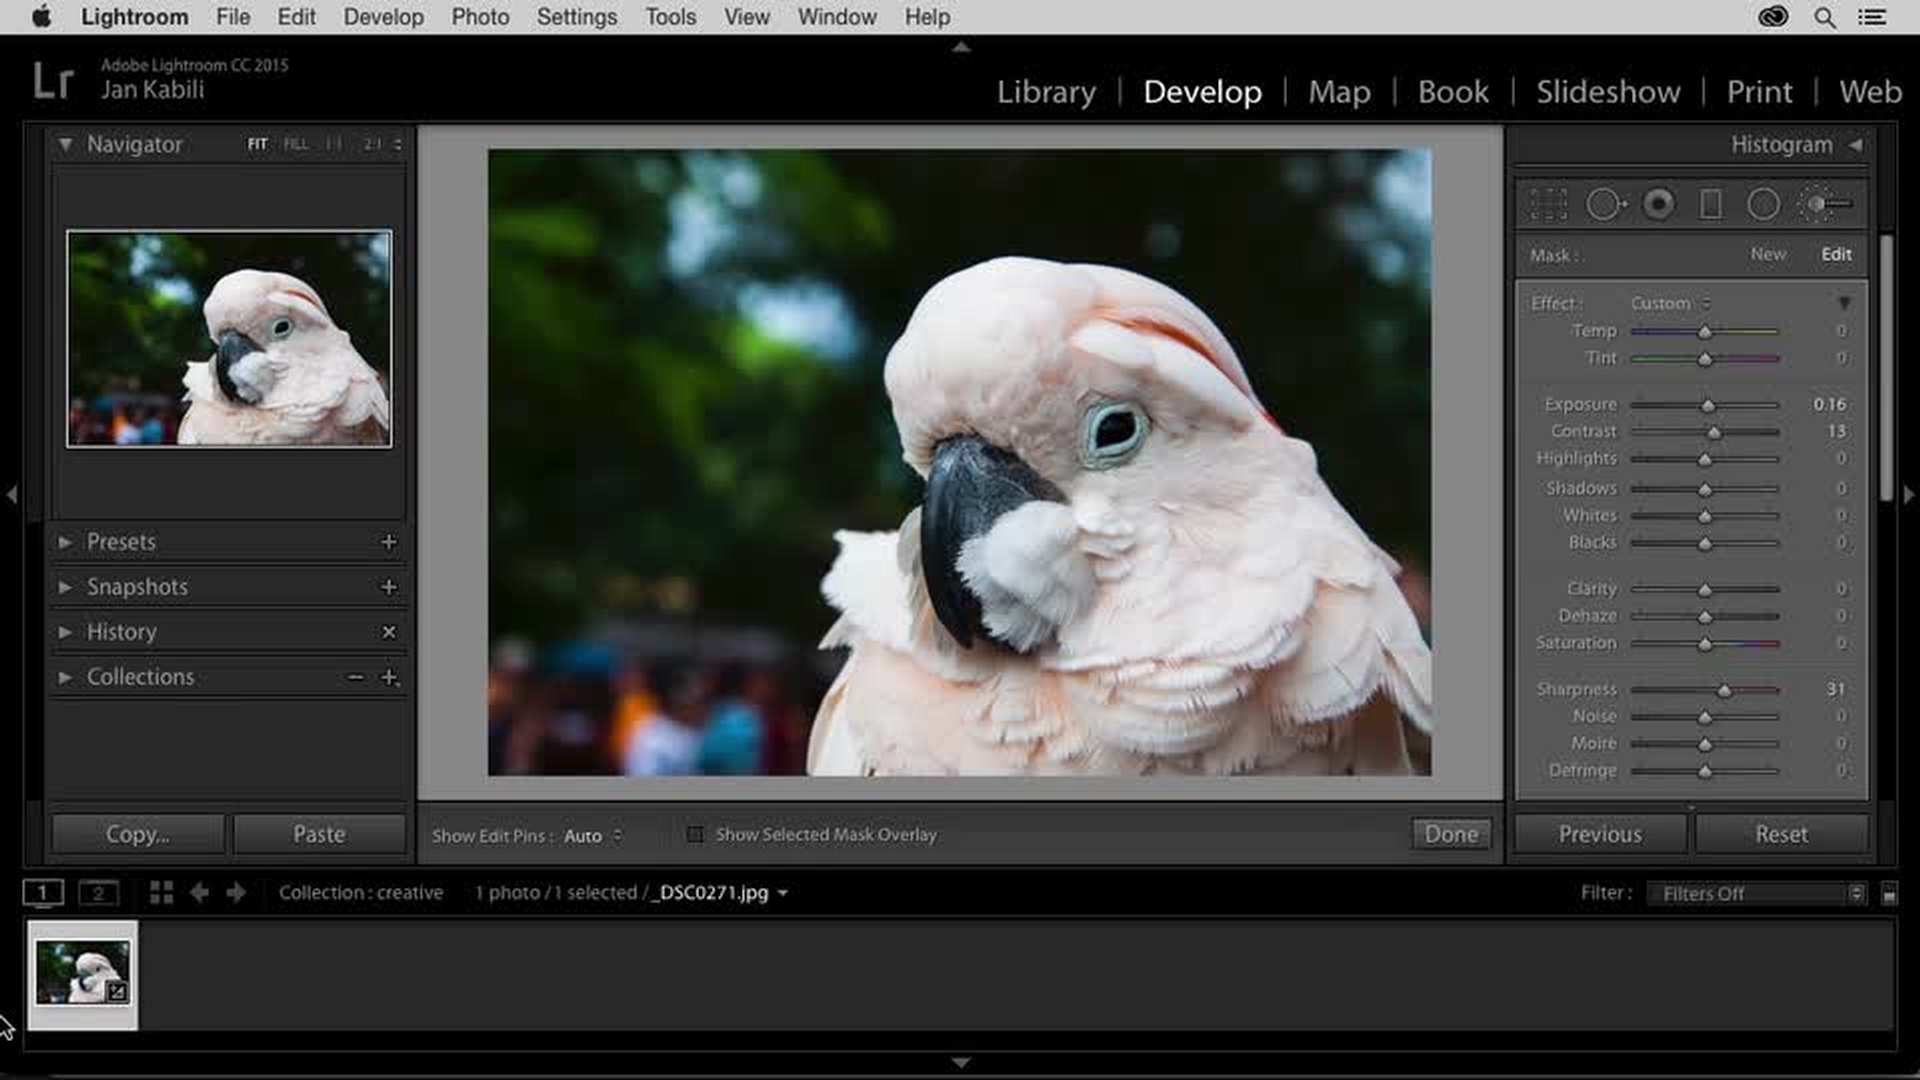
Sending a photo from Lightroom to Photoshop for creative editing
Opening and understanding the Liquify filter workspace
Reshaping image details with Liquify tools
Saving Photoshop edits and returning to Lightroom
Add text to a photo in Photoshop
Imagine your photo combined with text as a party invitation, a wedding announcement, or an inspirational image for your social media posts. Learn how to take your photos from Lightroom Classic to Photoshop and back again to add and edit text.
Introduction
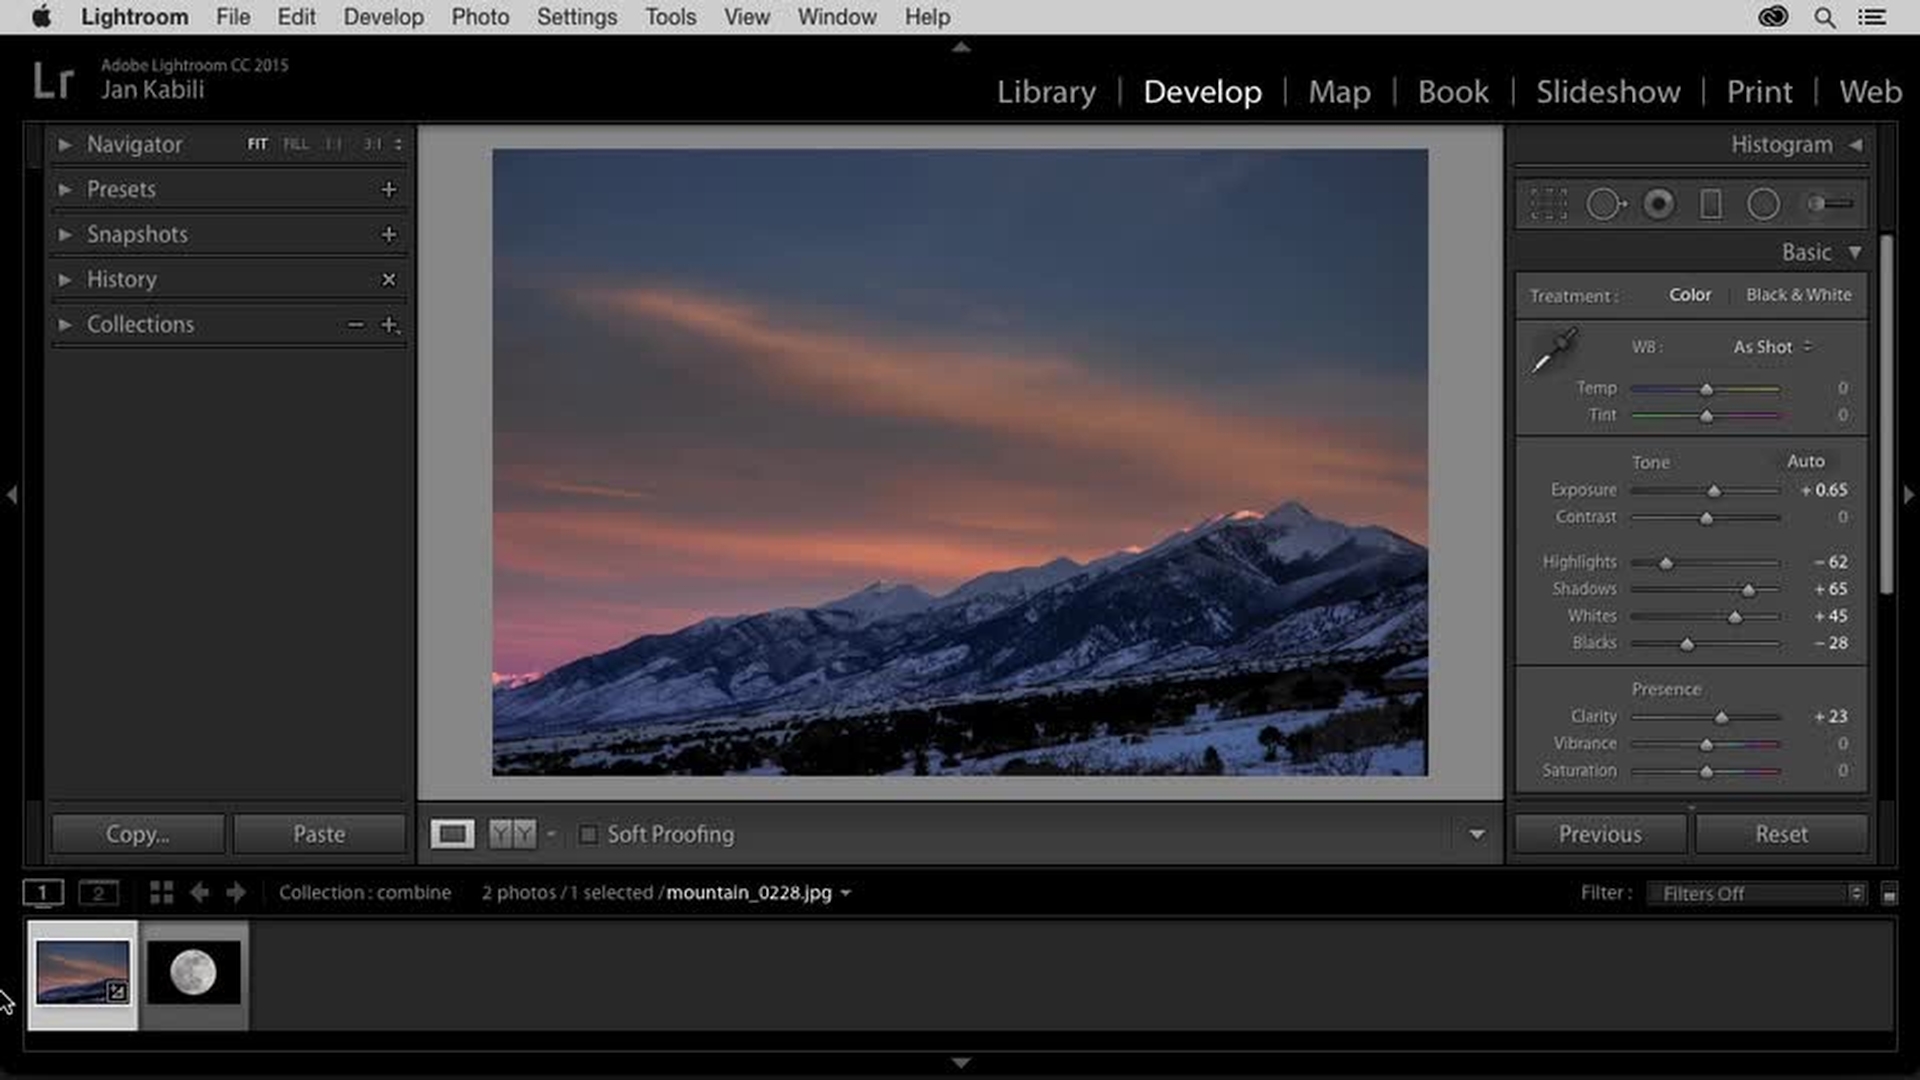
Applying a preset in Lightroom before editing
Sending the photo to Photoshop to add text
Creating and positioning editable text in Photoshop
Saving the edited photo back to Lightroom
Reopening the original Photoshop file to reedit text
Contributor