>> In this video, we'll use the Spot Healing Brush and Patch tools to remove unwanted objects in a photo.
Both tools do a great job of blending your retouches with the surrounding area as shown here in this before and after example.
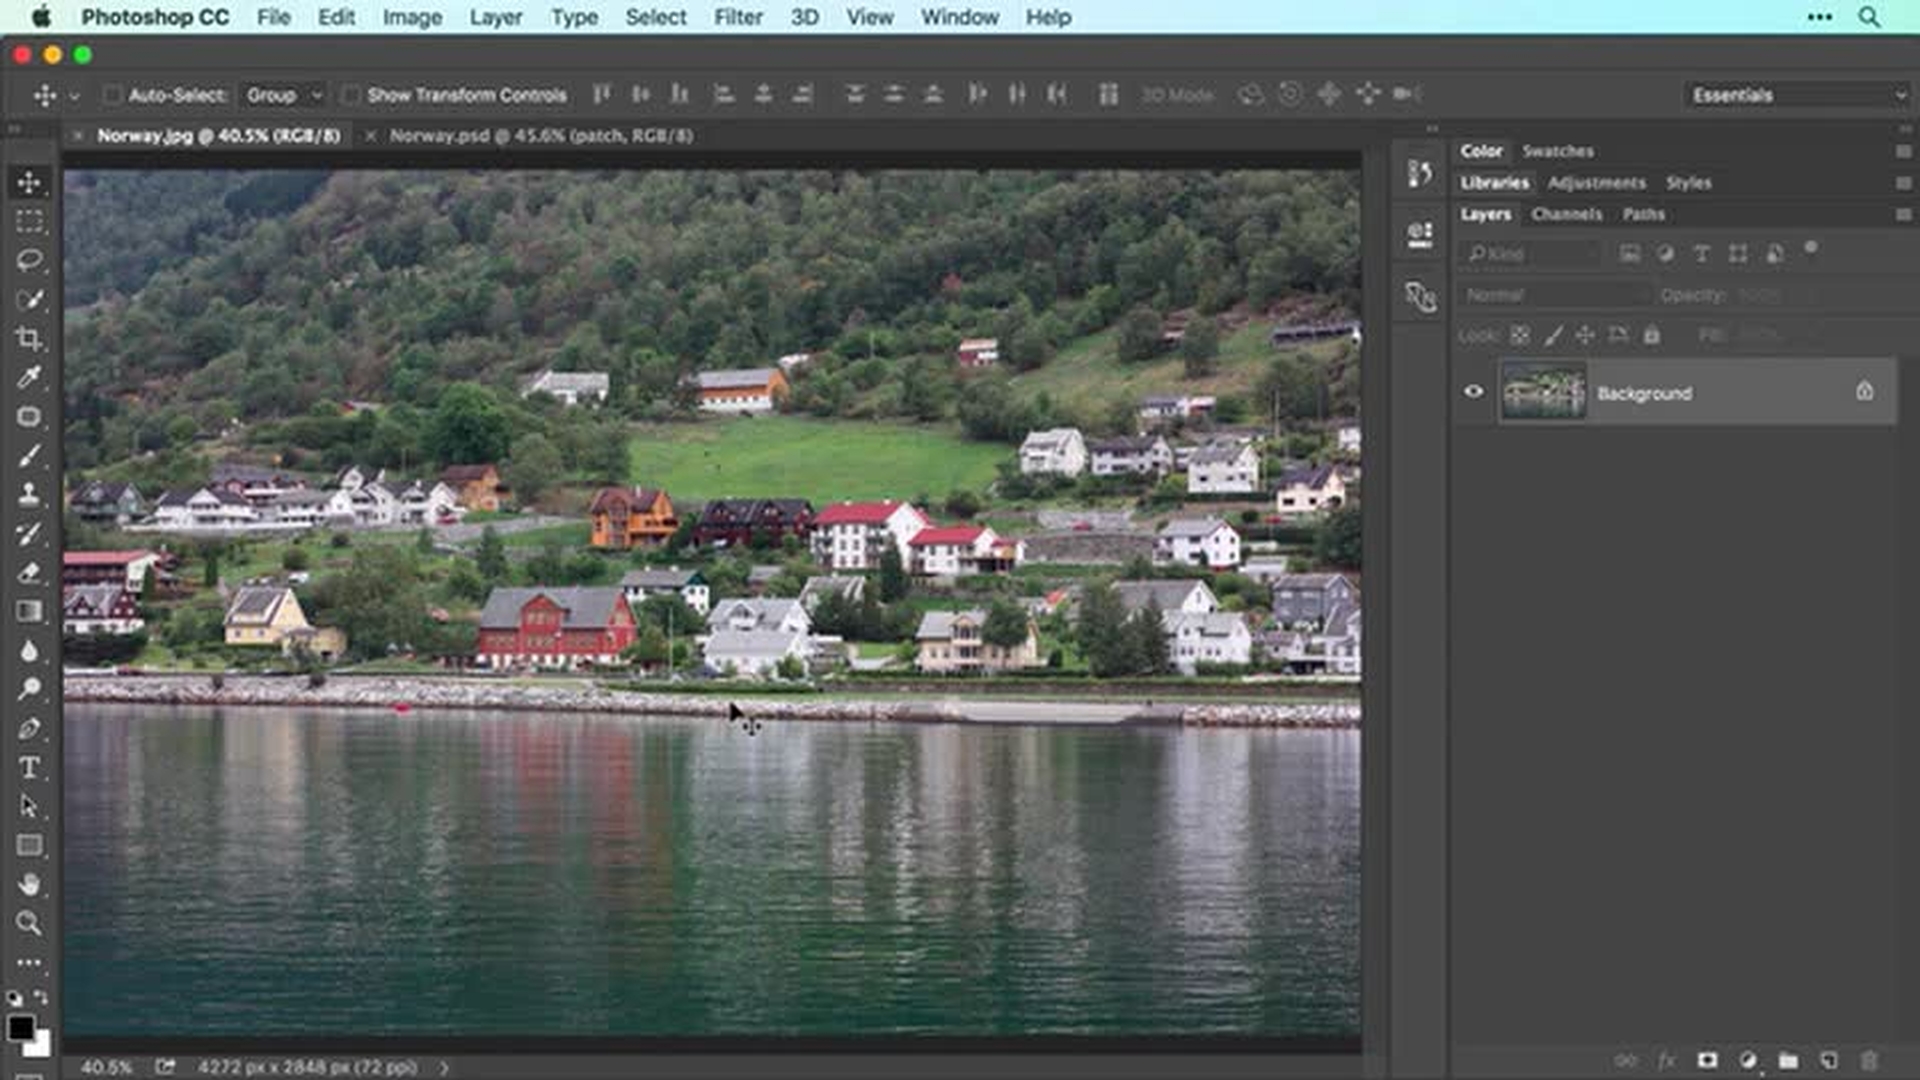
While you can do all of your retouching on the original image layer, I like to retouch on separate layers in order to protect my original image and to increase editing flexibility.
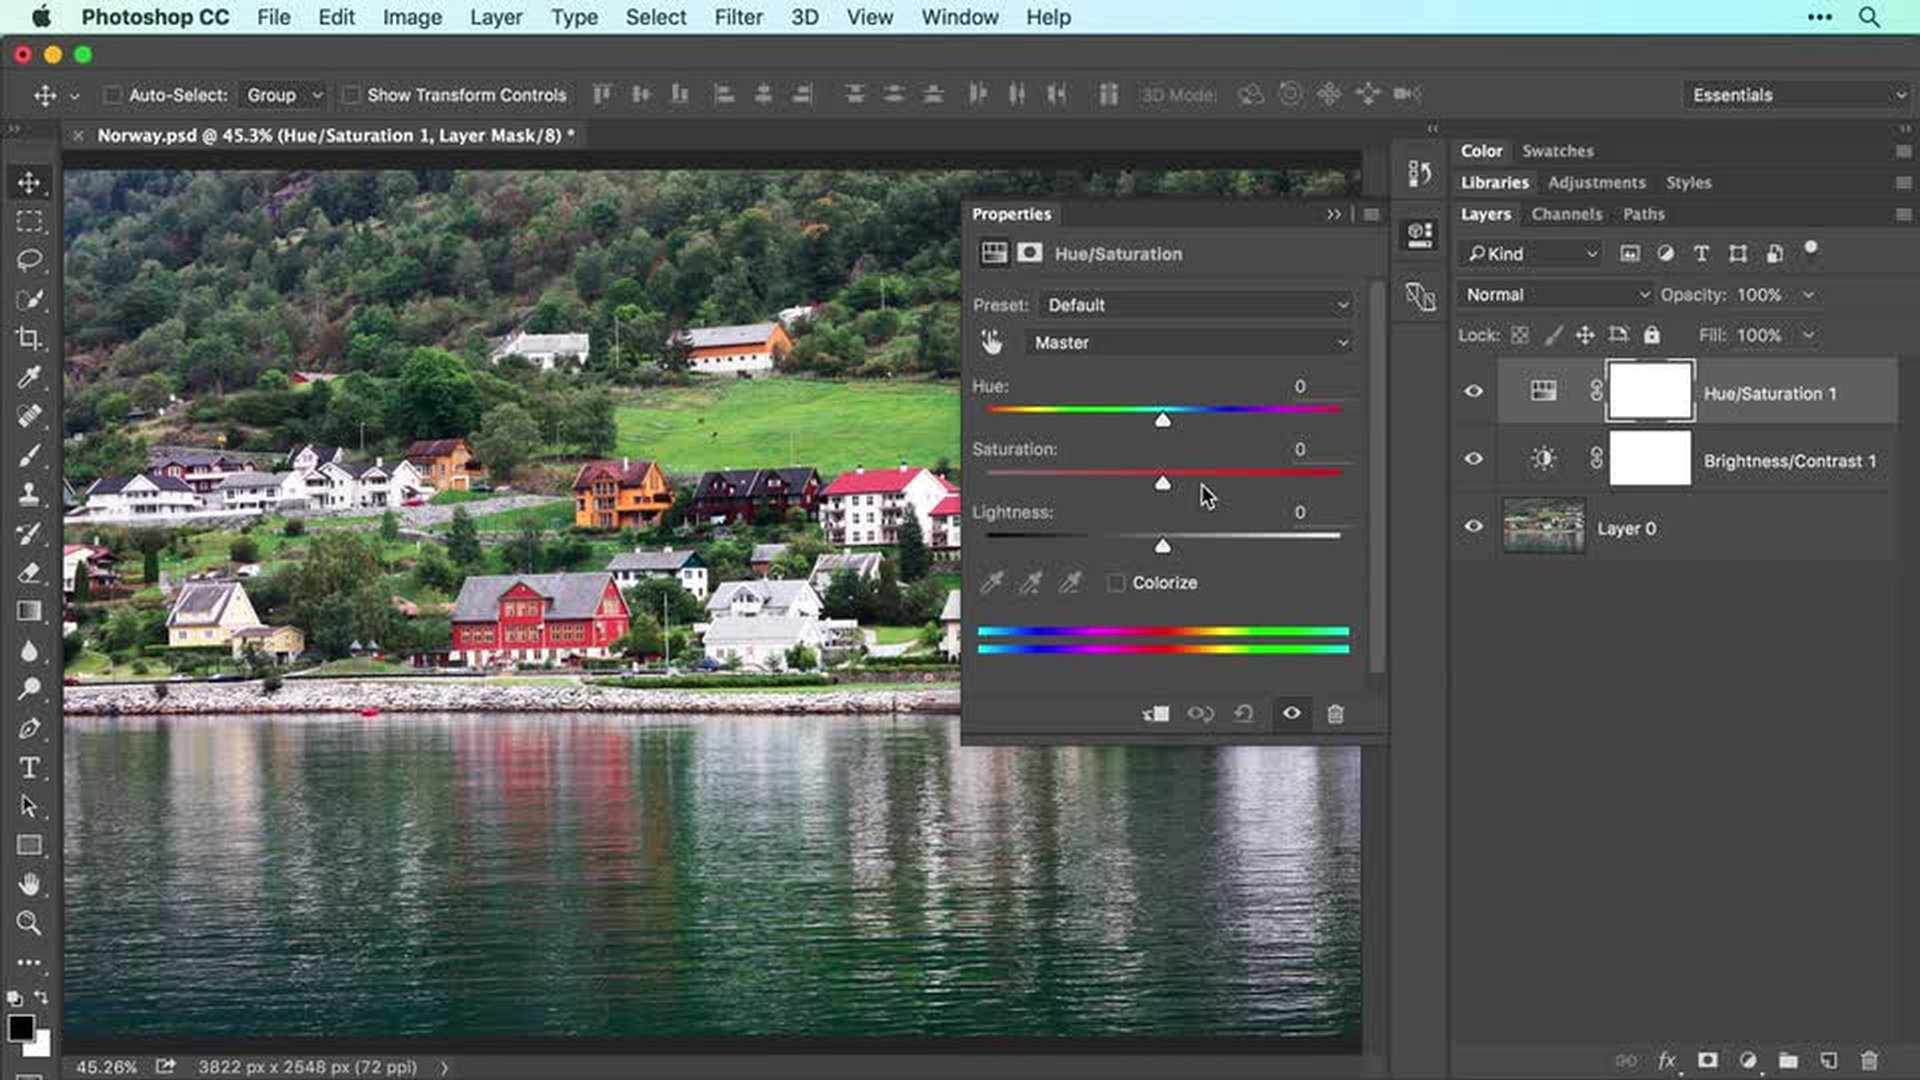
I'll delete the layers I made by tapping the Delete or Backspace key on my keyboard so we can recreate them together.
I'll zoom in to the image by pressing and holding the Cmd key on a Mac or Ctrl in Windows and then tapping the Plus key on my keyboard a few times.
Once zoomed in, you can reposition the image on screen by pressing and holding the Spacebar on your keyboard and then dragging with your mouse.
Let's start with the Spot Healing Brush as it's the easiest to use and it's great for removing small objects like the cows in this pasture and some of the more distracting poles.
Start by creating a new layer by choosing Layer, New, Layer, and enter "spot healing" into the Name field and click OK.
Alternatively, you can create a new layer by clicking the New Layer icon at the bottom right of the Layers panel.
In the Tools panel, activate the Spot Healing Brush and in the Options bar, make sure the Content-Aware button is highlighted.
Now turn on Sample All Layers to have Photoshop look through the currently active yet empty layer to layers underneath where the pixels actually live.
Mouse over to your image and make the Brush Size slightly larger than the item you want to remove.
You can tap the Right Bracket key on your keyboard in increase Brush Size or the Left Bracket key to decrease it.
Now put your cursor at the item you want to remove and click.
When you do, Photoshop uses pixels immediately outside the brush cursor to remove the item.
You can also click and drag with this tool.
For example, we can decrease Brush Size even further and then click and drag to remove some of these more distracting poles.
As you can see, Photoshop is doing an incredible job removing these items from the photograph.
Reposition the image again by pressing and holding the Spacebar and then dragging with your mouse so you can see all the distracting items that you need to remove.
Now if you don't like the results of one of the removals, you can always undo it and try again.
So let's choose Edit, Undo Spot Healing Brush, and then let's have another go by using a slightly smaller brush cursor and by making shorter brush strokes.
To remove the boat in the foreground, let's increase Brush Size so the boat fits within the brush cursor and give it a single click.
Reposition the image again.
Now to remove larger items such as this red roof here, you'll get a better result if you tell Photoshop where to copy the pixels from which you can do using the Patch Tool.
So let's begin by adding another new empty layer by choosing Layer, New, Layer.
Let's enter "patch" into the Name field and click OK.
In the Tools panel, click and hold your mouse atop the Spot Healing Brush and from the menu that appears, choose Patch Tool.
In the Options bar, set the Patch menu to Content-Aware and then turn on Sample All Layers.
If you don't see the Sample All Layers check box, then you forgot to choose Content-Aware from the Patch menu.
Now click and drag to draw a rough selection around the item you want to remove.
Be sure to make the selection slightly larger than the item itself.
Otherwise, you may end up with a ghostly outline of it.
To tell Photoshop where to copy pixels from, click inside the selection and then drag it to the area in the image you want Photoshop to use for the patch.
When you release your mouse button, Photoshop performs the patch and blends it with surrounding pixels.
While the selection is still active, be sure to experiment with the structure and color fields in the Options bar.
To preserve more of the texture from the area that you copied pixels from, increase the Structure slider.
To preserve less of the texture, decrease it.
To perform more color blending between the two areas, increase the Color slider.
To perform less color blending, decrease it.
When everything looks good, deactivate the selection by choosing Select, Deselect.
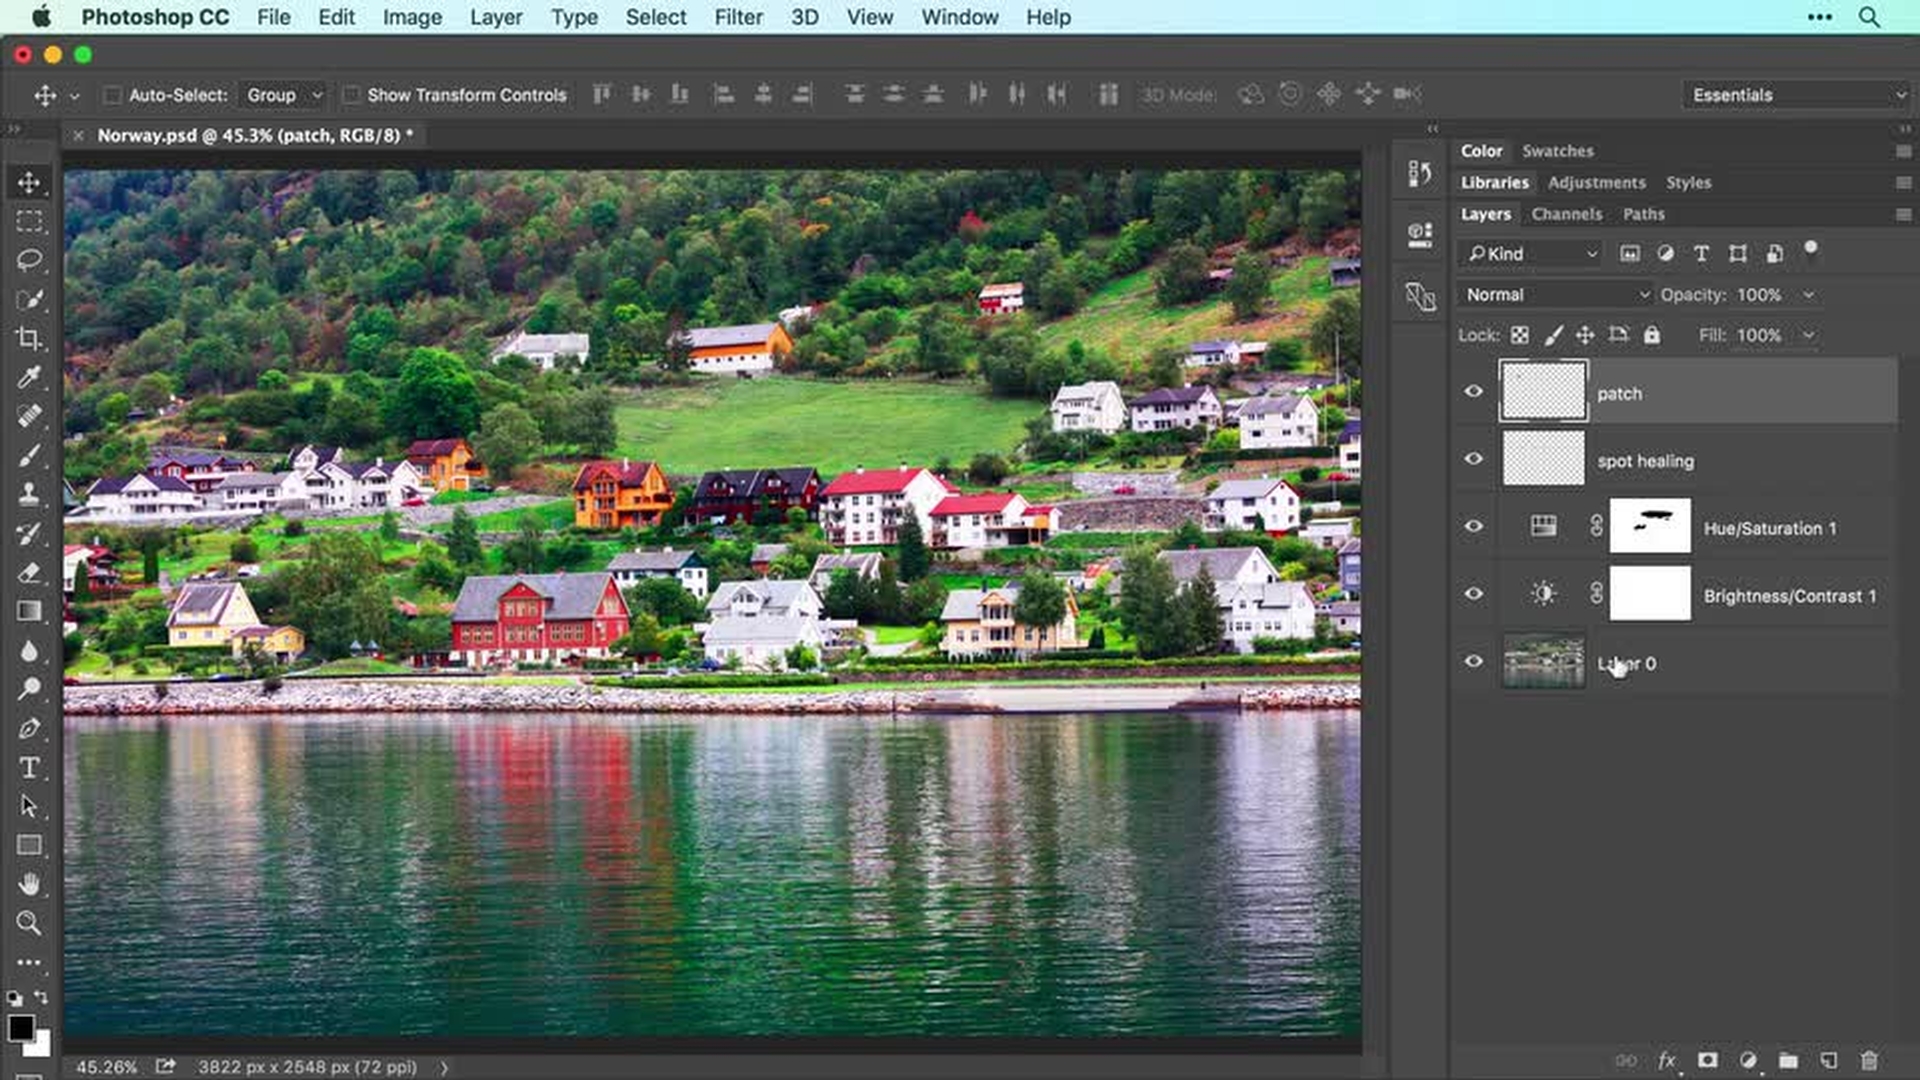
Now let's choose View, Fit on Screen, and assess the removals by turning off the visibility of the layers we added in this video.
As you can see, the Spot Healing Brush and Patch Tools did a great job to clean up this image.
I'll turn those layers back on in the same way.
Now choose File, Save to save your document again with these changes.
The Photoshop format preserves your content removal layers so you can continue to edit them in the future.
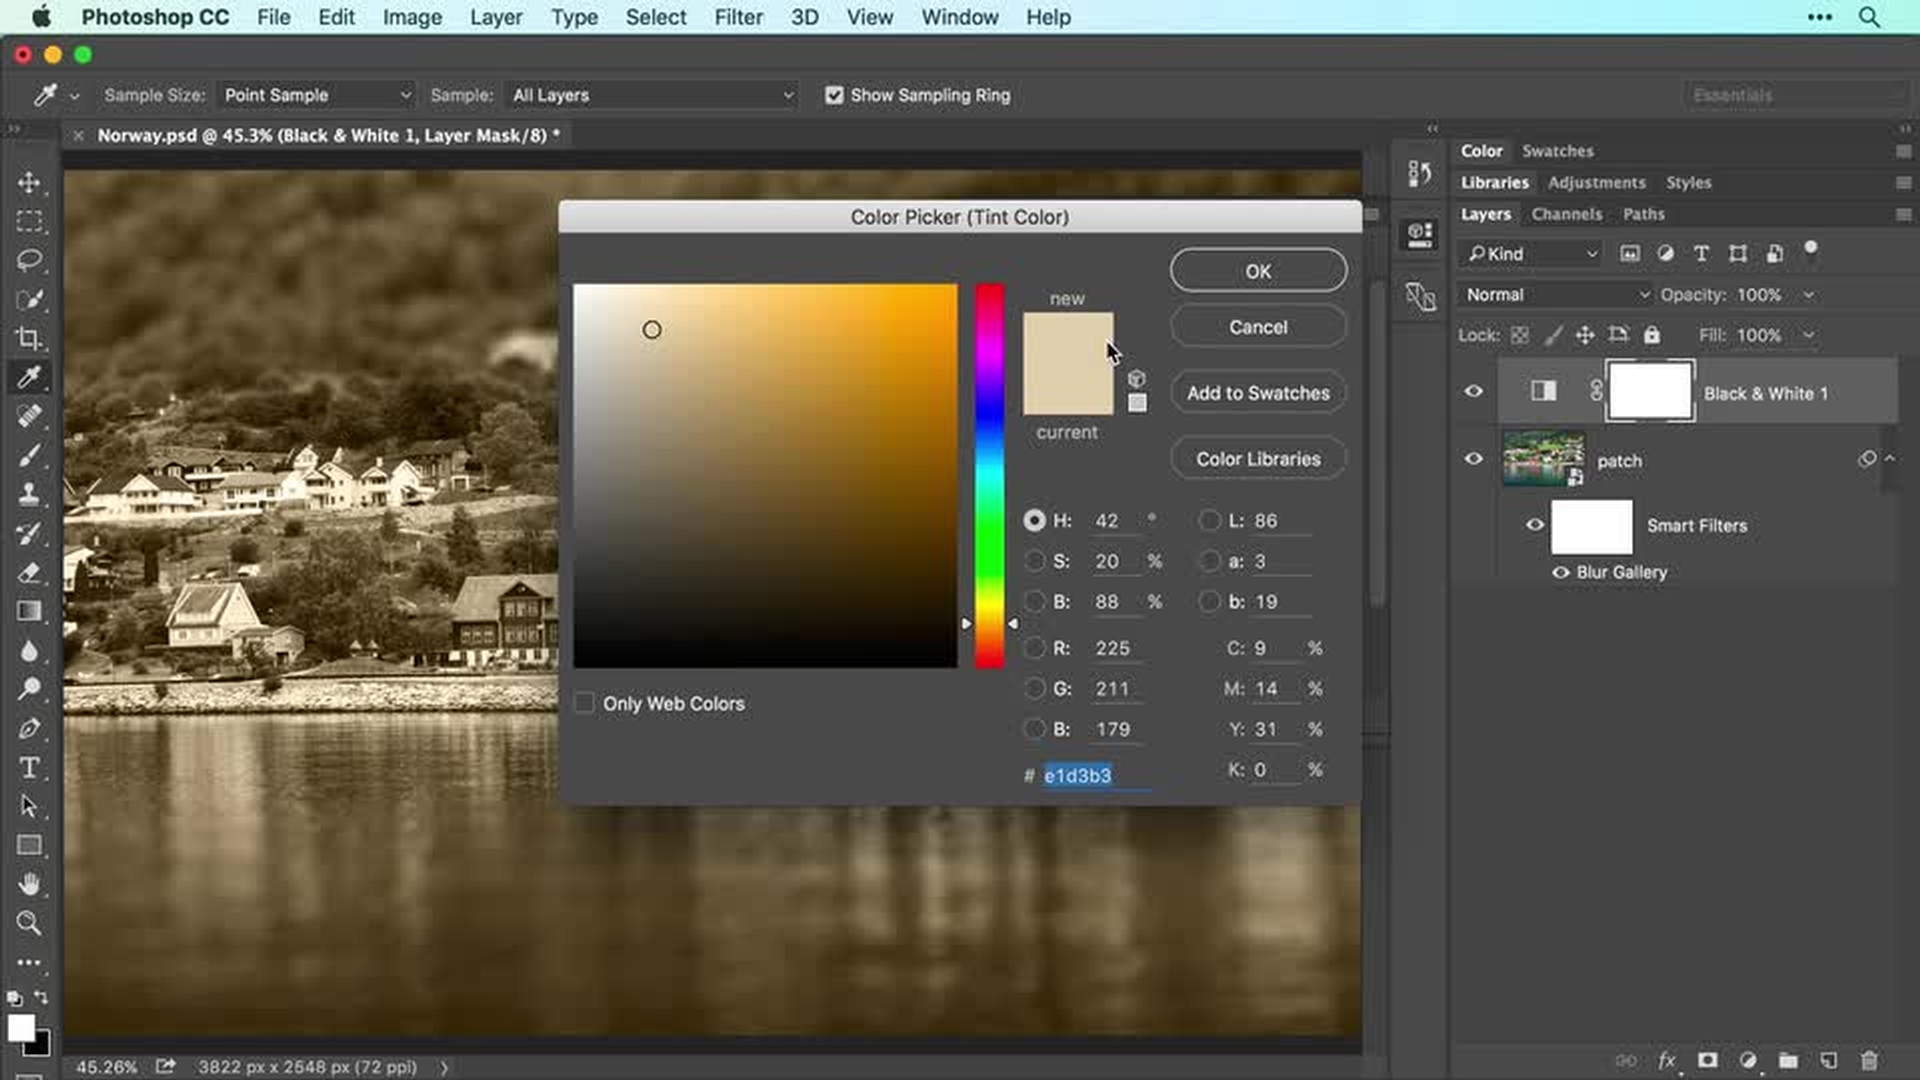
In the next video, you'll get creative with this image as you learn how to blur parts of it using a filter, how to turn it into a beautiful black and white, and how to add a color tint.