Tintype photography: A vintage photographic art.
Tintypes were the first photographs readily accessible to the average person. With their silvery sheen and dramatic range, they’ve remained iconic through the ages.
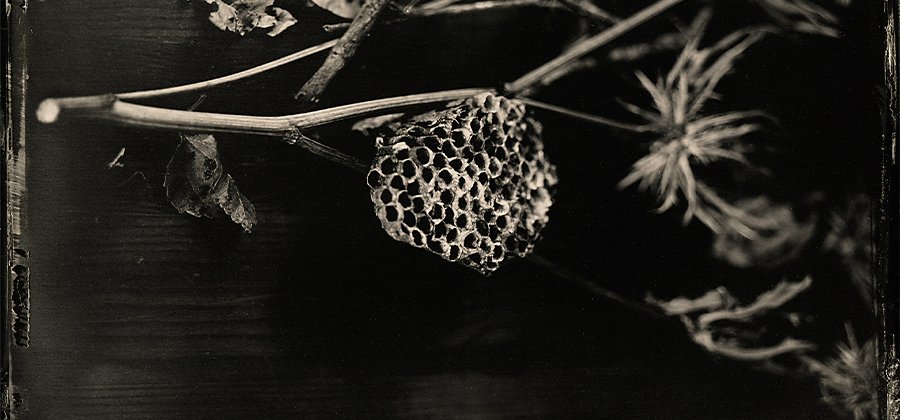
Photo by Jennifer Froula-Weber
Channel the vintage vibes of tintypes.
A tintype, also known as melainotype or ferrotype, is an old style of photograph that creates a photographic image on a thin sheet of metal or iron that has been coated with a dark lacquer or enamel.
Tintype photos are created when metal plates are coated with chemicals, exposed to light in a camera and processed with additional chemistry. This creates an underexposed negative image. When that negative is placed on a dark background, the transparent areas appear black, which makes the plate look like a positive image.
Tintypes in the history of photography.
Tintypes predate film photography. And in the early 19th century, tintypes themselves were preceded by daguerreotypes and ambrotypes. The ambrotype is the same process as the tintype, but made with a transparent glass plate and a black backing. The daguerreotype was the first publicly available photo process and it used a highly polished sheet of silver-plated copper instead of tin or iron.
“The daguerreotype process was expensive and the high cost made them only available to richer people at that time,” says photographer Jennifer Froula-Weber. “Tintypes came out of a need for a more affordable and portable photo process that was more available to the masses.”
Tintype photography was invented in France in the 1850s by a man named Adolphe-Alexandre Martin. Tintypes saw the rise and fall of the American Civil War and have persisted through the 20th century and into modern times.
“Tintype photographers would go around to carnivals and fairs,” explains Froula-Weber. “There are thousands and thousands of different tintype portraits of Civil War soldiers for their families. It was just a much more affordable photograph.”
Existing examples of these early photos are present in private collections, the Library of Congress and museums around the world. But nowadays, itinerant photographers (photographers who focus on one specific kind of photography) use tintypes to create everything from avant-garde fine art to vintage family photos.
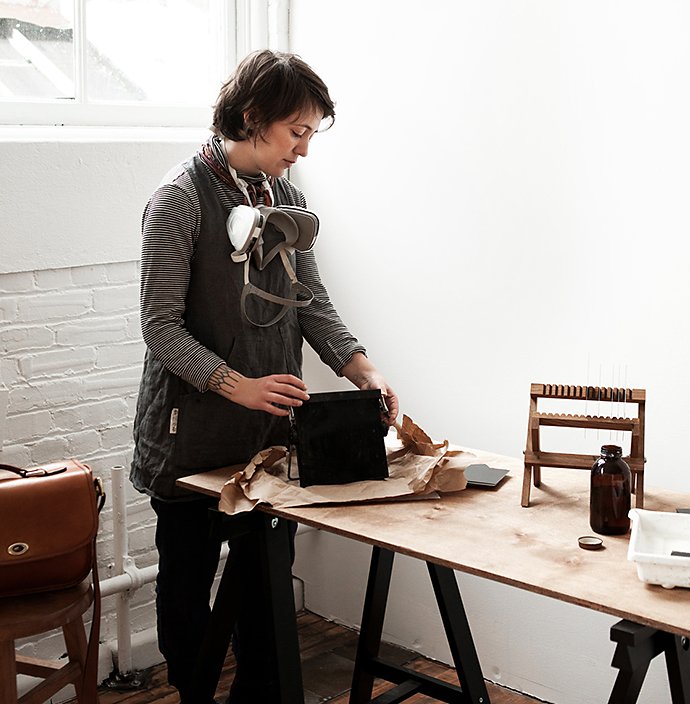
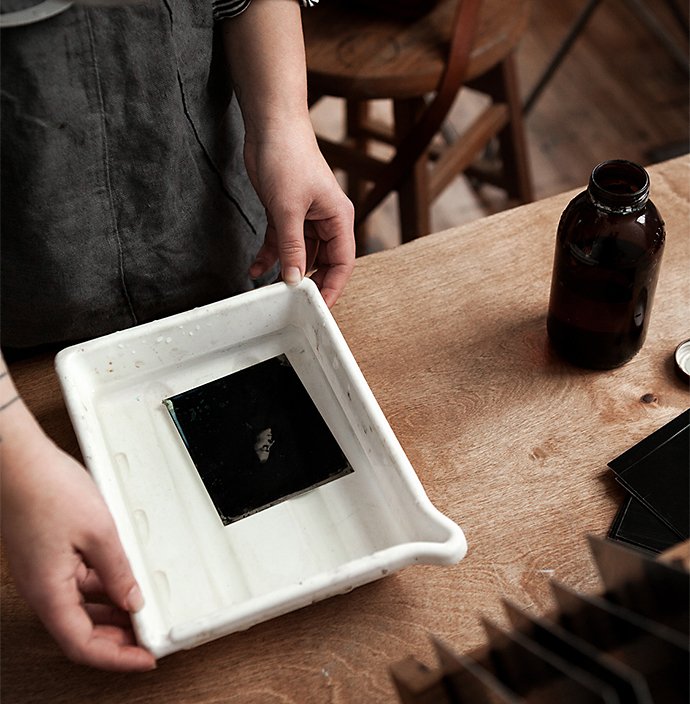
What you need to make tintypes.
There are two kinds of tintypes, wet-plate and dry-plate.
- For wet-plate photography, a collodion emulsion mixture is poured on the metal plate just before it’s exposed in the camera. The plate is still wet when the exposure is created.
- The dry-plate process, a modern innovation to the tintype process, uses a gelatin photographic emulsion instead of a liquid and can be applied further in advance.
All tintypes are unlike modern digital photography in that they require specialised equipment, chemicals and certain physical conditions. A tintype camera is a large-format camera with a plate holder, lens and tripod. “The plates themselves can be whatever size you want. You can go as big as 24 by 30 inches or you can do 2 inches or 35 millimetres,” says photographer David Clifford.
Including the darkroom supplies, chemicals, plates and safety gear, the materials themselves can cost between $2,000 and $5,000. You’ll need silver nitrate powder, collodion, developer, fixer and varnishing mixtures. If you’re new to the process, you can find starter kits that package up most of the supplies you’ll need.
You also need to consider the physical conditions of your photoshoot. “It’s an old process. The chemicals should be at about 68 degrees or room temperature. Yesterday I was shooting outside and it was 38 degrees. It was freezing and we got two tintypes made and then we got nothing because it was just way too cold,” says Clifford.
How to make a tintype.
In total, there are over 30 steps in the tintype process and each image takes about 15 minutes to create. Here are some of those basics:
For the wet-plate collodion process, each plate must be prepared right before you create a photo. This means you’ll need a portable darkroom or darkroom tent. If you plan to use the wet-plate photographic process, prepare your shot or subject before preparing your plate, otherwise you’ll rush the composition of the actual shot.
Tintype plates usually come with a plastic cover, so peel it off and clean the plate thoroughly. Then pour your collodion on the plate and let it set for around 20 seconds.
“In your darkroom, prepare your silver bath, which is nine per cent silver nitrate and the rest is distilled water,” says Clifford. Then slowly lower the plate into the silver bath for two to four minutes. “This makes the plates light-sensitive,” Clifford adds. Let the silver bath drop off and load the plate face down into the light-safe plate holder.
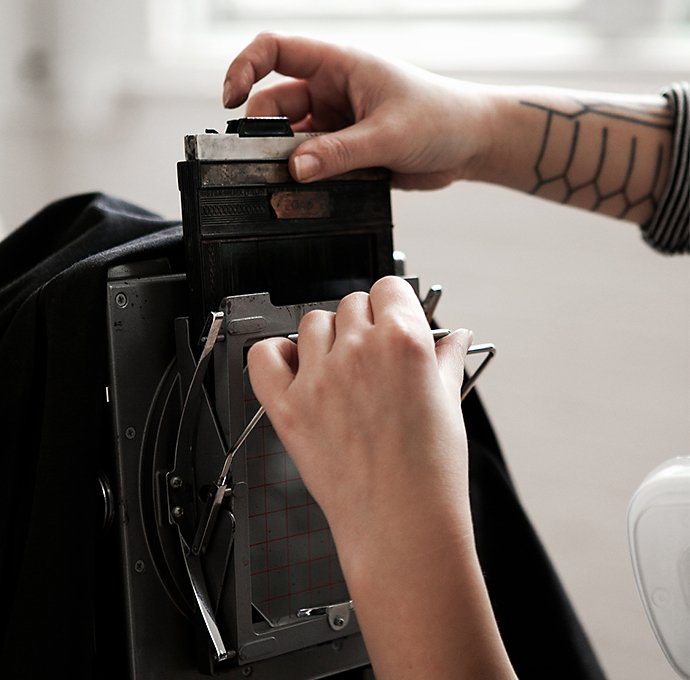
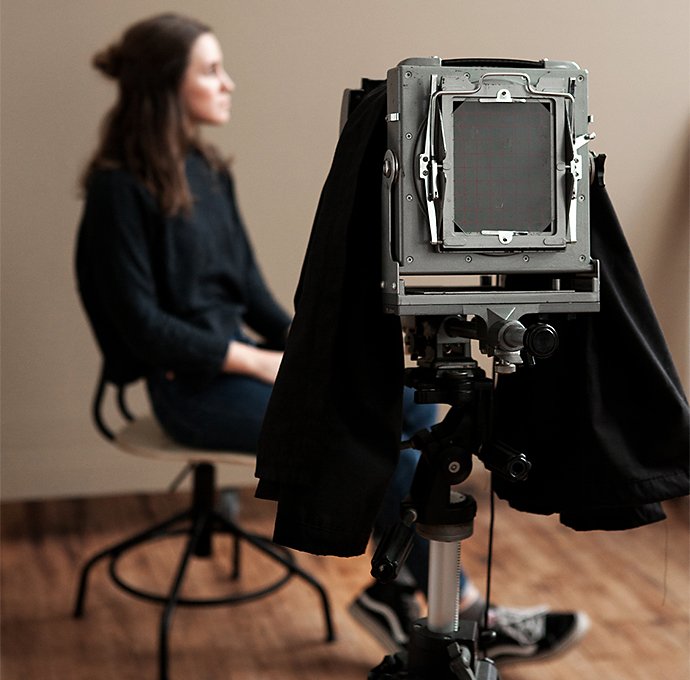
Shoot your tintype photo.
To make a photo, place the prepared plate (in its plate holder) into the camera. Set up the shot or organise your models and expose the plate to a light source. Depending on the camera, this process may look a little different. With some older tintype cameras, you’ll set up your scene or subject and look through the camera and adjust the focus prior to loading the plate.
“You could be using a camera or old lens that doesn’t have a shutter. Those old brass lenses don’t have shutters. So sometimes, people will just use lens caps or hats to cover the light source or the lens when the exposure is done,” says Froula-Weber. “I use old brass lenses, so I’ll just take the slide out of the back to expose the plate. Then I’ll open up the lens cap to expose the image and expose the tintype exposures.”
Tintypes have a low ISO or light sensitivity. With a lower ISO of 1 or 2, you’ll need a longer exposure time to create a successful image. An 8- to 20-second-long exposure is a good place to start. Because guessing exposure times can be difficult, “you’ll see a lot of people making a test plate prior to a plate actually working,” adds Froula-Weber.
Pay attention to your lighting set-up when you make the exposure. Natural light, like an open window or an overcast day, can help you to get an even exposure. If your lens has adjustable aperture settings, set it prior to starting your photo. If you use a wider aperture, you’ll let in more light, which will give you a faster exposure time. A wider aperture will also give you a shallower depth of field.
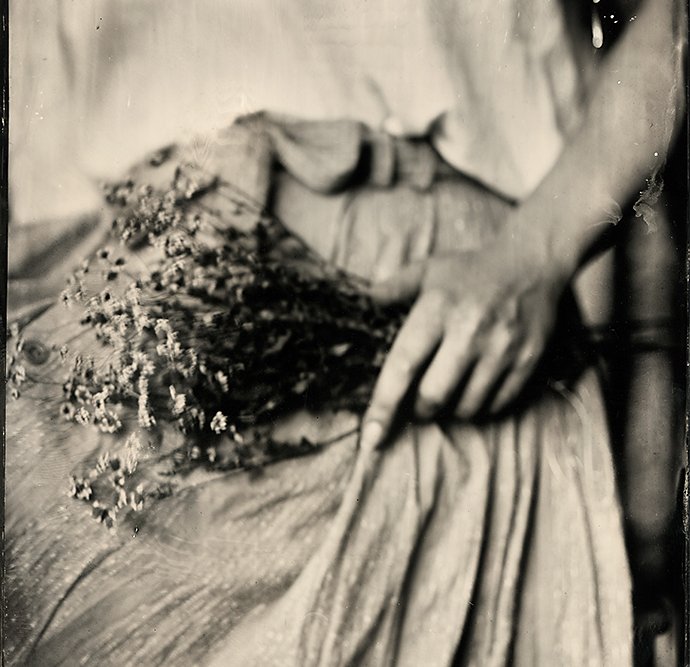
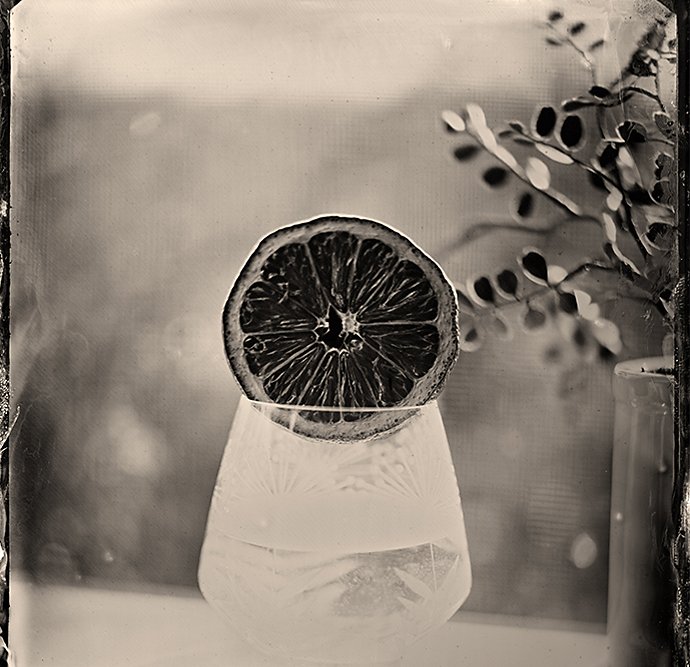
Photos by Jennifer Froula-Weber
Develop the image.
As in film photography, you need to develop the plate after the exposure is made. Take the tin plate (still in the plate holder) back to the darkroom, take it out of the plate holder and then pour developer along one edge so it can flow quickly and evenly over the plate. You should see a faint image start to appear within about 10-15 seconds. (Note: To prep for exposure, collodion is poured onto the centre of the plate before you tilt the plate to cover its entire surface.)
So don’t wait until you can see the image perfectly before you pour water over the plate to stop the development process. “You want to slightly underexpose your plates, which sounds weird. But it dries much brighter than you think it will. So if you have a plate that you think might be a little too dark, don’t freak out. It’s actually better if you’ve got it a little bit darker,” explains Froula-Weber.
From there, place it in the fixer bath. This will flip the image from a negative image to a positive image in about 20 seconds.
When this step is done, put the tin plate in lukewarm water and rinse for about 20 minutes. From here, pull out the plate, wipe off the back and let it dry on a rack for about 30 minutes. Within the next day or two, add a varnish to the plate to protect the tintype image.
Take tintypes digital.
Tintypes might be physical photographs, but it’s common to scan them so people have a digital copy as well. “A lot of people will use a scanner, but you can get probably as good, if not better, quality by shooting it with a really high-resolution digital camera,” says Clifford.
It can be a challenge to edit or scan the photo so it replicates what’s happening on the metal plate. A good first step is to bring the image into Adobe Photoshop and transform it into grayscale. From there you can adjust the RGB sliders and tweak it to match your physical tintype. Put a warm photo filter or preset on it and use the Healing Brush to edit out any imperfections or blemishes — but not so much it takes away from the vintage look.
Tintypes are a complex style of photography, but the physical process can result in one-of-a-kind images and portraits that are reminiscent of the past. Whether you try it for yourself or just want to replicate the aesthetic in your digital work, everyone can appreciate the retro vibes of the tintype.
Contributors
Do more with Adobe Photoshop Lightroom.
Edit photos easily with Lightroom presets, Super Resolution, easily share photos from any device and access your projects anywhere with cloud photo storage management.
You might also be interested in…
Learn to transform distant stars into glowing light trails and more, with long exposure photography.
Introduction to black and white photography.
Learn to use black and white photography to hone photography skills and capture perfect photos.
The world of double exposure photography.
Explore double exposure photography and learn how to create one yourself.
The art of still life photography
Improve your composition skills by learning the art of still life photography.
