Learn how to overlay images with Adobe Photoshop.
Combine photos and designs to create original images, collages, and double exposures.
An artistic approach to photo editing.
Combining multiple images into one frame is easier than ever with apps like Photoshop. Whether you’re looking to create double exposures, composite photos, or collages, you can use blend modes and layer masks to create overlay images fueled by any inspiration.
Transform photos with image overlays.
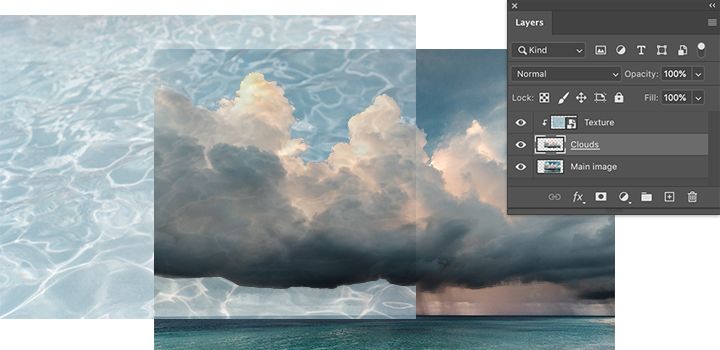
By stacking multiple images, photos, or designs, you can create something new and unique. Begin your project by opening your base image. Next, add images or photos on new layers and arrange them over your original base image. Then you’re ready to merge and blend these layers into a single overlay image.

Experiment with blending modes.
Blending modes in Photoshop give you unique ways to combine and overlap images. Specifically, blending modes control how pixels in your image are affected by a painting or editing tool. Understanding the effect of each blending mode on your base colour will help you to get just the look you want in your final image. The blend mode is set to Normal by default and if you adjust the opacity of your image, you can blend the layers. Choose other modes, like Darken, to blend the pixels differently.
Create any look you can imagine.
Get total control over your blending and overlay images with layer masks and transparency settings. Block out specific areas of your image with masks. Then it’s easy to decide what’s blended and what’s not blended. You can also use masks to conceal or hide parts of an image layer.
Create unique photo effects by layering images and adding texture and patterns to your original photos. Play with different textures and blending options like foliage and greenery or various paper textures to capture unique and unexpected results.
Step-by-step instructions for creating an image overlay.

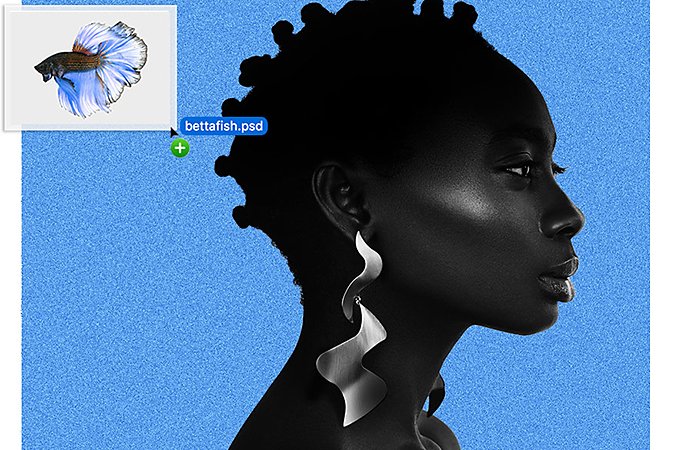
Open your base image in Photoshop, and add your secondary images to another layer in the same project.

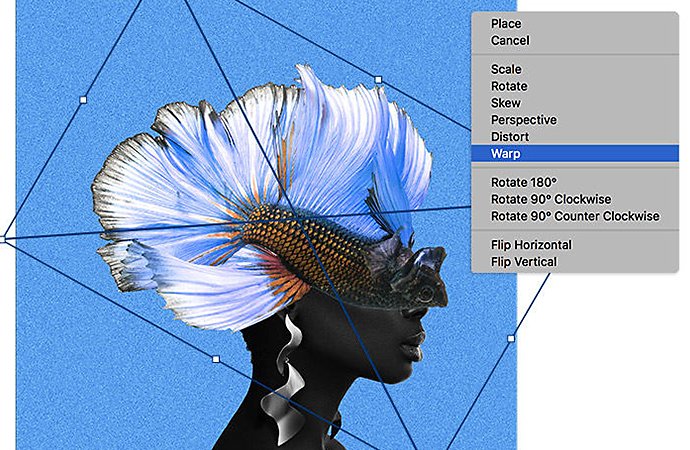
Resize, drag, and drop your images into position.

Choose a new name and location for the file.

Click Export or Save.

Save and export your overlay image as a PNG, JPG, or other file formats.
How to convert a batch of files.

Open your base image in Photoshop, and add your secondary images to another layer in the same project.
Improve your overlay picture creation skills.
Take a deeper look into making specific kinds of image overlays.
Create a transparent background.
Replace the background of your images with this quick tutorial on transparency. Transform an average photo into something spectacular in just a few simple steps.
Craft a composite image.
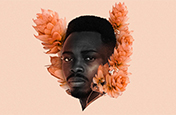
Combine photos and designs in interesting ways. Explore creative techniques for layering, masking and blending to make something unique and unexpected.


Images by Temi Coker
Master the double exposure.
Combine two photos to create a seamless double exposure effect with this quick video tutorial. For best results, start with high-contrast images with distinct light and dark areas.
The next time a visual mash-up idea pops into your head, you now have the basics to start making that vision a reality. Experiment with different overlay techniques to continue honing your skills when it comes to combining images.
Do more with Adobe Photoshop.
Create beautiful images with Photoshop brushes, Content-Aware Fill, Photo effects, Neural Filter, Sky replacement and the many tools photographers rely on.
Explore the Photoshop family of apps.
You might also be interested in…
How to add blur to a photo in Adobe Photoshop.
Add blur to a photo to enhance focus, decrease background noise, add movement or play with colour.
Add drama to a high-contrast image by infusing it with colour.
Before committing ink to skin, design the illusion of a tattoo.
Get your glow on with this simple technique.


