Colourisation is a technique used to transform a black and white photo by adding colour.
What is colourisation?
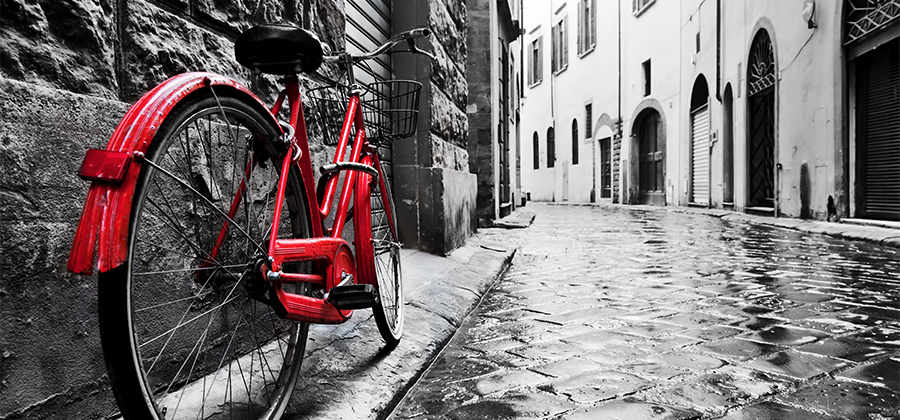
Photographers and artists use colourisation for many reasons. The creative effect of spot colour changes the subject of the story. Adding colour to a vintage photo breathes new life to a bygone era. While motivations vary, the techniques stay the same.
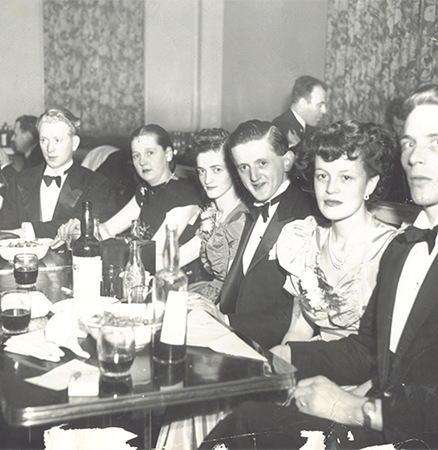
Colourisation has been around for as long as the camera. In the early days, photographers added colour to photos by hand. Those photos of your grandparents as kids were enhanced with colour. Pink was commonly used to make cheeks look rosy.
From black and white to colourised.
Professional colourist Jordan J Lloyd is world-renowned for transforming historical images by converting black and white photos to colour. He selects colours that reflect the period the moment was originally captured. Through his process, the viewer can relate to the image in a new and more meaningful way.
Colourists like Lloyd unlock history. Images of the Titanic, Abraham Lincoln and historical events become alive and relatable. These historical figures and events are more realistic with colour.
Lloyd conducts extensive research to reflect the colours of the time accurately. He consults with experts before remastering old photos. “If you have to guess,” Lloyd says, “if it doesn’t look right, it probably isn’t right. Winston Churchill did not wear a purple jacket.”
To create a realistic image, Lloyd uses a tablet.
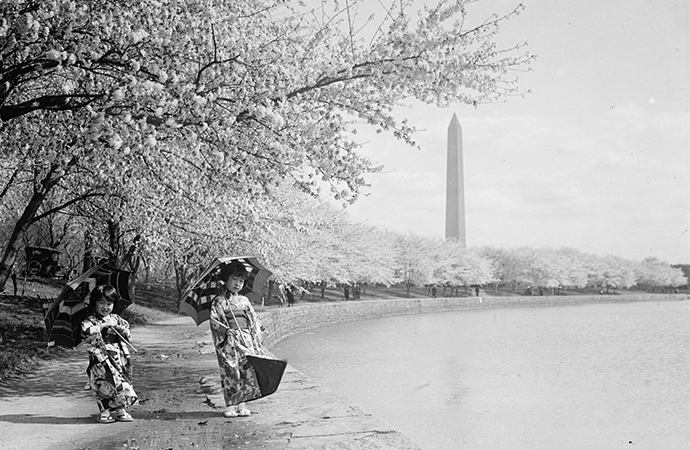
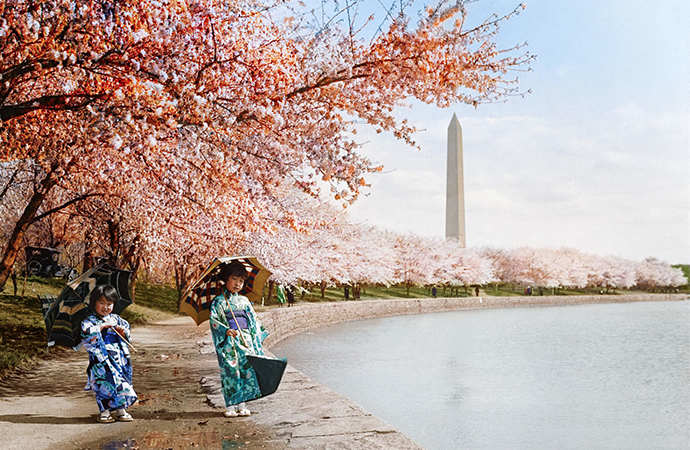
Images by Jordan Lloyd
3 steps to colourise an image.
For a historical remastering or an artistic rendition, the basic steps to colourisation are the same.
1. Start with a new layer.
Always start by creating a new layer. By creating a new layer, the original is saved. You can then add layer masks to recolour your image.
2. Clean away dust and scratches.
For every photo you work on, but especially old photos, you should dedicate time to cleaning up any imperfections. Scanning photos magnifies imperfections, including dust. Dust flecks can be easily removed by adjusting the radius and threshold. The spot healing brush set to content-aware makes this step faster.
3. Neutralise the colour.
You can neutralise the colour by adding a black and white adjustment layer. This will remove a colour cast, such as a sepia tone. Use the levels adjustment layer to adjust the contrast.


Images by Debra Hammond
Pro tips.
● Research colours and textures that represent the time the photo was taken
● Consider using Photoshop on your iPad
● Memorise Photoshop keyboard shortcuts
Choose one of many photo editing techniques.
Several methods will help you achieve the result you desire. We recommend starting with the tool you’re most comfortable with and learning new skills as you go. Here are three techniques you can try.
Technique #1: Brush tool with a solid colour adjustment layer
With this method, you’ll add a solid colour adjustment layer for each part of the photo you plan on recolouring. The blending mode will let the original image show through the areas you’re painting.
The next step is to invert the layer mask to black. Using the brush, paint the area of the photo you want to colourise.

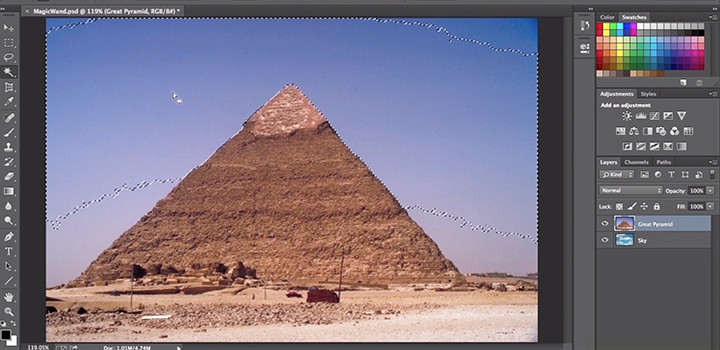
Technique #2: Quick selection tool with a solid colour layer
Another option is the quick selection tool. This tool lets you outline the part of the photo you want to recolour. Zooming in will help you define the area and accurately select the section you want.
The refine edge option allows you to smooth the edges of your selection. You can also use the refine edge tool to colour details, such as hair. The quick mask mode will make it easier to remove details inside a large section that you don’t want to paint over.
With that done, you can add a new solid colour fill layer. Select the colour you want and set the blend mode to ‘colour’.
Repeat these steps for each element.
Technique #3: Curve adjustment layer
If you’re familiar with curve adjustment layers, you can adjust the cyan, magenta and yellow curves by creating a layer for each colour and then painting over the image with the brush tool.

Getting started with colourisation.
Colourisation is easy to try but will take time to perfect. Most artistic endeavours require patience and practice, and colourisation is no different.
For Lloyd, some images require thousands of layers, but he encourages everyone to try. “It’s actually a low barrier to entry,” he says, “Follow the techniques and you’ll have a pretty good result. Beyond that, it’s just a case of experimenting.”
Colourising opens new creative avenues and ways to restore the past. There’s more than one way to get the look you’re after, and as Lloyd said, “it’s just a case of experimenting.”
Contributors
Do more with Adobe Photoshop.
Create beautiful images with Photoshop brushes, Content-Aware Fill, Photo effects, Neural Filter, Sky replacement and the many tools photographers rely on.
Explore the Photoshop family of apps.
You might also be interested in…
Building a great landscape photo.
Explore ways to artistically capture scenic views with tips on landscape photography.
Creating great portrait photography.
Take a step closer to perfect portraits with tips and advice from professional photographers.

How to become a professional illustrator.
Get tips on portfolio creation and art presentation to help you kick off a new career.

Exploring watercolour techniques.
Capture the flowing brush strokes and rich texture of watercolours with these tips.
Get Photoshop
Image editing and compositing.
7 days free, then A$32.99/mo incl. GST.