This video series is a first look at creating a design in Photoshop using layers, combining images, and adding text and graphics.
By the end of this series you'll know how to basic composite for use in your own print and online projects.
In this video we'll focus on working with layers.
When Photoshop first launches you'll see the start screen.
This is where you can open existing images or create a new document.
We'll start this design with an existing image.
Click the open button on the start screen, or you can choose file, open.
Then navigate to an image on your computer.
I'll choose landscape.jpg and click to open it.
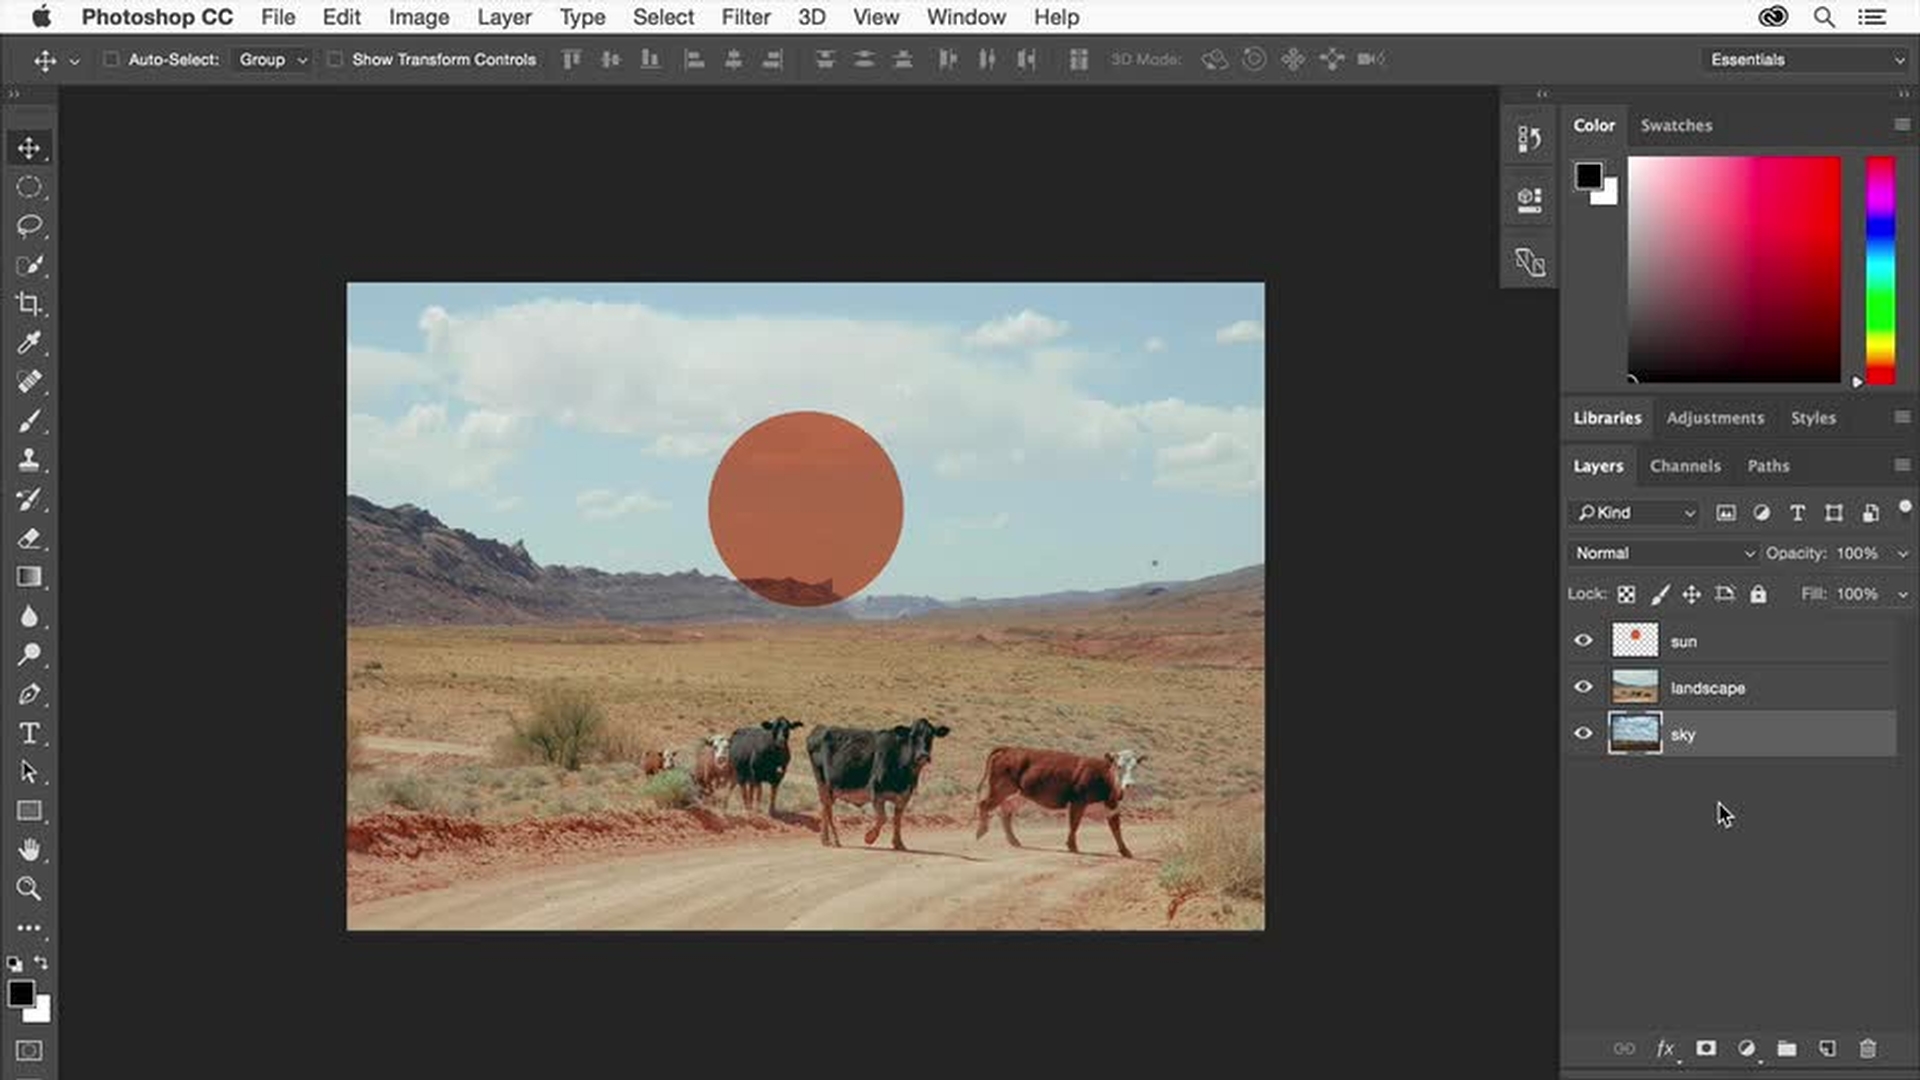
I'd like to add another element to my design, a sun, so that we can create a composition.
We'll put the sun artwork on its own layer so we can move and edit it separately from the photo.
The layers panel in Photoshop will be an integral part of your workflow.
It's the place we go to manage the layers in a composition.
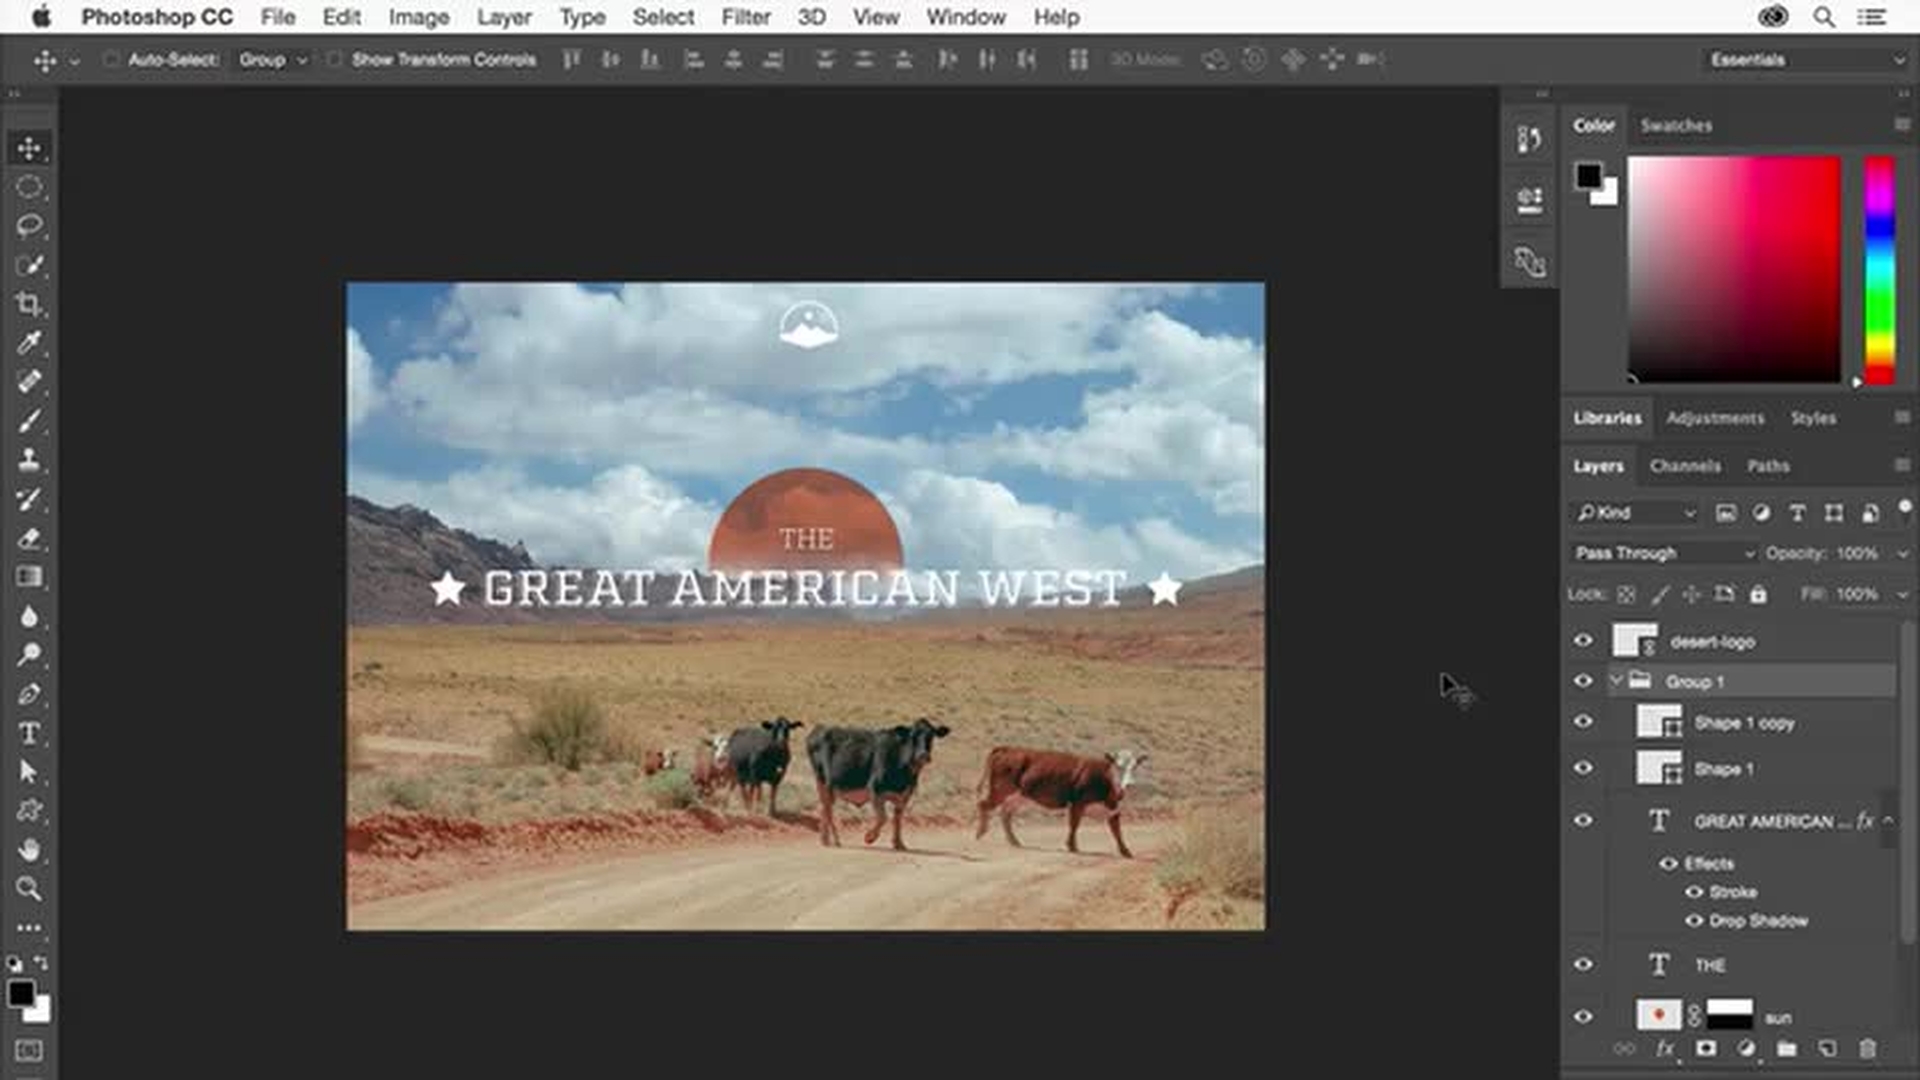
In the layers panel there's now just one layer called background.
To make a new layer for the sun, click the create a new layer button at the bottom of the panel.
A new layer is added above the background layer.
It's best practice to name your layers so you can keep track of them.
Double click the new layer name and name it sun.
Press enter or return to accept it.
Now that we have a new layer and it's selected—you can tell because it's highlighted— we'll create a sun in this layer by filling a selected area with color.
Come over to the tools panel on the left, click and hold down on the rectangular marquee tool.
To make a circular selection for the sun, select the elliptical marquee tool.
Out in the design, press the shift key and click and drag to create a circle.
Once you get the circle to be roughly about this big, release the mouse button and then the shift key.
The shift key constrains the proportions so the selection stays a circle.
Now we'll fill this area of the sun layer.
Choose edit, fill.
Choose color from the contents menu, and we'll pick a color using the color picker that opens.
Drag this slider up a bit so we get into the orangish area.
That looks pretty good.
Come right about here and click to sample a color.
Click OK and then click OK again.
You're done using the selection, so choose select, deselect.
Select the move tool in the tools panel, and drag the image to reposition the sun.
You may see magenta smart guides that you can use to center the sun.
Because it's on a separate layer, you can move and edit it separately from the rest of the image content, and you can apply special layer properties.
For example, with the sun layer selected in the layers panel, choose multiply from the blend mode menu to blend the color of the sun into the colors on the layer beneath it.
Change the opacity to 80% so that the sun layer is more transparent.
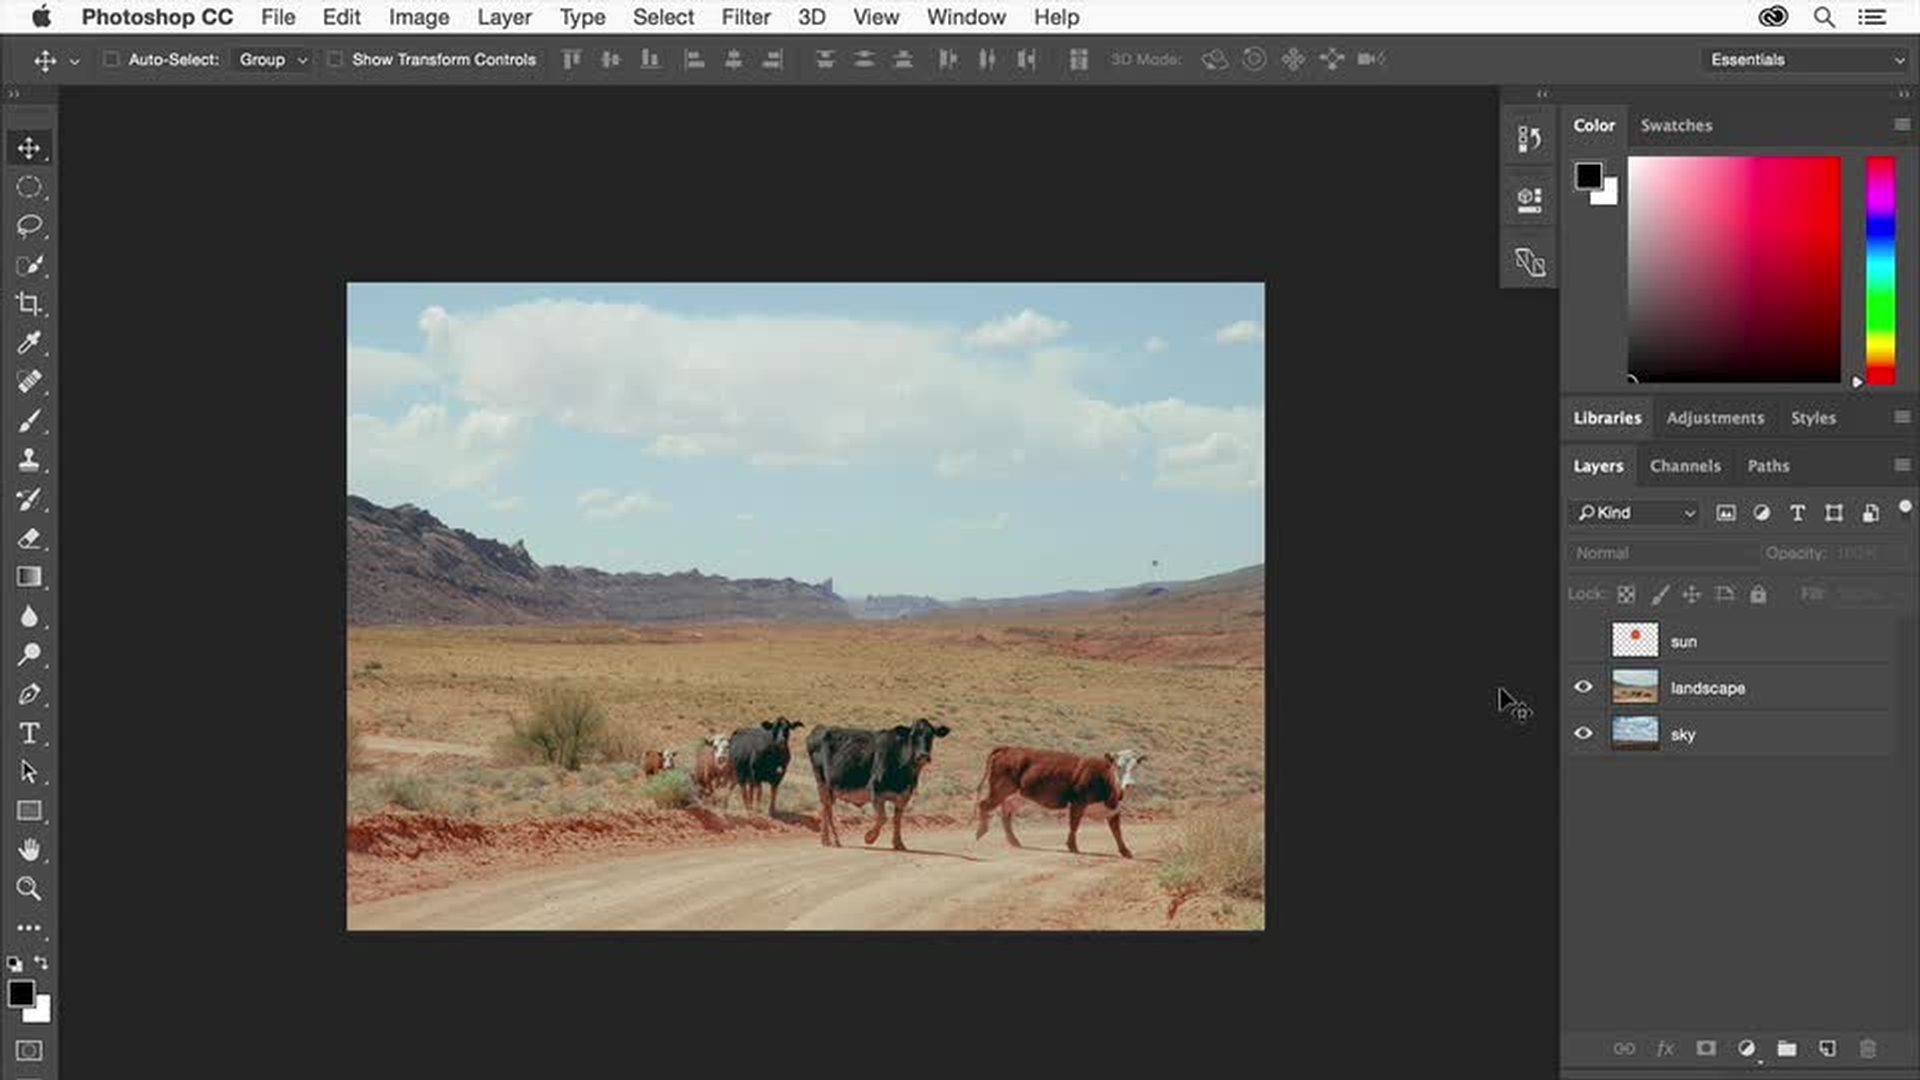
Let's add another image to our design.
Choose file, open, and navigate to a photo that has an interesting sky.
Click open.
So we can see both images next to each other, choose window, arrange, tile all vertically.
We're going to drag the sky image into the other image.
With the move tool still selected, press and hold down the shift key as you drag the sky image onto the landscape image.
Release your mouse button and then the shift key, which aligns the images together.
You no longer need the sky photograph open, so close it by clicking the X on the tab.
Look in the layers panel, and you can see that the sky layer named layer 1 is on a new layer above the last layer selected, the sun layer.
Double click the new layer name and name it sky, then press enter or return.
Right now the sky is hiding the sun and the background image.
In the layers panel drag the selected sky layer below the sun layer.
When you see a line appear, release the mouse button.
The sun now appears above the sky image.
I also want the sky image to be behind the background image.
The background layer is a special lock layer that we need to first unlock.
To do this, double click the layer named background and rename it landscape.
Click OK.
Drag the sky layer under the landscape layer, and when you see a line appear release the mouse button.
The landscape image is now on top of the sky image in our design following the layer stacking order.
Let's save the design to this point by choosing file, save as.
Enter design as the file name.
Choose Photoshop as the format or type.
Leave layers checked and click save.
Click OK in the next dialogue.
We'll explore saving in more detail in the last video in this series.
In the meantime it's a good idea to save your work often as we continue to work on this design.