Create gorgeous compositions with tree photography.
Because of their universal appeal, tree photos are a classic staple of nature photography. Get tips for capturing stunning shots of the giants of the plant world.
The art of photographing beautiful trees.
Tree photographs are an important subset of landscape photography. Trees can make great backgrounds for portrait photography, but they can also convey a lot of meaning all on their own. And tree wall art and art prints are popular home decor items because of the strong associations people have with these ubiquitous plants. So celebrate the beauty of nature by using one or two trees as the subject of a photograph.
Trees are everywhere and their meaning runs deep.
A well-composed photo of a lone tree can be moving, whether it’s taken a few miles from downtown Los Angeles or on a hike deep in the forest of a national park. Almost every area and climate has some type of tree to offer. And for many people, trees symbolize life and strength, and they can evoke special personal memories.
“I grew up in trees as a kid,” says landscape and wildlife photographer Joseph Filer. “I built tree houses on every tree in the yard. I just enjoy trees immensely, and I think a lot of people do. There’s a very pleasing, soothing, warm feel to trees.”
Types of tree photography.
Just as you can find trees in almost any climate, there are myriad ways trees can be photographed. And they can look good in any season or weather condition.
So many ways to capture trees.
Try some of the photography styles below to see what you enjoy most.
- Fine art: Carry a tripod with you for a perfect shot and be intentional with your composition, and your tree photo can be worthy of a frame or gallery show.
- Abstract: Showcase unique elements of the tree, and focus on color and form for striking photos that aren’t immediately identifiable but leave room for artistic interpretation.
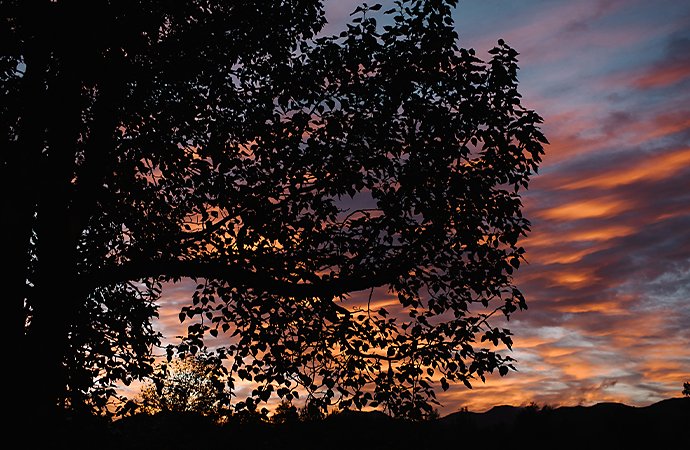
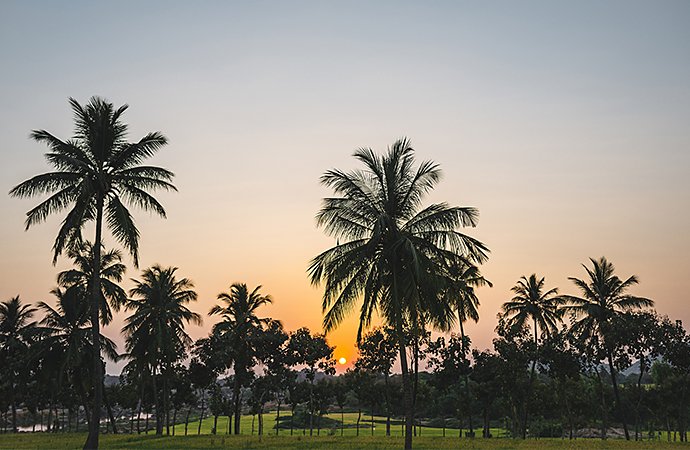
- Silhouette: Highlight the shape of your tree by showing it as a dark silhouette against the skyline.
- Black and white: Remove the distraction of color, and focus on light and texture with a black-and-white image.
- Long exposure: Experiment with long exposure to see how light and motion affect a tree and its surroundings over time.
So many types of trees to capture.
Trees are as unique as people, and each kind has a special look. Below are some famously photogenic species and where to find them.
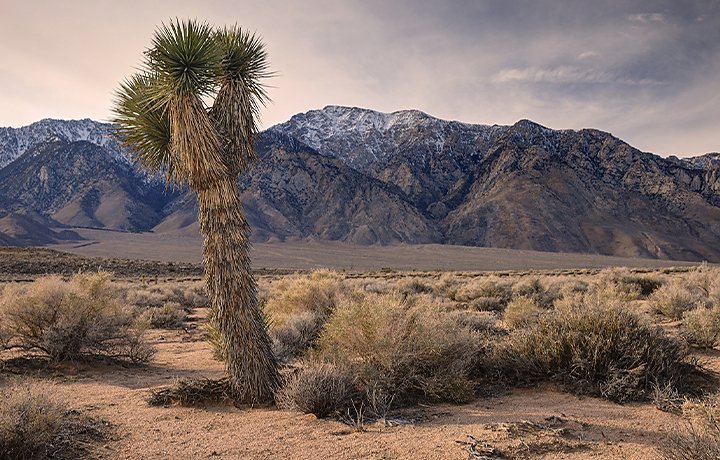
- Joshua trees: These distinctively spindly, Seussian trees can be found in the Mojave Desert region of the Southwest U.S.
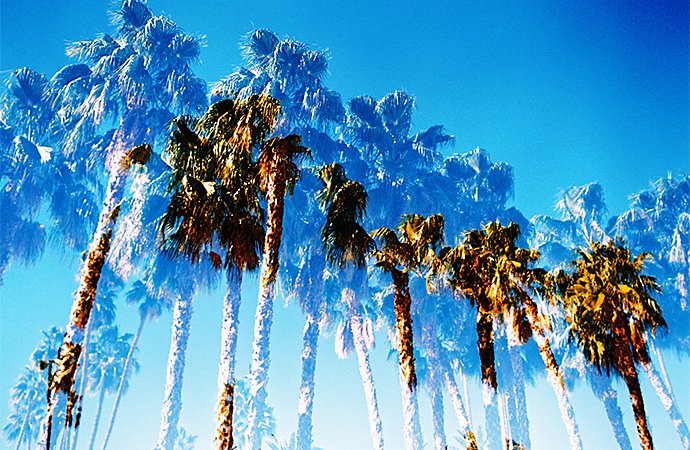
- Palm trees: Tall and skinny or short and stout, palms are the classic expression of tropical beauty.
- Redwood trees: Sequoias and their towering cousins, collectively known as redwoods, can be found primarily in Northern California and Southern Oregon.
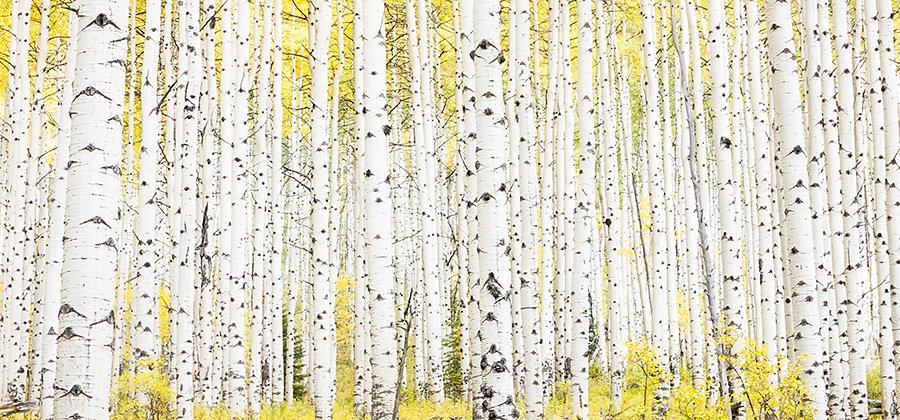
- Birch trees: Known for their white trunks, birch trees grow throughout the northern U.S., and are a popular photography subject in the fall.
- Oak trees: With their widely wandering branches, oak trees are majestic subjects that look like the symbolic tree of life. The southern live oak, found from Virginia to Florida, is especially storied, with branches that reach and spread across the ground.
- Bristlecone pine: These pines are some of the oldest living life-forms on the planet, and their twisted trunks are a fascinating form for photos. Find them at high altitudes in western states, like Utah, Nevada, and Colorado.
Tips for taking great shots of trees.
Research, timing, equipment, and technique can help you create remarkable photos of trees.
Before you go out to photograph, practice with your equipment. “The first thing you need to do is get familiar with your camera,” says nature photographer Patricia Davidson. “You don’t want to be in a situation where some good light is happening, but you don’t know the settings on your camera.”
While it’s possible to take great tree photos by wandering around new areas, more astounding shots often take some planning. Do research, not just on the location, but also on what time of year might be best to shoot in that location.
“I just got back from Georgia, shooting the fall colors and the cypress trees,” says Filer. “We kayaked on a lake in the pre-dawn hours to get in place to shoot the trees. It was a very peaceful, wonderful experience. But I knew that I was there because of research. I knew where I was going and why.”
Remember: Timing is everything.
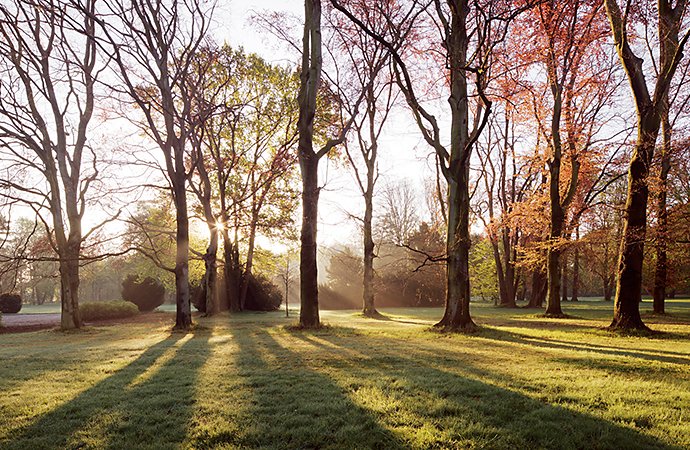
The best time to shoot trees is during golden hour, the time right after sunrise or right before sunset. “I’m always up an hour and a half before sunrise when I’m out shooting,” says Filer. “And that’s just the nature of the game. You can take a nap when you come back.”
Early morning hours are the best for most types of forest photography, because there’s no harsh sunlight shining directly down onto your subject matter. Bright sunlight poking through tree branches will overwhelm your camera’s sensor and wash out parts of your photo. An overcast day can be great for tree photography, and fog can be even better, adding a little drama to your image.
Line up some helpful equipment.
A tripod is always a good idea for tree photography. Since you’ll be shooting a still subject, you have the advantage of using the manual settings on your camera and the steadiness of a tripod to get the most crisp shot possible.
In addition to your tripod, here are some optional items to bring along:
- Wide-angle lens: This can be a great way to show the vastness of a tree while standing close to it.
- Telephoto lens: This is a good option when you want to focus on a single tree that’s far away from you. Never trespass on private property or disobey the safety signs in a park to get closer to your subject.
- Circular polarizer: This is a filter for your lens that can take the glare and reflections off wet trees and be a great help when shooting in the rain.
Branch out with your composition.
Play with composition and see if you can frame your shot uniquely. Trees can be a great way to explore leading lines in photos: the line that the viewer’s eye will follow. As always, be sure to shoot your photos as RAW files, so you can easily edit your images in post-production.
Perfect your photos of trees with Adobe.
Put the finishing touches on your tree photos with post-processing software like Adobe Photoshop Lightroom. Fine-tune every aspect of your image in Lightroom and then add a few more advanced effects.
“There’s always something to do,” says Davidson. “I’ll start with Lightroom to make minor adjustments. And then if I need to do more, I’ll take it into Photoshop.”
Create a blur effect.
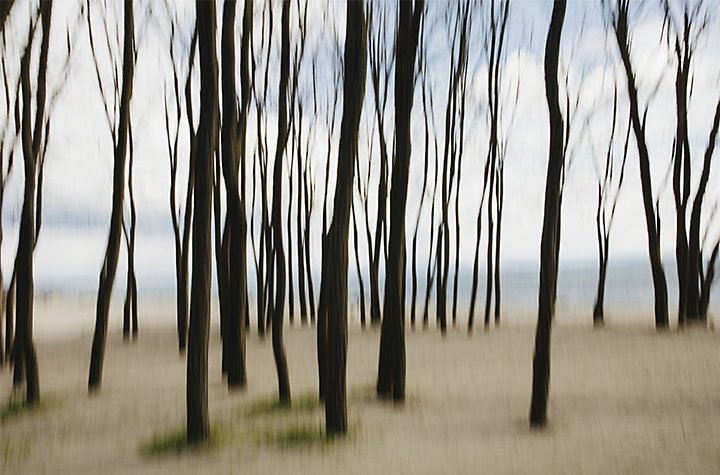
You can add artistic blur to your photo of a tree by using a long exposure and/or panning your camera in one direction or another as you shoot. But Davidson recommends adding a blur effect with Photoshop, since it gives you more control over the final image.
Make a double exposure–style composite.
Photos of trees can be great subjects to add into a photo collage or a double exposure–style image. See how to combine two images in this way for a stylized montage.
The bottom line with tree photography is to be creative and patient. Manipulate your shots in post as much as you want, but never manipulate the tree itself or the plants surrounding it. Leave the land in the same condition you found it. Getting the exact shot you want isn’t as important as respecting nature and enjoying your time in it.
“There’s nothing like being outdoors. I love that part,” says Davidson. “Sometimes I may be going out there for photography, and I don’t necessarily come back with anything, but I’ve had a really great experience just exploring.”
Contributors
Do more with Adobe Photoshop Lightroom.
Edit photos easily with Lightroom presets, Super Resolution, easily share photos from any device, and access your projects anywhere with cloud photo storage management.
You might also be interested in…
Tips for capturing nature photos of all kinds.
Explore the possibilities of nature photography, from animals in motion to sprawling landscapes.
How to use, and break, the rule of thirds.
Improve your photo composition skills to capture more stunning images.
Discover how this pillar of the exposure triangle can be adjusted to affect your depth of field.
Learn the art of flower photography.
Learn to create beautiful images of flowers and see how this genre can advance your skills.
Lightroom plan
Edit, organize, store, and share photos from anywhere.
7 days free, then US$9.99/mo.
Photography
Get Lightroom, Lightroom Classic, Photoshop, and 20GB of cloud storage. 7 days free, then US$9.99/mo.
All Apps
Get the entire collection of creative apps and more.
7 days free, then US$52.99 /mo
