How to draw shoes.
Drawing shoes is all about staying true to real life details. Check out these two step-by-step drawing tutorials to take your kicks to the next level.
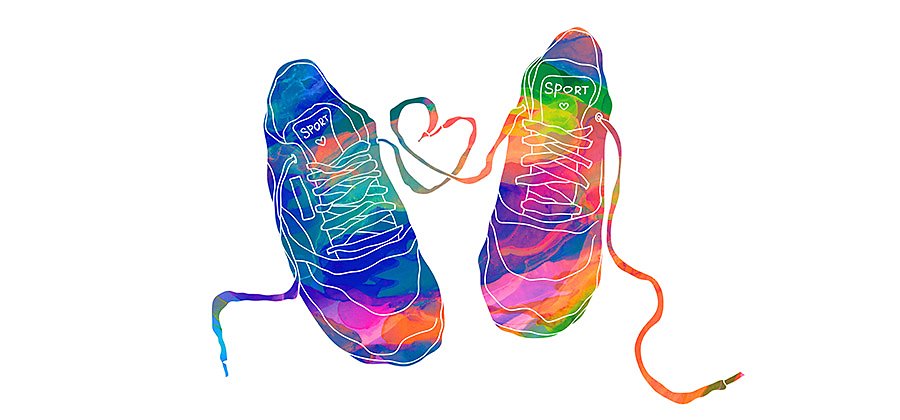
Lace up and draw.
Shoes may be everyday objects, but that doesn’t mean they make for boring subjects. A shoe can be an expression of someone’s fashion, style, and character. And with the right steps in place, you might be surprised at how easy it is to draw eye-catching footwear. But there’s more than one style of shoe. Check out these drawing lessons from the pros, and learn to sketch two different types of shoes: a sportswear-inspired sneaker and a high heel pump.
How to draw a sneaker.
Streetwear tennis shoes like Nikes, Adidas, and Air Jordans are often striking shoe designs that make for intricate and exciting shoe drawings. Pick a reference photo or shoe from your closet to guide you as you draw. It’s helpful to have a visual to keep you grounded, otherwise you’re pulling from memory. In this step-by-step tutorial, artist and illustrator Spencer Nugent teaches you how to draw a side view of a sneaker.
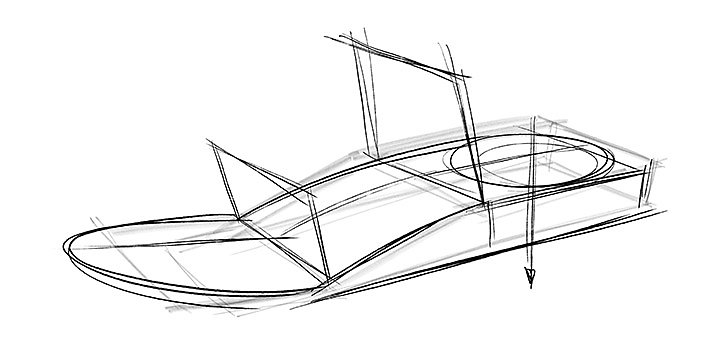
Image by Spencer Nugent
1. Draw a set of planes for the framework of the shoe.
This set of rectangles in perspective mirror the shape of the foot and will serve as a drawing guide for you, as well as a platform for the sole of the shoe. Next, sketch a circle around the heel and the ball of the foot and use curved lines to hone the shape of the sole.
2. Draw frames to guide your outline.
These should look like goalposts or rectangular-shaped straps on a sandal. “Imagine these points as being translated into perspective. It doesn’t mean this is the final design, but I now have points through which I can draw curves for my shoe,” says Nugent.

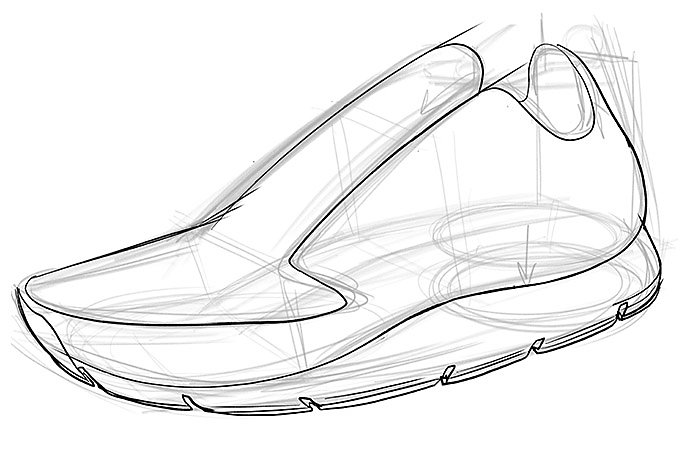
Image by Spencer Nugent
3. Fill in the outline of the shoe.
Using your framework from previous steps, you’re ready to sketch the shape of the shoe, including the upper, sock liner, and outsole. “When in doubt, rough it out,” advises Nugent. “This means if you’re not sure what you’re going to do, create a rough sketch, tweak, and transform until you get it right.” Shoes aren’t rigid, so stay away from straight lines and to try to keep a subtle curve to all your lines.
4. Trace over your sketch with a pen.
For your final outline, choose a pen or brush that is crisp and bold. “You want a pen that doesn’t forgive and doesn’t forget, because it forces you to be very mindful of what you’re doing,” says Nugent.
“I find it helpful to rotate my canvas as I draw, whether it’s paper or digital. You want to have the work surface conform to you rather than you contorting yourself to what you’re working on,” says Nugent.
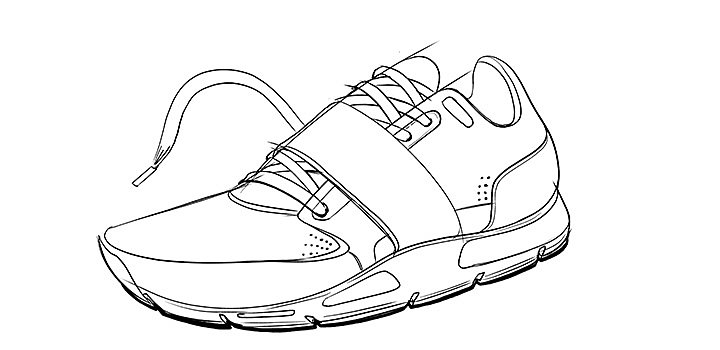
Image by Spencer Nugent
5. Fill in the details.
For this shoe, Nugent added a strap, heel cup, and a cushioning system on the outsole. “When you want to give a section thickness, adding a double line is super helpful,” advises Nugent.
“Whenever you need to do some cleanup, just grab an eraser and erase what you don’t need. I call this the paint-and-erase method,” says Nugent. This can be done with paper but is easiest with digital sketching tools, since you can isolate layers and make highly precise, selective adjustments.
6. Draw the laces.
Laces are one of the trickiest parts of a shoe sketch. To help, you can pencil in a center line and use it as a drawing guide. “This is important because where the laces overlap is the midpoint of the shoe.” Draw a box over the laces area, and an X shape in the box to find your center line. Nugent also recommends using a heavier line on the bottom of each lace, to communicate depth and shadow without adding color.
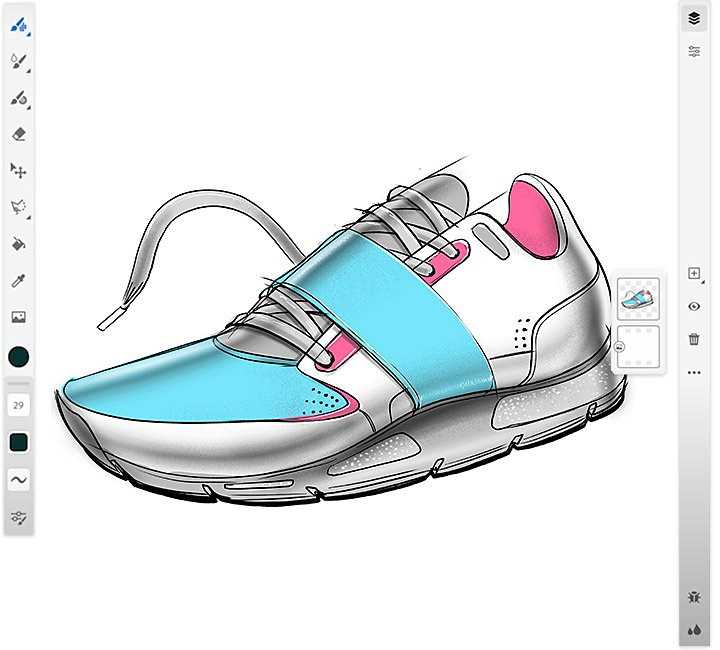
Image by Spencer Nugent
7. Color your shoe.
On a new layer underneath your sketch, block in your color for each area, just like you would in a coloring book. If you’re working digitally in Adobe Fresco, use the Paint Bucket tool to quickly fill in areas. “Try to put each new color on its own layer,” advises Nugent. “That allows me to work in a very non-destructive way, so I can easily make changes later.”
8. Airbrush to add dimension.
To add the appearance of volume, use an Airbrush to fill in highlights and shadows. “Put your lightest lights next to your darkest darks,” advises Nugent. For the finishing touch, take the Spatter brush and paint on a new layer. It’s very subtle, but use just enough to add some grain and texture to areas on the shoe. And just like that, you’ve got yourself one cool running shoe.
How to draw high heel shoes.
This tutorial shows you five steps to draw a heeled shoe, guided by fashion illustration artist Josefina Fernandez. For her drawing, Fernandez used a reference photo found online. “Shoes can look very daunting to sketch, but if you’re faithful to what you see, you can achieve pretty realistic effects,” Fernandez advises.
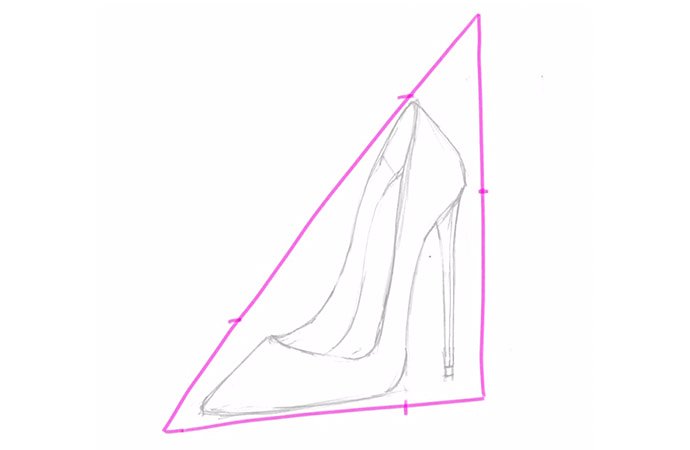
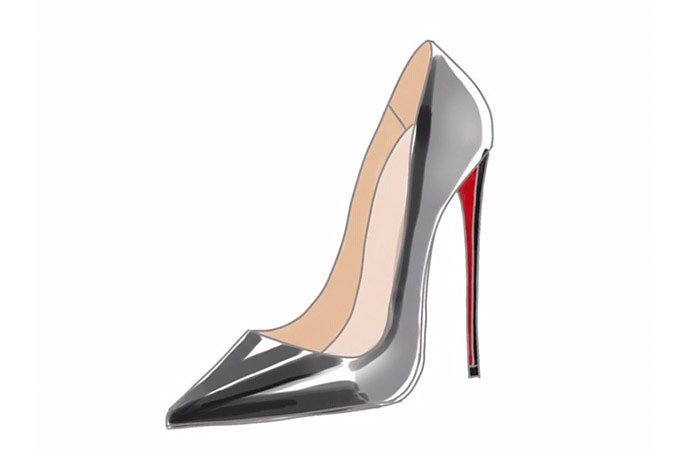
Image by Josefina Fernandez
1. Draw a triangle.
All high-heeled shoes form the basic shape of a triangle. Sketch one out that your shoe can fit inside. Then make marks along the edges to note where landmarks of the shoe will fall. For accurate proportions work with thirds when marking out your triangle.
2. Sketch the outline of the shoe.
Using your triangle as a guide, start to draw the basic outline of the shoe. Don’t worry if your lines are messy — just focus on following the smooth, curved lines of the shoe without picking up your pen.
Video by Josefina Fernandez
3. Add details and draw your final lines.
Add lines for the insole and outsole, the shape of the heel and peg. Beyond your basic outline, these lines add definition and dimension to your shoe. Once you’ve finished the linework, go over your final lines and use an eraser to clean up the drawing. If you’re working digitally, you can simply make a new layer for this.
4. Fill your shoe with color.
This is where your reference photo can really come in handy. Simply use the eyedropper tool to pull colors from your reference into the corresponding areas of your drawing. If you’re working digitally, make these marks on separate layers from the linework. For the upper part of the shoe that wraps around the foot, start with a gray color and paint a rough outline of where the highlights and shadows will be.
5. Add highlights to the upper.
Highlights show where light hits and reflects off the shoe. These marks are essential to recreating the glossy look of patent leather. “Highlights are crucial for leather. The contrast really defines the shoe,” says Fernandez. Go over your gray layer with darker shades. For this final step, Fernandez used an acrylic brush and a range of layers at different opacities to achieve a smooth, blended look. There are many ways to render leather highlights. How you decide to draw them will depend on your personal preference as well as the angle, lighting, and material of the shoe.
Tips to top off your skills.
If starting from scratch sounds like an overwhelming endeavor, tracing is a great way to get realistic results fast. “You don’t have to start out sketching,” says Fernandez. “You can use your reference photo and just trace over it if you want to practice, or want to get a feel for the shape of the shoe.”
Also be sure to consider the material of the shoe when it comes to highlights and shading. Plastic and patent leather aren’t going to behave the same way as suede or canvas. Some shoes are shiny and smooth, while others are matte and textured. Have fun and experiment with different brushes to find the right texture for every shoe.
Lastly, use these steps as a handy guide for all your shoe drawings, but keep in mind that your tools and techniques will vary depending on what style you choose. From meticulous and realistic digital drawings to , or even anime and manga, the choice is yours. Find more shoe drawing ideas and get inspiration from other artists on Behance, then start making your own creation.
Contributors
You might also be interested in…
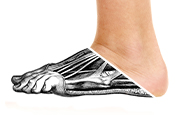
Get tips on how to draw this challenging bit of human anatomy.

Take your skills to the next level with drawing exercises and advice from professional illustrators.

How to become a professional illustrator.
Get tips on portfolio creation and art presentation to help you kick off a new career.

Working with digital pens and other digital drawing tools.
See how you can bring the freedom and convenience of digital drawing technology into your workflow.