How to create and share a YouTube video.
Stand out from other online videos by learning best practices from professional videographers and content creators.
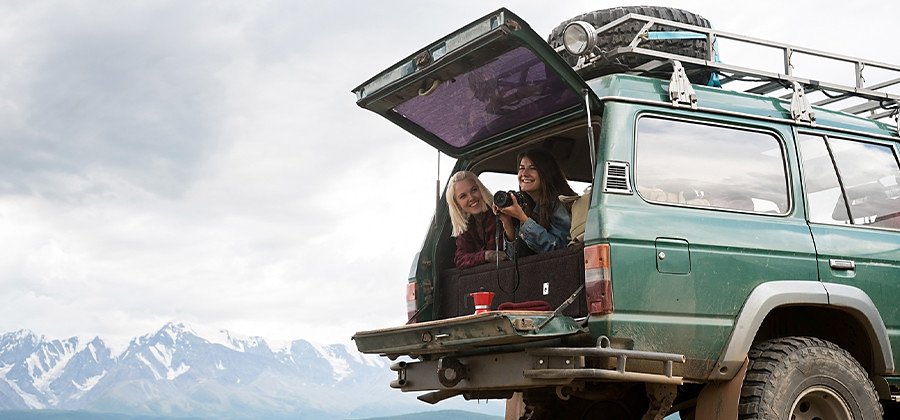
What kinds of videos succeed on YouTube?
YouTubers post videos of every type, quality and length on every possible subject. Check out what’s trending and you’ll find beautiful music videos, low-budget talk shows, travel and food videos and people whispering into microphones. The only thing these videos have in common is that the people who make them are passionate about creating content and they’ve found an audience of people who share their interests. While you may not start out generating as many likes and comments as famous YouTubers, you can follow these tips to make the best possible video.
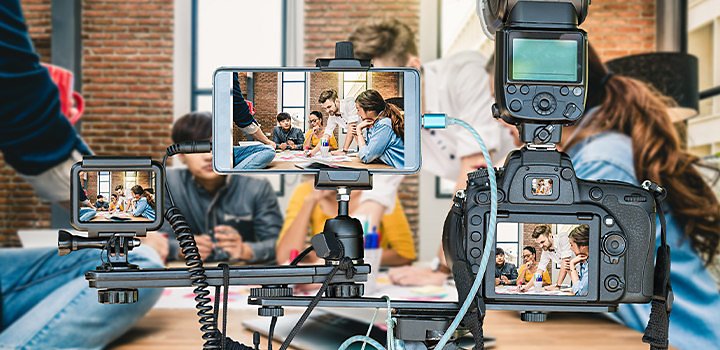
Gather the right equipment.
The tools you need depend on your genre. If you’re shooting a vlog or a video of yourself playing a video game, maybe all you need is a smartphone or webcam and a tripod. If you’re making ASMR videos, you might want a good external microphone. Short films, sketch comedy or music videos benefit from higher production value, but you can achieve that with a DSLR camera and not too much more expense. (After all, it’s possible to make a feature film on your iPhone.)
“The thing with content creation is you can do just about anything now without special tools,” says cinematographer and director Hiroshi Hara. “If you’re not super technical and you’re not comfortable using a fancy camera, then get really comfortable with your iPhone and figure out the best settings and just go create content.”
If you do have money to spend, look for places where you can get the most bang for your buck. “Spend your money on lights,” filmmaker David Andrew Stoler says. A properly lit shot will make all the difference when you edit your video.
Plan before you shoot.
Save yourself time, money and stress by thinking about what you want to make and how you want to make it. Remember that a high-quality video is only slightly harder to make than a low-quality one.
Visualise how you want your video to look. Make notes as you imagine different scenes, action, camera angles, characters and props. The drawings don’t have to be detailed or technically good, but the more specific you can be in your storyboard, the more likely you are to realise your vision.
Writing a shot list will force you to think about how you’ll make your storyboard come to life. What shot types do you need to tell your story? What equipment and people will each camera set-up require? Remember that people might be watching on tablets and phones, so plan your shots accordingly. Avoid wide landscape shots with a small subject if what you want the viewer to focus on will be too tiny on their phone screen.
On set, a good shot list will be your guidebook. It will help you to keep track of the shots you’ve got and the ones you still need to get. It will also help your crew, if you have one, know what they need to set up each shot.
If you’re shooting a one-shot video of yourself at your desk, you don’t need a full shot list, but shooting and editing will be easier if you have a simple outline. Knowing what you want to accomplish before you start recording can save you time and make for a more engaging video.
Production tips.
Pay attention to your lighting.
No matter what type of video you’re making, light is important. “Give yourself time to set up the lights. That’s the most important thing for getting good dynamic range in your video,” says filmmaker David Andrew Stoler. Check your camera’s histograms to make sure you’re capturing the shadow and highlight detail that you want.
Shoot in Log.
Keep both shadow and highlight details by shooting in Log (logarithmic) mode. In Log, your camera captures the maximum available data, which gives you the greatest dynamic range. If you’re not shooting in Log, you’re shooting linear, which results in an uneven spread of exposure values and a potential loss of shadow and highlight detail. With Log, you give yourself more leeway in post-processing.
Get basic coverage.
Before you go for difficult artistic shots, film camera effects or video effects, get the shots you need to tell a complete story. Then when you edit your video, you won’t have to struggle to stitch together a cohesive narrative.
If you don’t have the time or resources to shoot in various locations, try using a green screen. You can set one up and take it down quickly. Plus you can use costumes, props and set design to enrich the scene. Note: it’s important to light your screen evenly and shoot your actors as far from the screen as you can.
Post-production tips.
Shooting the best video you can is only the beginning. Once you have all of your raw video clips, you can shape them into a meaningful, visually appealing story with a beginning, middle and end.
Do the job right with video editing software.
Stick to the guiding principles of editing video. Your final cut needs to be tight, especially if you’re making videos for YouTube. With millions of videos to choose from, viewers won’t necessarily give you the benefit of the doubt, so you should try to catch their attention quickly and then hold it by not wasting any time.
“A good general rule of thumb for the Internet is to grip people as quickly as you can,” director and editor Jonathon Pawlowski says. “You might have a minute and a half to two minutes to get their attention.”
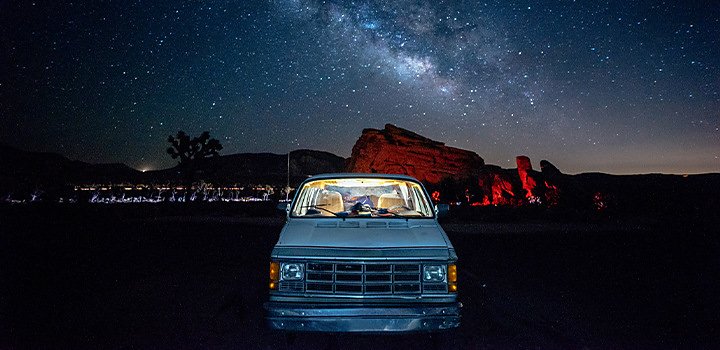
If you’re making travel videos and you want to edit and post while you’re on-the-go, use Adobe Premiere Rush. With Premiere Rush, you can shoot a new video, edit, add motion graphics and share, all on your iPhone or Android. For even more powerful editing software, use Adobe Premiere Pro. With Premiere Pro’s powerful editing tools, you have the tools of a big-budget feature editor at your disposal.
Make it pretty.
Once you have your final cut, you can do colour correction and colour grading in both Premiere Pro and Premiere Rush.
If you’re not happy with the audio, you can edit and remix, add music and sound effects in Adobe Audition and then bring those audio tracks back into your timeline. Premiere Pro allows up to 16 audio tracks. Premiere Rush allows up to four.
Share it with the world.
When you’re finished with editing, it’s time to upload your video. With Premiere Rush, you can share high-quality videos directly on whichever social channels you prefer.
For desktop:
Click the Share Panel and turn on the YouTube destination.
Log in through Premiere Rush.
Add metadata like descriptions and tags, as well as a customised thumbnail or customised design. This metadata will help the video’s SEO score so search engines can find it.
If you don’t want to post straightaway, you can schedule a time for your video to go live.
Click Export.
For mobile:
Click Export first.
Choose YouTube and sign in.
Add metadata like descriptions and tags, as well as a customised thumbnail or customised design.
Click Publish.
To upload your video using your web browser, click the camera icon at the top right of your YouTube page. Sign in to your account, if you haven’t already and drag and drop your video into YouTube. Make sure that you add a title, description and tags.
If you hope to get paid, you can apply for monetisation, which will allow ads to play before your video. Choose the thumbnail you want and click Save. Once the video has completed uploading, it will go out into the world.
Make sure that you share your video with your friends on other social media channels and encourage everyone to like and comment. Likes and comments cause videos to trend. Make enough trending videos and you might just be able to quit your day job to become a full-time content creator.
Contributors
Do more with Adobe Premiere Pro.
Create and edit video from anywhere—phone, tablet, and desktop. Edit and share for social your professional-looking videos.
You might also be interested in…

Introduction to video editing.
Learn the principles of video editing and practical tips for both big and small screens.
How to get started on storyboarding.
See how this artistic storytelling skill helps bring ideas to the big and small screen.

Learn how to create a shot list that guides the crew through all of the day’s camera set-up.

Understanding camera shots in film
Explore the most common camera shots and learn when and how to use them to greatest effect.