Colour temperature explained.
The temperature of light affects the colour that light gives off. Understand the science behind colour temperature in filmmaking to ensure you’re capturing the proper colours in your scenes.
What is colour temperature and why is it important?
Colour temperature describes the warmth or coolness of visible light and is measured in degrees Kelvin. Scientifically speaking, all light is based on black-body radiation. A black-body radiator emits energy that appears as a light source. The colour of that light depends on the temperature of the energy being radiated. For example, an incandescent light bulb emits a warm white light due to its corresponding Kelvin temperature.
Understanding colour temperature is vital for filmmakers and photographers because it’s the foundation for all post-production work involving light and colour. White balance, colour correction and colour grading all start with the temperature of light. Learn the essentials of colour temperature so you can properly balance your colour in-camera for different lighting conditions. As any filmmaker will tell you, smart lighting in the field will make colour correction and grading that much easier down the road.
The Kelvin colour temperature scale.
“All the light we see lives in a colour spectrum between orange and blue with tints of green and magenta,” says cinematographer Mike Leonard. The Kelvin scale is used to measure the colour temperature of a light source. The lower temperatures correspond to red, orange and yellow colours: the warmer spectrum. Higher temperatures correspond to blue or cooler colours. “When we refer to white balance in cameras, we’re actually referring to what colour temperature will make white look white, as opposed to having a blue or orange tint to it,” says Leonard.
Filming with tungsten and daylight white balance.
The human eye automatically adjusts for the colour of light in different situations, but cameras can’t do that. You have to tell your camera how to balance light or your frames may have a magenta or bluish cast. Most digital cameras have a daylight and tungsten preset, but you can also set the white balance manually. To white balance an image, essentially you want to add orange to compensate for blue light or add blue light to combat orange light until the whites in the image are a true white.
Tungsten is set at 3,200 Kelvin (K) and is used for indoor lighting situations. Not all artificial lighting will fall exactly at 3,200 K, however. Candlelight will be on the lowest, red end of the spectrum. Soft white to warm white incandescent bulbs will fall in the mid-orange range. The cool white light of fluorescent lamps and LED lighting is closer to the bluer end of the spectrum.
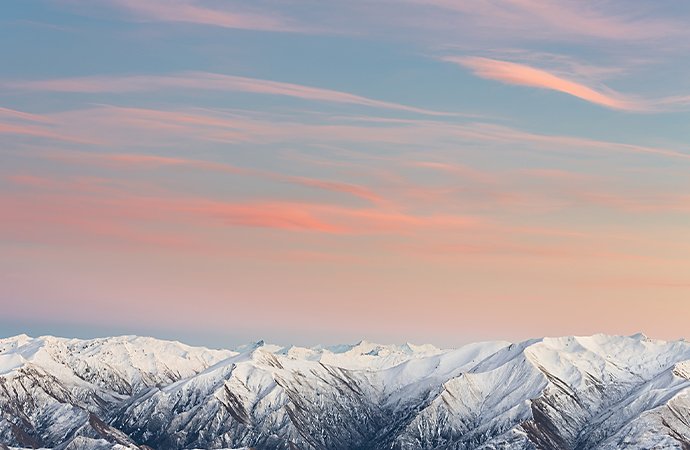
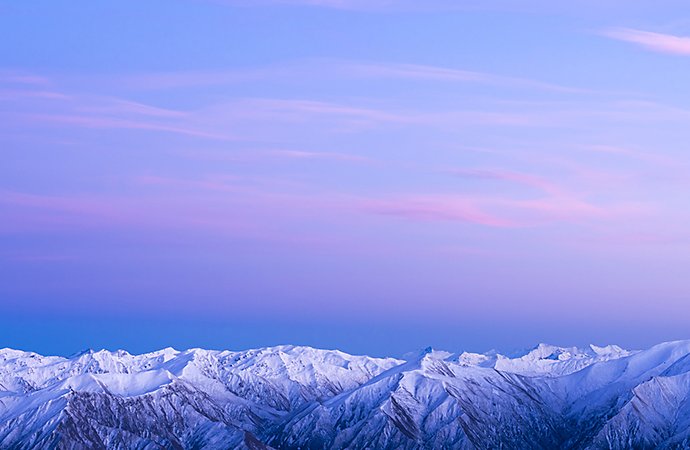
Daylight is set at 5,600 K. It’s the standard setting for outdoor scenes with natural lighting. Outdoor light is typically cooler and bluer, so if you want a white piece of paper to appear white outside, you should set your white balance to 5,600 K. There’s a lot of room for variation with natural light. The warm light of sunset or golden hour, will be on the lower end of the scale, while overcast days will read at higher temperatures.

How to gauge colour temperature for your shots.
Tungsten and daylight settings are the most widely used white balance values, but some situations call for more nuance. Sets that use mixed light sources are a common case where you need to rely on your eye more than any set rule. For example, an indoor scene with light coming through a window will show different colour temperatures across the frame.
In these situations, establish what the dominant light is and balance to that. If they’re both fairly equal, split the difference. You have to know the rules to break the rules. “Cinematography is a lot like cooking,” says Leonard. “You should know the recipe, but at the end of the day your taste has to be the final determinator. Know your numbers and settings and how to qualify their accuracy using tools like scopes. If it doesn’t look right, change it. Your eye is always going to be the compass for whether your image looks good or not, so make sure your monitors are properly calibrated.”
Videographer Hiroshi Hara advises you to manually choose your white balance. “Usually I choose either tungsten or daylight balance as a starting point and adjust my temperature based on the situation,” says Hara. Build your set around one colour temperature so you don’t have competing white balances. “The less manipulation you have to do later in post the better. You want to nail your shot in-camera as much as possible,” says Hara.
Using colour temperature in post-production editing.
The decisions you make in the field become critical in the post-production phase, where your colour balance influences the colour grading process. There are two sides to this process: colour correction and colour grading.
Colour correction
Colour correction is the process of restoring the correct white balance, exposure and contrast to an image. This is a scientific process; you can look at graphs and determine the correct exposure, black values and white values and white balance of an image. “Your job is to set a colour temperature that balances the whites, to give you a strong starting point that will allow you to shift easily into the creative side,” says Leonard.

Colour grading
Colour grading is the artistic counterpart to the science of colour correction. Once you have balanced values, you can make subjective choices to alter the colour of the light to your liking. Along with temperature, you can tweak chromaticity, otherwise known as hue and saturation, to produce a stlylised aesthetic or mood. “Maybe you want a scene to feel warmer because it’s an emotional scene or you want to match the orange glow of golden hour. In these cases, you might dial down your colour temperature for warmer colours,” says Leonard.
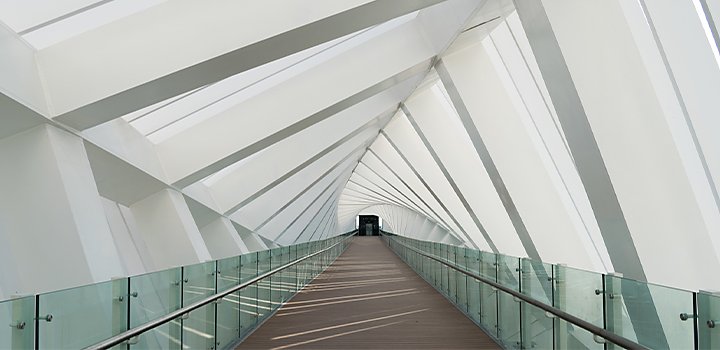
Different colour temperatures correspond to different moods and environments. As a filmmaker, it’s important to know the aesthetic effects that different lighting applications will have on your video. Fluorescent lights and bright white CFL (compact fluorescent lamp) or halogen bulbs work well in sterile, professional settings due to their cooler colour temperatures. But light sources with warm colours, such as fire, incandescent bulbs or sunset, connote nostalgia and warmth due to their lower Kelvin temperatures.
Gaining confidence with Kelvin.
However you choose to go about the colour rendering process, it starts with a balanced colour temperature. Knowing the science behind colour temperature will help you to get the results you want when you’re ready to get creative with editing your video. For hands-on practice, learn the steps of colour correction in Adobe Premiere Rush. The more you work with different scenes in editing software, the faster you’ll get at balancing colour temperatures and making the right calls in-camera.
Contributors
Haz más con Adobe Premiere Rush.
Puedes crear y edita tus videos estés donde estés y desde un teléfono, una tablet o una computadora. Edita y comparte tus videos de aspecto profesional en las redes sociales.
You might also be interested in…


Understand white balance in filmmaking.
Learn how to set and tweak white balance to capture accurate colours in your videos.

Enhance videos with Adobe Premiere Rush video editing software.
Improve video quality with colour correction and audio adjustments using these user-friendly tools.
Obtén Adobe Premiere Rush
Puedes crear y comparte videos en línea desde cualquier parte.