DIY photography techniques and ideas.
Apply a do-it-yourself attitude to any type of photo you want to capture. Learn how to approach all kinds of photography projects with inventive tips from professional photographers.
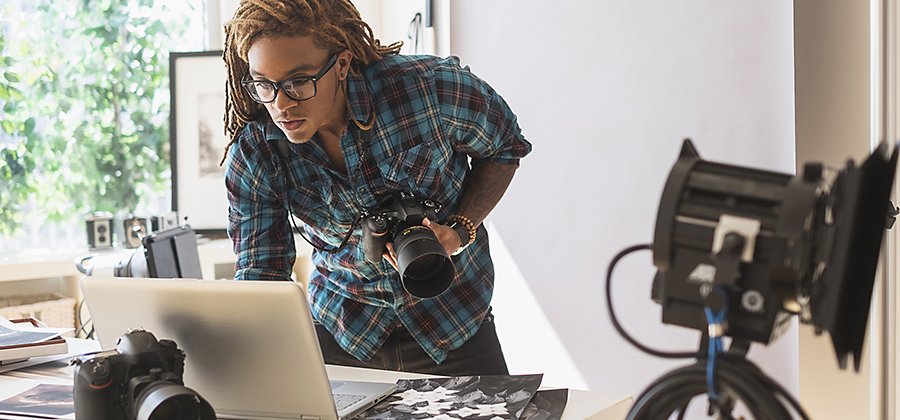
You’re the boss — and maybe the producer, art director, model, and client.
You know the photo you want, but where do you start if you’re not sure how to get it? Before you hire a professional photography studio or buy expensive gadgets, try to figure out how to get the shot on your own.
“When you do it yourself, you can still get pro-quality photography, even with self-portraits and product photography,” says photographer and designer Abagail Pumphrey. “Especially if you’re marketing your own business, it can save you a lot of money.”
DIY photography is all about using what you have to get what you need. “It’s about figuring out new and inexpensive ways to get those polished results your favorite high-end photographer gets,” photographer Jordyn Ari says. To succeed, you need to direct all of your scrappy resourcefulness to the task of making high-quality images with whatever equipment, time, and budget you’ve got.
Tools of the trade.
One of the fun challenges of DIY projects is to make do with the tools at hand. There’s nothing quite like the satisfaction you can get from successful photography hacks.
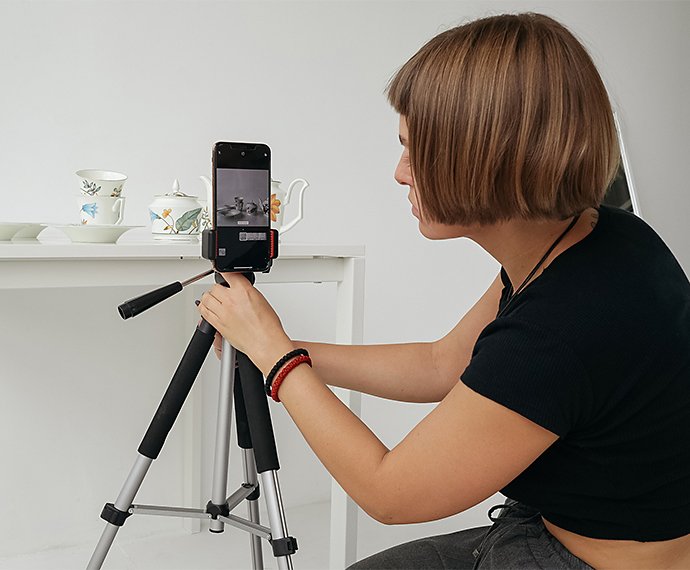
For most photography projects, you don’t need a top-of-the-line camera. You can take great photos with a less expensive DSLR camera like the Canon EOS or even your iPhone or Android.
“People say the best camera is the one you have, but I think the best camera is the one you master,” says Pumphrey. “You can get really fantastic at phone photography, and you can also really suck at using a DSLR.”
It’s more important to learn your camera’s settings, strengths, and weaknesses. And whatever camera you do have, protect it with a good camera bag. A self-timer is also a good investment as it will allow you to take self-portraits and get long exposure photos without shaking the camera when you trigger the shutter.
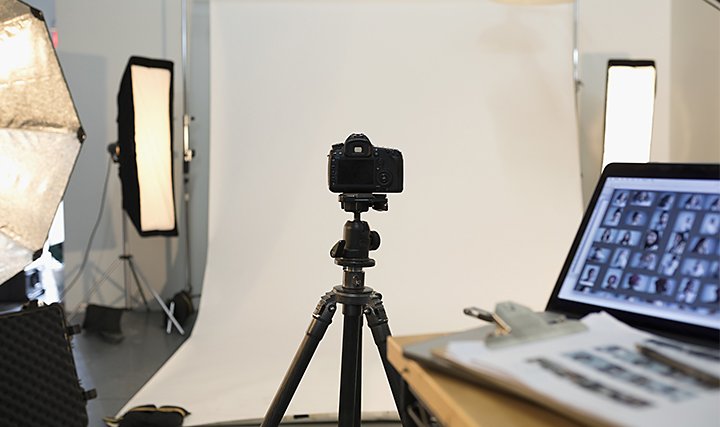
Tripod
You can buy a standard tripod for less than twenty dollars, but you can also create a makeshift tripod with whatever you’ve got. “I’ve stacked books, sandwiched things between cups, leaned them against my headphones, taped things to lamps,” Pumphrey says.
If you don’t have a flat surface in the right spot, you can also use your camera strap to hang it from something. Just make sure whatever you rest your camera or phone on is secure and stable enough to hold the camera — and keep it from falling or getting damaged.
Photography lighting can come from all kinds of light sources. Use natural light when you can, even for product photography. “Get near a window, especially if you’re doing some kind of flatlay, and use the light,” Pumphrey says.
Pumphrey employs pieces of white foam core as reflectors or diffusers to direct and soften the light. This can help to eliminate harsh shadows. You can also use a mirror, silver wrapping paper on cardboard, or a white sheet to help redirect the light from your window.
“I recommend using the flashlight on your camera,” says photographer Victoria Dorei. “If you want to take really cool portraits, you don’t have to use a fancy lighting setup. You can play with fairy lights or Christmas lights.”
If you have money to spend, invest in a good key light and a solid light stand. “It doesn’t have to be the top brand, but it’s really important that whatever you use to hold up your lights is sturdy,” says Ari. “Invest in something that’s going to protect your equipment.”
Photography backgrounds
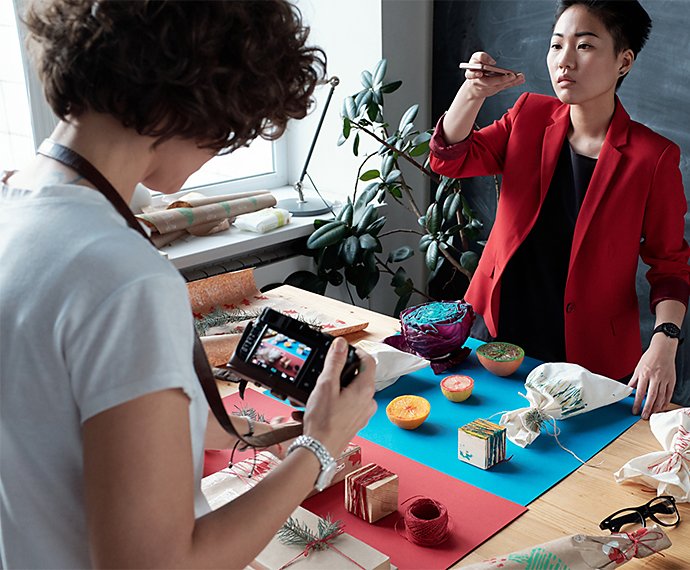
The world is full of free backdrops if you look at it with the right eyes. You can use pillowcases or sheets as backdrops for product photos. “I enjoy using the natural parts of my home, a nice wood tabletop or a tile floor,” says Pumphrey. “I’ve taken a ton of photos on my back deck for a weathered wood look. And if you take it at the right time of day, you won’t have harsh shadows and lines.”
You can paint your own backdrops on plywood or foam core, or fix marble contact paper to foam core to create a marble countertop for food photography. “You can make your home look like a million-dollar home with just foam core and a sheet of five-dollar contact paper,” Pumphrey says. Rather than build a whole photo studio, just designate one wall in your house as your backdrop wall. Paint it however you like or tape different colors of paper photo backdrops to it.
You can even create collage walls with photos from magazines or repeating props. “I did this floral wall lining up small pieces of flowers. Those little flowers are cheap at craft stores,” she says.

Items from home or hardware store
If you don’t know how to get a shot, look for ideas around your home or in the aisles of hardware or craft stores. It’s always useful to have a ladder. “There might be overhead shots that you can’t get at your height,” Dorei says. She also likes the effect you can get with a toilet paper roll. “You flash a light through it, and it makes it look like there’s a spotlight on a person. It creates a vintage look.”
Another hack Dorei found early in her career was to shine flashlights through macrame sheets or knitted sheets to create dappled patterns on her subjects. When she needed to use a prism as a reflector, she found she had a perfume bottle that could do the job.
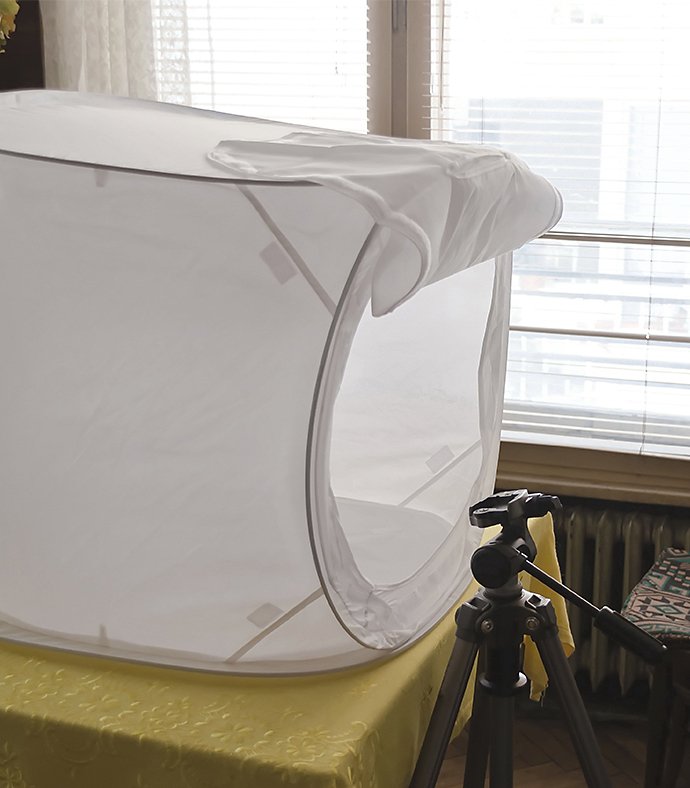
For product photos, you can make a DIY lightbox with a cardboard box or pieces of foam core. Just use white or black poster board inside to hide the seams and corners.
For a blur effect, instead of an expensive pro-mist filter, Ari found she could get a great photo with household items. “If you wrap plastic around your camera and use a hair tie or rubber band to hold it in place, you can get that same blur effect,” she says. “And if you want to push it even further, add lip gloss or Vaseline to the plastic.”
Tips for great DIY photos.
Preparation gives you the best chance at success, so plan as much as you can ahead of time.
If you take photos with or for other people, always ask them what resources they have so you know what you don’t need to get or make. If they want something specific that you need to get or make, be sure you test it on your own first.
“I draft out what I want to get and ask myself what I need for it,” says Dorei. “If I don’t have the equipment at home, I’ll test out different ways I can accomplish that photo so when I get on set, it goes as smoothly as possible.”
Study other people’s photos to discover exactly what you like. “Take some time looking at posing,” Pumphrey says, “because poses can make all the difference between loving or hating an image. Just start saving images where you like how the person looks in the frame. You can mimic posture more easily when you have a library to look at.”
Pumphrey adjusts exposure settings in camera. “It can make such a dramatic impact if you do it on the front end, especially if you like bright and airy photos. If you overexpose in the camera, you can get a crisper image than if you try to force it all at the end.”
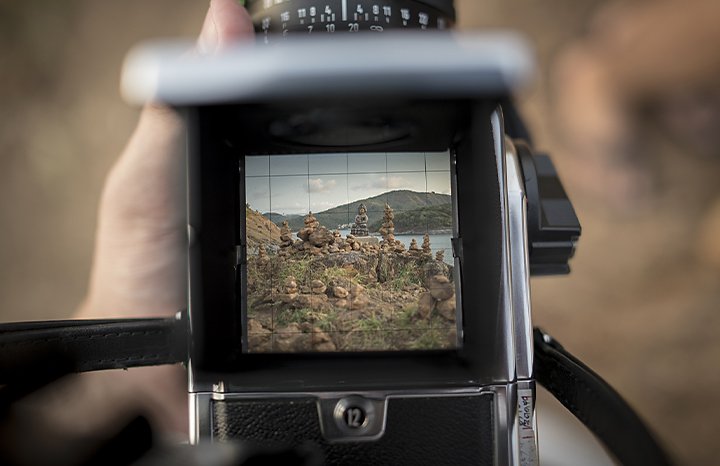
Compose with the camera grid.
Another key tool, which even exists in smartphone camera apps, is the nine-grid option. It can help you capture an image that uses the rule of thirds. “That’ll allow you to hit on one of those cross points and create an image that’s more interesting. When you can frame your photo better while you’re taking the image, rather than taking an image super far out and then trying to get closer, you’re going to have better quality,” says Pumphrey.
Use the self-timer and selfie mode.
“If you want to take a longer exposure because you’re in low light, or you want to actually be the subject of your image, you can create amazing images with a self-timer,” says Pumphrey. The timer, coupled with a tripod (or stack of books), can keep your camera still so the image doesn’t blur when the shutter is opened. And if you want to be the subject, the timer gives you time to get into frame.
If social media has taught us anything, it’s that people can take great photos of themselves. If you need to build your brand, just raise your selfie game. Pumphrey uses a standard point-and-shoot camera that has selfie mode. “The back screen flips up so I can have the camera pointed at me and still see the entire composition, set the self-timer, and get in the frame,” she says. “And you can even add a burst mode, create a series of images, and then pick the best one.”
Fix it in post.
Use editing software like Adobe Photoshop Lightroom to elevate your DIY photos. With customizable presets, you can get exactly the look you want, though Pumphrey suggests you fine-tune your filters to be subtle. “You can create all sorts of moods, but if you want photography that’s going to stand the test of time, you’re more likely to love it forever when it looks real,” she says.
Watch tutorials to learn how to remove distracting objects from photos or make colors pop with saturation adjustments. “Lightroom has a whole section dedicated to controlling the hue and brightness of specific colors,” says Dorei. “Bringing out the color can really elevate the photo.”
Whatever your photography ideas, stretch your imagination and craft skills to try to bring them to life. And if at first you don’t succeed, see what you can do in Lightroom.
Contributors
Do more with Adobe Photoshop Lightroom.
Edit photos easily with Lightroom presets, Super Resolution, easily share photos from any device, and access your projects anywhere with cloud photo storage management.
You might also be interested in…
Building a great landscape photo.
Explore ways to artistically capture scenic views with tips on landscape photography.

Journey to a new world and make small subjects larger than life with macro photography tips.

How to add bokeh backgrounds to your photographs.
Learn more about the beautiful blur effect that can give your photos a striking look.
Night Photography.
Low light doesn’t have to equal low quality with these tips for successful nighttime photos.