Create buzz with neon light photography.
From photos of neon signs to portraits lit by neon lights, explore photography tips that will help you capture the nostalgic yet futuristic mystique of neon.
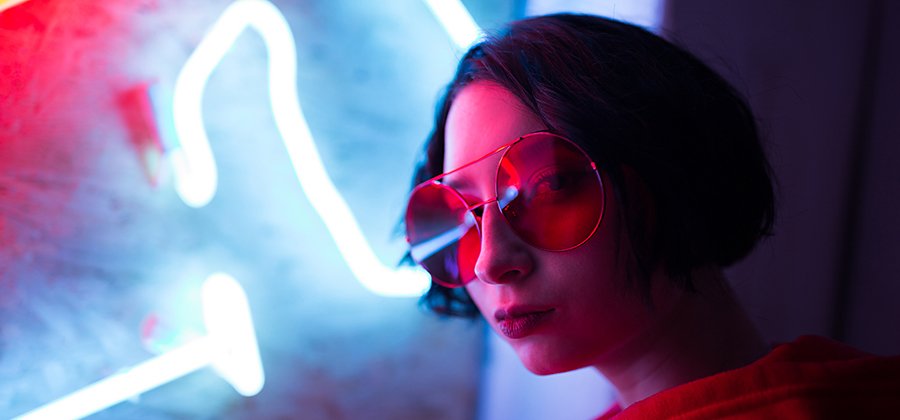
Capture a vibe with neon light.
Neon light photography is any type of photography that features neon lights. Neon can light models in different, intriguing ways or take center stage as the subject of street photography. Learn more about neon light photos and discover techniques to help you try out this colorful style.
The timeless intrigue of neon lighting.
Neon signs attract attention, from the bright lights of Times Square in New York City to the vintage bowling alley or diner in your hometown. These light sources, invented in 1910 and popularized in the 1930s and 1940s, are made of rarified neon, helium, carbon dioxide, and other gases in electrified tubes. The effect they produce creates excitement that has long captured the interest of videographers and photographers in many different fields.
Neon pervades popular culture, from Alfred Hitchcock’s Vertigo, where neon illuminates eerie scenes, to the tech-noir mystery of Blade Runner’s neon-soaked world. It’s become synonymous with the styles of the past, and it’s now back in a big way thanks to the retro nostalgia epitomized by the popularity of television series like Stranger Things. Be it in Hollywood, art, or fashion, the vintage vibe of neon — and its storytelling capabilities — can be a big draw for photographers.
With good composition, your unique perspective, and the right techniques, neon can set a moody tone, an energetic vibe, or an eerie mystique. “It has this nostalgia to it because many neon light signs are from the ’60s or ’70s,” says photographer Jesse McMinn. But also, “It’s just cool, new, and futuristic,” photographer Luis Acosta says. “It’s a trend that people are following. Neon photography is a cool way to bring light into photos. It’s a creative way to shoot at night.”
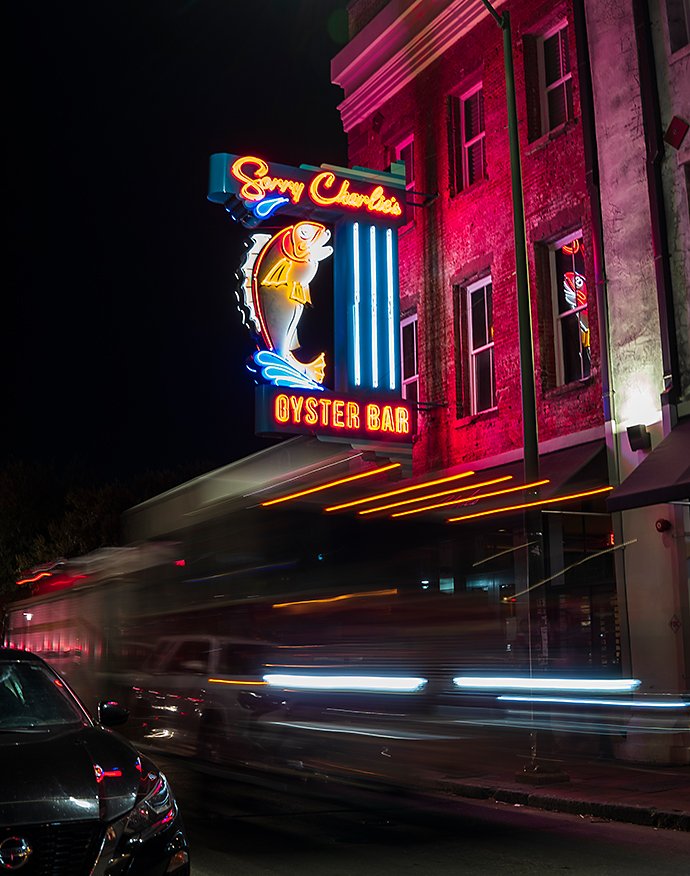
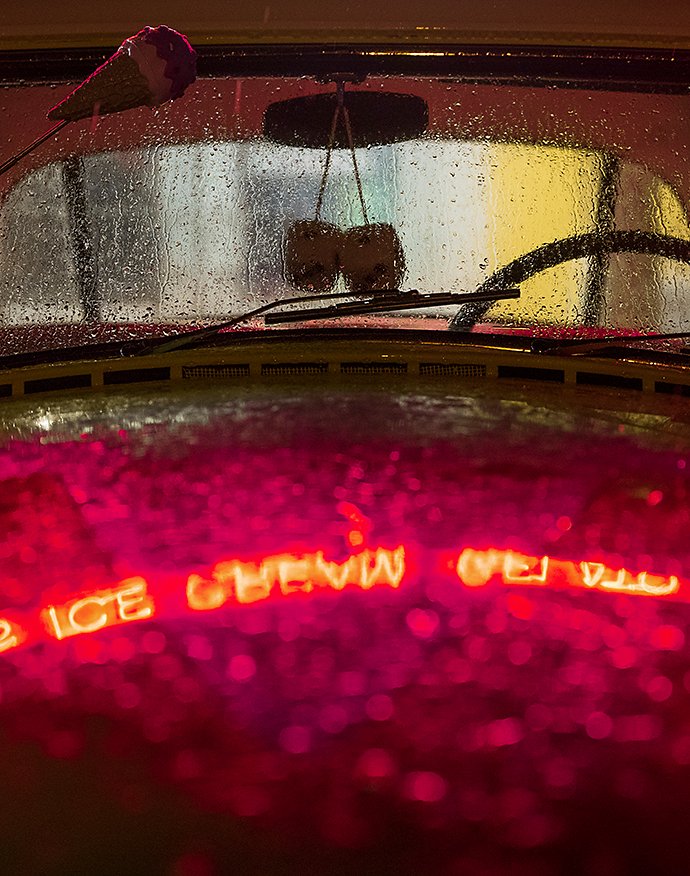
Images by Jesse McMinn
Where night photography meets street photography.
While neon sign photography can take place in a studio setting, it typically happens out where the neon lives — on city streets. Because you can’t control the environment when you shoot on the street, be ready to adapt to your surroundings. The dry climate of the crowded Las Vegas strip will provide different challenges than humidity in Hong Kong or a rainy Piccadilly Circus in London.
“Here in Florida, neon is mostly in shop windows. There’s a little bit less signage. Neon lights are expensive to replace, so you typically find them in windows,” McMinn says. “The cool thing with that is you capture neon through the glass. Glass is sometimes dirty, or there’s condensation — because Florida’s really humid — so you get this extra built-in filter.”
Photographing neon signs is usually a dusk-to-nighttime activity, when more neon signs are turned on. Make sure your camera settings are optimized for good night photography.
Camera settings for neon at night.
A higher ISO setting, which adjusts your camera sensor’s sensitivity to light, will help you get low-light shots. Slower shutter speeds, which let more light into your camera, can also be beneficial for night shoots. But if you opt for lower shutter speeds, bring a tripod to capture crisp shots at night — slower shutter speeds can lead to motion blur if the camera isn’t steady.
Shoot in manual mode to give yourself better control of your settings. “The higher you go on ISO, the more grain you’ll have in your shots. Sometimes you can sacrifice that,” Acosta explains. “But if you’re shooting in RAW mode, you can edit more in post. You can always compensate for low light.”
For the aperture setting, Acosta uses an f-stop as low as f/1.8 so the camera can let in the most light.
For darker environments, you can use a shutter speed of 1/60, or even go as low as 1/15 if your subject is very still or you use a tripod. You’ll want to use a faster shutter speed for non-posed night photography. Remember, faster speeds allow less light into the camera. To freeze candid action, you may want to use 1/100 or faster, but be wary of how that might limit the light that hits your camera sensor.
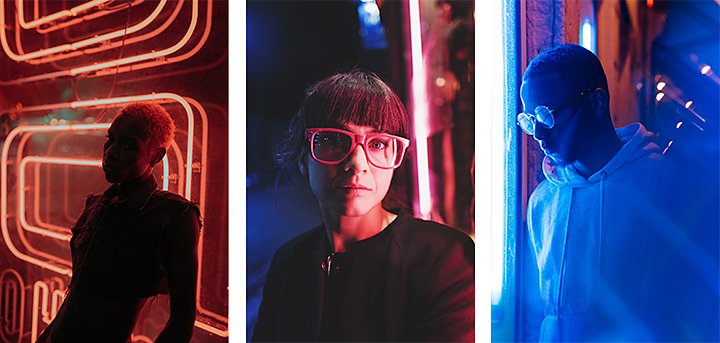
Add neon style to portrait photography.
The electric pinks, blues, and greens of neon lights are a trendy yet distinctive addition you can add to portraiture and headshots. “When you’re shooting neons versus taking a normally lit picture, it just has more mood and body to it,” McMinn says. Get creative and put a new spin on a social media profile photo or add some color to an editorial portrait.
“To prepare for a neon light shoot, I’ll know exactly where the light is, what time I want to go with the model, and then I have in mind what I want to do, and what gadgets to use for it,” Acosta says. Even if you do use the same neon light, those factors give you room for creativity.
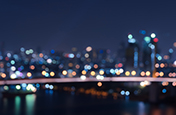
Great portraits put a subject’s personality on display, and portrait lighting can be a crucial creative storytelling choice for photographers. Light reflectors are a perfect tool if you want to shoot neon portraits. They ensure you’re able to direct enough light onto your subjects without darkening your background too much. You can use a reflector or an LED light to keep your subject well lit and in focus while you create a bokeh effect, which blurs the light sources behind your subject.
The timing of your neon photoshoot.
While portrait photographers love the pre-sunset golden hour, the blue hour is best for neon photos with a model. Blue hour happens right after sundown. While it’s still a lower-light environment, the sky’s blue twilight hue during this time can be the perfect backdrop for shots with neon lighting.
“You still get some sunlight in the blue hour — it’s not completely dark,” Acosta says. “But it’s dark enough that you can see neon lights. Because of that, you don’t have to worry about your camera as much. You can get good exposures. If you can shoot in that moment, I’d suggest you do it.”
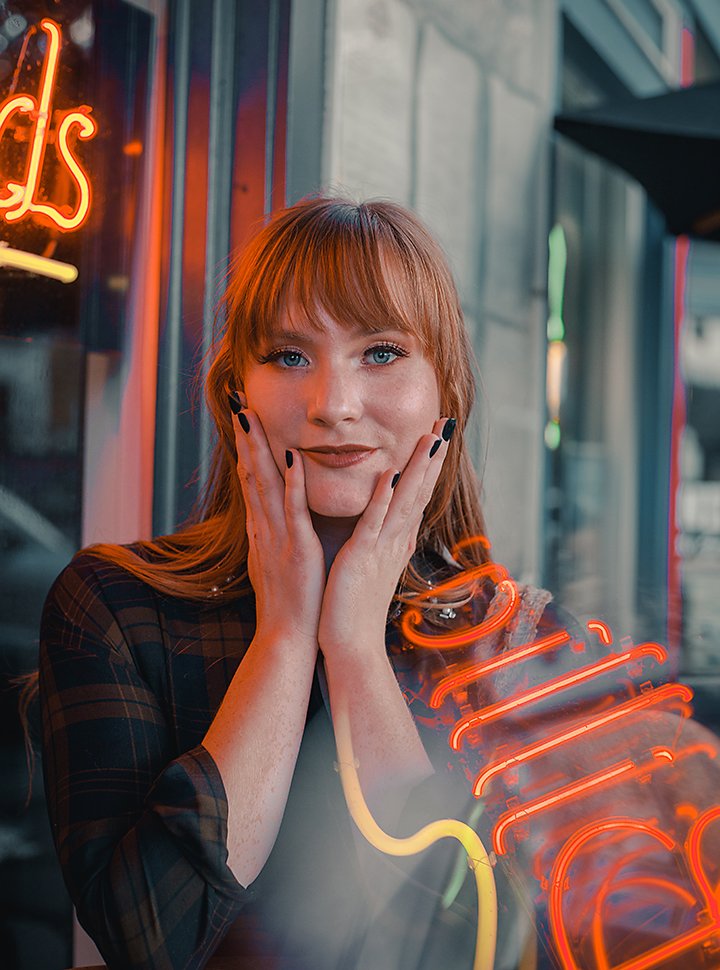
Image by Luis Acosta
Don’t be afraid to start simple.
“Lately I’ve limited myself with the gear,” McMinn explains. “I go out and really try to make it more of a creative process. It helps me be a better photographer in general. I move around to find different angles, like a side angle with some reflection or condensation. I just see what different effects I can capture in-camera versus what I see with my eye.”
But don’t let the lack of gear, or even a camera, hold you back. Many photographers who shoot with digital cameras from Nikon, Canon, Sony, or others started humbly. “I started shooting pictures with an iPhone. And that was good. I learned composition,” McMinn says. “That’s the best way to learn — hands-on and by making errors. Don’t sweat the small stuff and just keep shooting.”
However, McMinn encourages people serious about photography to move to a camera before too long. A good digital camera will allow you to shoot in RAW mode, which will give you more image data to work with when you edit your shots.
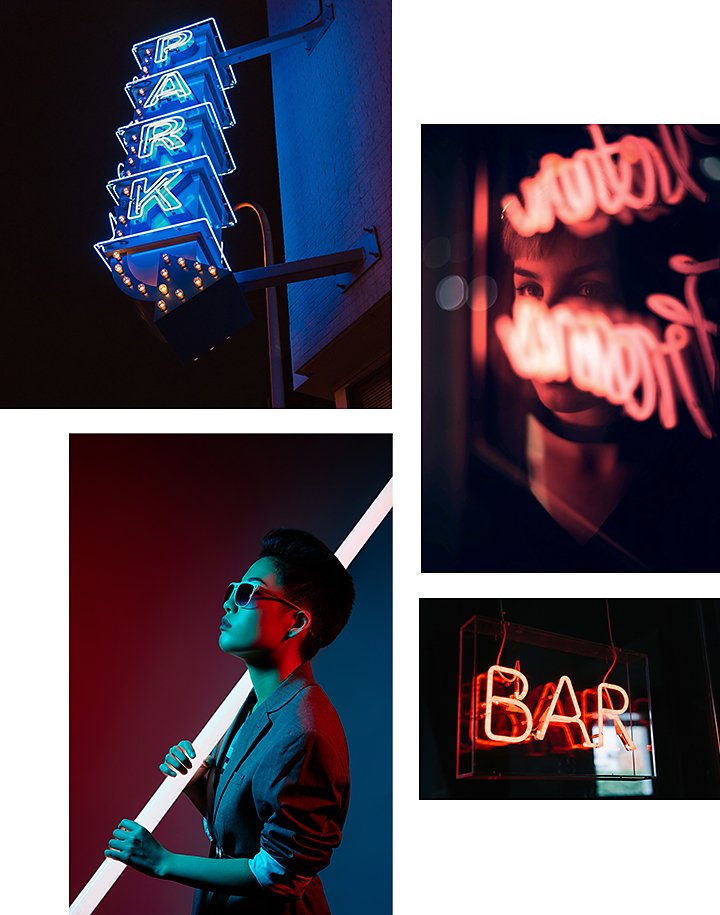
Edit neon-filled shots to give them extra pop.
As you learn through trial and error, it’s essential to be able to quickly preview and organize your shots. Adobe Photoshop Lightroom makes it easy to review, organize, and perform mass edits on your photos.
“I’ll upload all my photos into Lightroom and fix anything like shadows, exposure, and highlights,” Acosta says. “Then I’ll maybe even change some color. Like, if I don’t want that purple there, I just take it out.”
White balance is a setting that can be adjusted to ensure white objects appear white in your images. You can adjust white balance in-camera, or you can fine-tune it in post-production in Lightroom. Adjust white balance to bring cool blue or warm yellow hues to your neon photos.
Use the Vibrancy, Hue, Saturation, and Luminance sliders in Lightroom to tweak and refine the color in your neon shots. Once you find settings you love, you can save them as a Lightroom preset to use on more photos from your shoot or on shots in the future.
You can also use Lightroom to edit photos on the go. “I primarily transfer everything over to my phone with Adobe Lightroom and edit on iPhone 12, and then they’re just great,” McMinn says. “It’s easy to edit everything on there for social media.”
Other ways to amplify your neon photos.
If you want to capture neon photography with a subject in the foreground and neon signs in the background while keeping all in focus, you can use Lightroom to focus stack shots (combine photos with different focal points into a single image) to create compositions that look entirely crisp.
Or take the concept even further and combine photos in Adobe Photoshop to create breathtaking composite images that feature neon lights.
Get out and shoot some images you love, and use Lightroom and Photoshop to bring your neon dreams to life.
Contributors
Do more with Adobe Photoshop Lightroom.
Edit photos easily with Lightroom presets, Super Resolution, easily share photos from any device, and access your projects anywhere with cloud photo storage management.
You might also be interested in…
अपने फ़ोटोग्राफ़्स में बोके बैकग्राउंड कैसे जोड़ें।
आपकी फ़ोटोज़ को शानदार लुक देने वाले खूबसूरत ब्लर इफ़ेक्ट के बारे में और जानें।
A good headshot tells a story. Here’s what you need to know to hone your skill in this field.
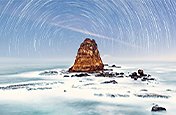
Learn to transform distant stars into glowing light trails, and more, with long exposure photography.
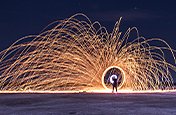
Exploring light painting techniques.
Learn the basics of light painting, and how to use the night as a canvas and light sources as a brush.
