Learn how to get the bokeh effect in photography.
Discover what the bokeh effect and depth of field can do for your shots, and bring that beautiful blur to your next batch of photos.
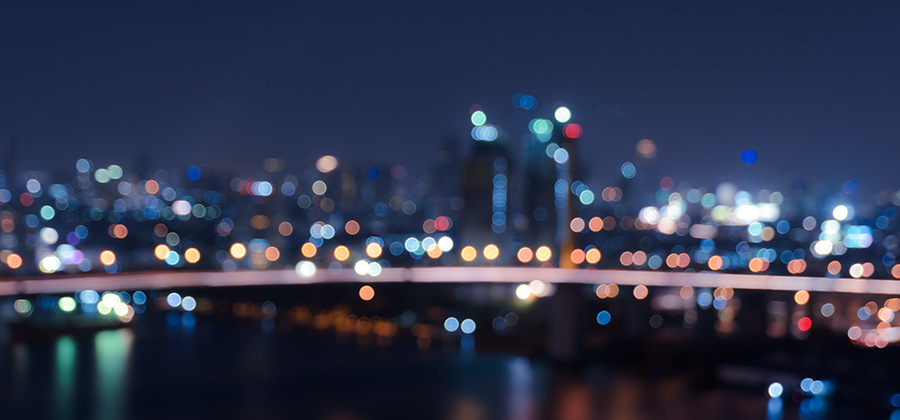
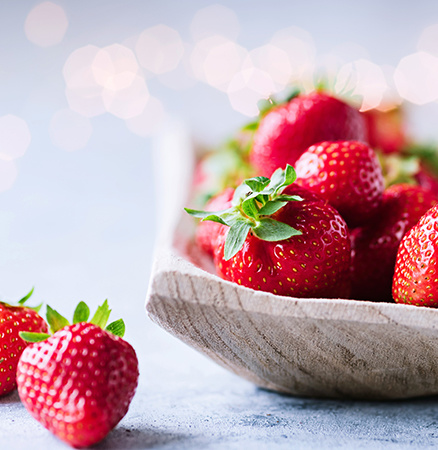
Bring style to your photos with bokeh backgrounds.
Blurring the background of your photos with a bokeh effect is a stylistic technique that can produce appealing, professional-looking images. Bokeh helps your subject pop in the image to make the emphasis of your photo strikingly clear.
“As a photographer, and an artist in general, you want to have a message,” says photographer Grace Rivera. “Once you learn the technical aspects of photography, you can really start to hone in on what you’re saying to the world and the stylistic choices that go into that message.”
Creating bokeh photos requires repetition and study. With practice, bokeh gives you more control over your photos when you’re taking them, as well as in your editing software.
What is bokeh?
Bokeh is a word with Japanese origins, defined as “the way the lens renders out-of-focus points of light.” The word comes from the Japanese word boke (暈け or ボケ), which means “haze” or “blur.” (The “h” was introduced to help English speakers pronounce the word correctly [BO - KEH].) It’s a subjective term — for example, “that image has good bokeh” — that generally refers to the aesthetic quality of an image’s background blur.
Creating bokeh-filled photos that convey your artistic message requires practice and study. With time, the bokeh in your photos (whether created in camera or afterward, in your editing software) will add beauty and impact to your images.

Which lens is best for bokeh effect?
Before you go out and buy lenses, it’s important to know which ones are recommended for taking the types of images you want to capture.
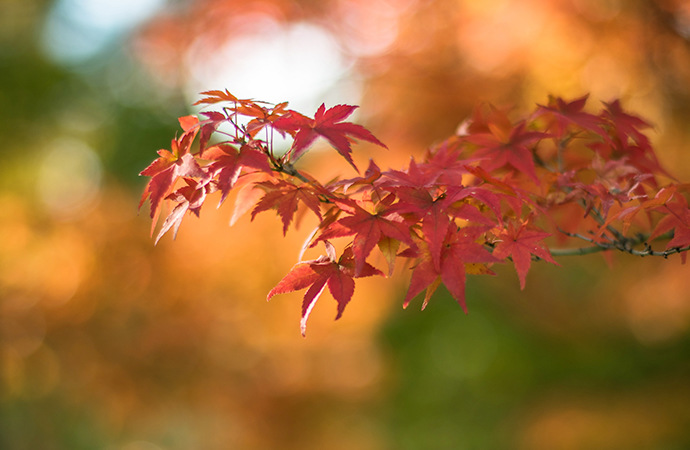
A shallow depth of field allows you to make a single object your point of focus, while everything distant from that focal point becomes blurred. Most lenses that allow for this have a low f-stop, which is a number that refers to how wide open or closed the aperture of your camera lens is. Think of the aperture like the pupil of your eye: the wider open it is, the more light it allows in — at the cost of depth of field. The more narrow the aperture, the more depth of field you’ll have on display, with far less bokeh.
For creating beautiful images with high-quality bokeh, you’ll want lenses that have low f-stops. For maximum bokeh, you want lenses that have the ability to stop to 1.2 or 1.4. Longer focal lengths — whether in zoom or prime lenses — can help you maximize bokeh. If more bokeh is your aim, consider a lens focal length of 70mm and higher.
How shutter speed, aperture, and positioning affect bokeh.
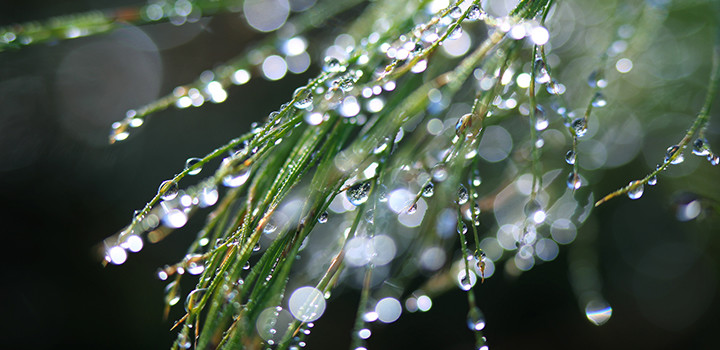
For your experimentation, start with a well-lit, static object, like a bowl of fruit, and take trial shots to help you figure out how to create the bokeh you want to see:
Shutter speed: Shutter speed determines how long the shutter on your camera remains open to allow light to hit the film in your camera, or its digital sensor. It’s measured in seconds, so a fast shutter speed might be 1/1,000 of a second versus a slow speed of a second. As you open up the aperture of your camera, you can increase the shutter speed to get crisper images. Experiment with f-stops in relation to shutter speed to see how your bokeh shifts and changes.
Aperture: The main mover and shaker for bokeh is going to be the depth of field you create with your aperture settings. Experiment with those f-stops and see what you come up with.

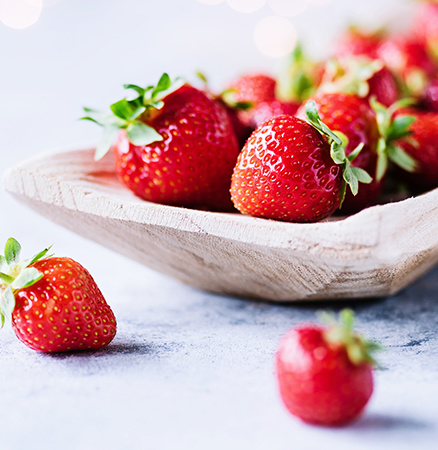
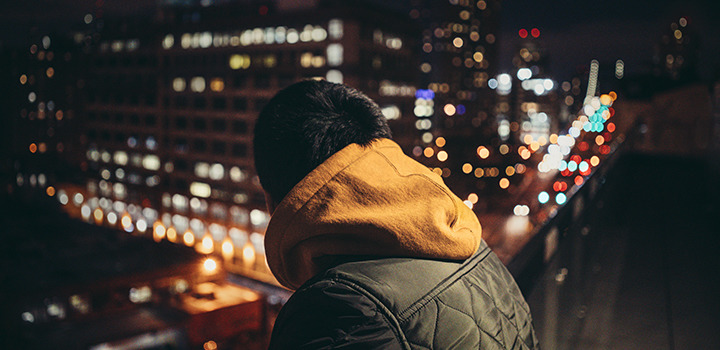
Positioning: Proximity of your camera to your subject and of your subject to their background will all affect bokeh. Try taking shots of your subject from different distances, and with the subject at varying distances from their surroundings, to see how it changes the bokeh your lens produces.
Focus: What you choose as your focal point will alter the focal plane. Try focusing on different parts of your subject, snapping pictures, and seeing how everything comes out. And turn off your autofocus point selection. “You want to determine what to focus on in the frame yourself instead of letting the camera choose,” says photographer Khara Plicanic. “It can make a huge difference.”
Edit for better bokeh after the fact.
With photo-editing programs like Adobe Photoshop and Adobe Lightroom, creating beautiful bokeh effects in post-production is as easy as applying the Field Blur tool.
The Field Blur filter allows you to set a focal point in the image and then create varying levels of blurriness and focus in other parts of the photo. Play around with it and see what kinds of blurred background bokeh you can create.
You can also use it to control bokeh directly. The Field Blur filter has a bokeh color slider that you can use to modify and alter the color and intensity of the bokeh in your image.
Again, experimentation is the path to success. And don’t be too hard on yourself if your first images don’t turn out the way you want. Even seasoned photographers have to spend a long time practicing. “I had to go through these motions over and over and over again until it became second nature,” best-selling author and photographer Carli Davidson says. “You do it long enough and your eyeballs become your light meter; you start to understand what your settings need to be to achieve a certain look.”
As you experiment with bokeh, you’ll discover plenty of options and arrangements to play around with. Get out there and start developing your own unique photographic style.
Contributors
Do more with Adobe Photoshop Lightroom.
Edit photos easily with Lightroom presets, Super Resolution, easily share photos from any device, and access your projects anywhere with cloud photo storage management.
You might also be interested in…
Discover how adjusting shutter speed can help you capture clean shots or motion-filled moments.
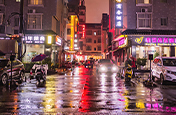
Night Photography.
Low light doesn’t have to equal low quality with these tips for successful nighttime photos.

Discover ways to select the ideal focal length for any and every photo.
Building a great landscape photo.
Explore ways to artistically capture scenic views with tips on landscape photography.